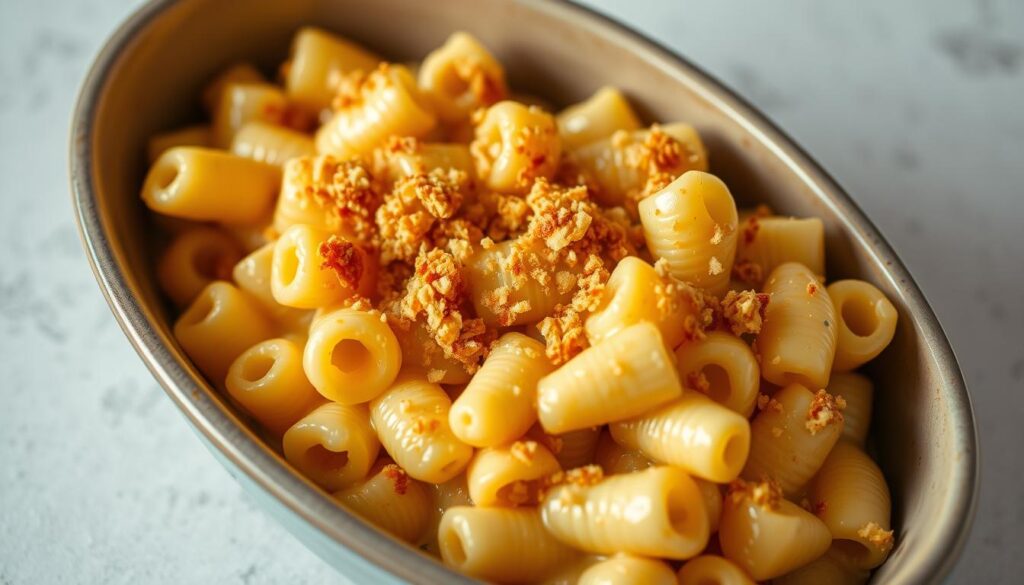
Imagine a party appetizer that’s both comforting and elegant – that’s what you get with a tini mac and cheese recipe. You can create a mini mac and cheese that’s perfect for any gatherin. It has a creamy sauce and a crispy top. This small mac and cheese dish is easy to make and fun to eat, and it’s sure to be a hit with your guests.
Table of Contents

As you explore the world of tini mac and cheese, you’ll discover the joy of creating a delicious, bite-sized dish that’s perfect for any occasion. With a tini mac and cheese recipe, you can make a big impact with a small, creamy, and delicious dish. Whether you’re looking for a quick snack or a party appetizer, a mini mac and cheese is the perfect choice. You’ll learn how to make a small mac and cheese that’s both flavorful and fun to eat.
Introduction to Tini Mac and Cheese
In this article, you’ll learn the secrets of making a perfect tini mac and cheese recipe. From the essential ingredients to the step-by-step preparation guide, you’ll get everything you need to create a delicious mini mac and cheese. You’ll discover how to make a small mac and cheese that’s both creamy and crispy, and you’ll learn how to customize it to your taste.
Key Takeaways
- You can make a delicious tini mac and cheese recipe at home
- A mini mac and cheese is perfect for parties and gatherings
- You can customize your small mac and cheese with different ingredients
- A tini mac and cheese recipe is easy to make and fun to eat
- You’ll learn how to make a creamy sauce and a crispy top
- You’ll discover the secrets of making a perfect small mac and cheese
Understanding Tini Mac and Cheese: A Perfect Party Appetizer
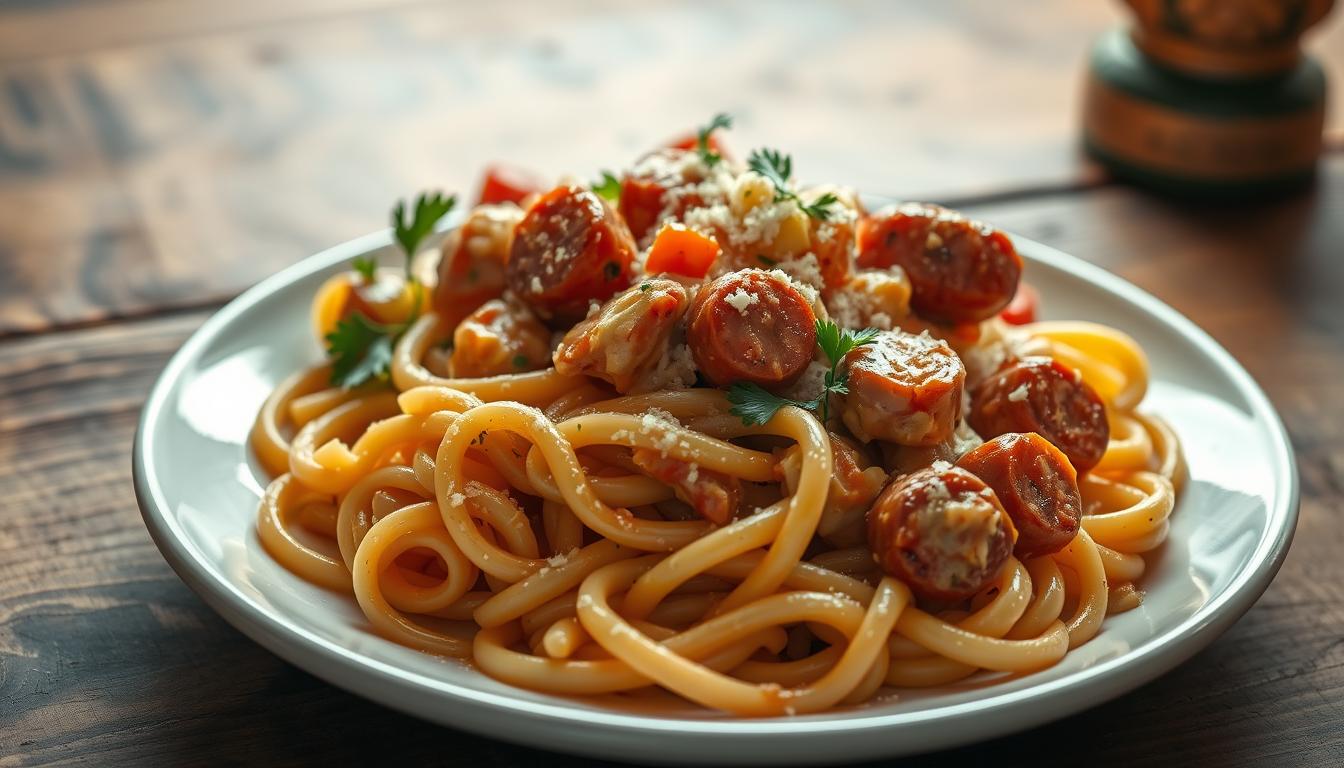
Easy mac and cheese is a hit at parties. Tini mac and cheese is a mini version of this classic dish. Its small size is perfect for grabbing off the platter.
You can make a big batch of homemade mac and cheese. Then, divide it into smaller portions for each guest.
Tini mac and cheese is also customizable. You can add different toppings or mix-ins for unique flavors. Some ideas include:
- Adding cooked bacon or ham for a smoky flavor
- Mixing in steamed vegetables, such as broccoli or carrots
- Using different types of cheese, such as cheddar or parmesan
This dish is also great because it’s easy to make ahead. Prepare the mac and cheese mixture, then assemble the portions just before serving. It’s perfect for busy hosts who want to impress their guests with a delicious pasta appetizer.
Essential Ingredients for the Perfect Tini Mac and Cheese Recipe
To make a tasty macaroni and cheese, pick the right ingredients. Start with top-notch pasta like macaroni or elbow macaroni. The pasta you pick changes the dish’s texture and taste.
For cheese, you have many choices. Cheddar, parmesan, and gouda are popular. Mixing different cheeses can make a unique taste. For a fancy mac and cheese, try a mix of artisanal cheeses.
Other key ingredients include:
- Milk or cream for a creamy sauce
- Butter or oil for flavor and texture
- Seasonings like salt, pepper, and paprika
With these ingredients, you can make a creamy gourmet mac and cheese. Don’t be afraid to try new combinations to find your favorite flavor.
Kitchen Equipment and Tools You’ll Need
To make tasty cheesy pasta bites like mini mac and cheese, you need the right tools. Having the right equipment makes cooking easier and more fun. You can then focus on making the best mini mac and cheese recipe.
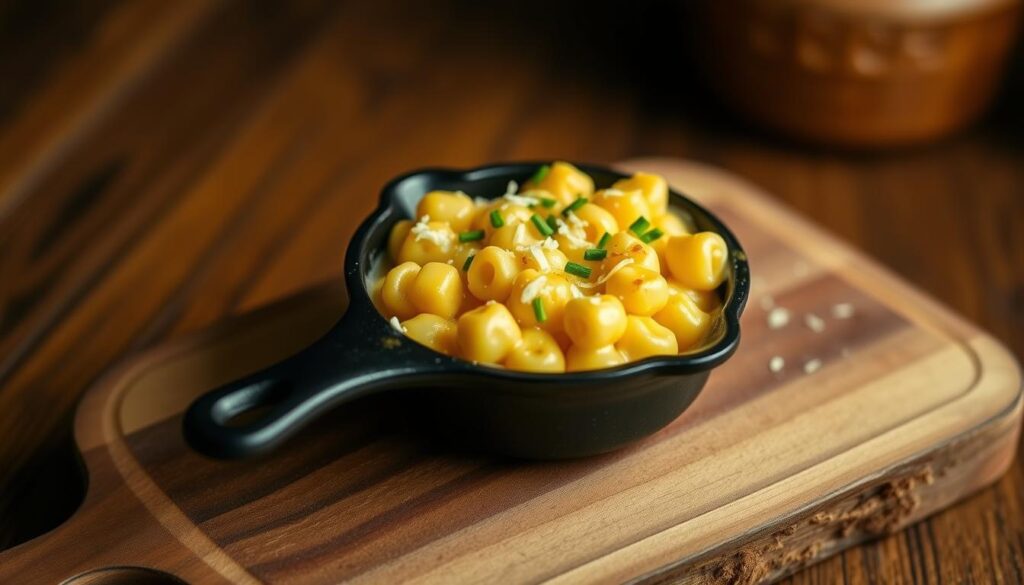
For baking, you’ll need small dishes for each cheesy pasta bite. These dishes should handle high heat and have a non-stick surface. This prevents the mac and cheese from sticking.
Required Baking Dishes
- Mini cast-iron skillets
- Small ceramic ramekins
- Individual-sized baking dishes
Optional Equipment for Enhanced Results
Some optional tools can make cooking better and the results even tastier. A food processor helps mix the cheese sauce. A pastry brush adds a golden-brown crust to the cheesy pasta bites.
Cheese Selection Guide for Maximum Flavor
The type of cheese used in a tini mac and cheese recipe is crucial. For a standout homemade mac and cheese, pick a mix of cheeses for a creamy flavor. A blend of cheddar, parmesan, and mozzarella offers a classic taste.
When choosing cheese, think about the flavor, melting point, and texture. Aged cheeses like parmesan and cheddar have a sharp taste. Soft cheeses like mozzarella and brie melt better. Try different cheese mixes to find your perfect homemade mac and cheese.
Here are some popular cheese options to consider:
- Cheddar: a classic choice for mac and cheese, with a sharp, tangy flavor
- Mozzarella: a mild, creamy cheese that melts well and adds a smooth texture
- Parmesan: a nutty, aged cheese that adds depth and complexity to your tini mac and cheese recipe

Choosing the right cheese mix can make your homemade mac and cheese both delicious and unique. Whether you want a classic comfort or something new, the right cheese selection is key.
Step-by-Step Tini Mac and Cheese Preparation
To make a tasty easy mac and cheese, follow a few easy steps. This pasta appetizer is great for parties and gatherings. With these steps, you can make it easily.
First, cook your pasta as the package says. This makes sure it’s just right, not too hard or too soft. While your pasta cooks, start making the cheese sauce.
Pasta Cooking Instructions
- Bring a large pot of salted water to a boil
- Add your pasta and cook until al dente
- Drain the pasta and set it aside
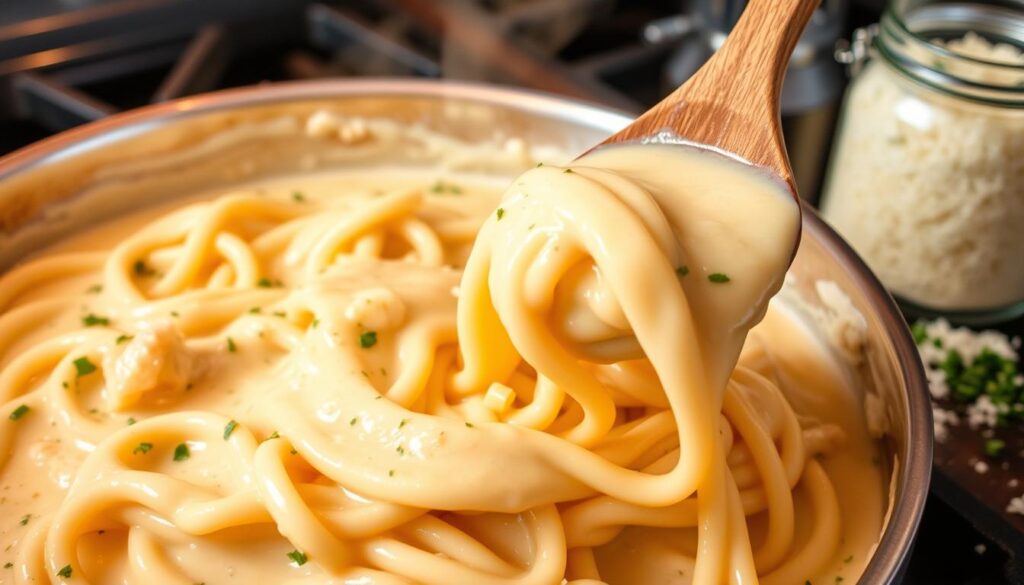
Creating the Perfect Cheese Sauce
To make the cheese sauce, mix cheddar, parmesan, and mozzarella. This mix gives your easy mac and cheese a creamy taste.
Assembly and Baking Tips
After you’ve cooked your pasta and made the cheese sauce, it’s time to put it together. Mix the pasta and cheese sauce in a baking dish. Then, add more cheese and breadcrumbs on top.
Customization Options and Flavor Variations
Gourmet mac and cheese offers endless possibilities. You can mix and match ingredients, spices, and seasonings for unique flavors. Try adding caramelized onions or crispy bacon for a smoky taste.
Here are some ways to enhance your tini mac and cheese:
- Spicy: Add diced jalapenos or red pepper flakes for a spicy kick
- Smoky: Use smoked paprika or chipotle peppers for a deep flavor
- Herby: Add fresh herbs like parsley or thyme for a fresh taste
Quality ingredients are key to a great gourmet mac and cheese. Don’t be afraid to try new things. With creativity, you can make a mac and cheese that’s uniquely yours.

Consider adding cooked veggies like broccoli or bell peppers. Or, use different cheeses like goat cheese or feta. You could also add cooked meats like ham or chicken for a heartier meal.
Make-Ahead and Storage Guidelines
Preparing homemade mac and cheese is convenient. It’s perfect for parties or weeknight dinners. To keep it fresh, follow proper storage methods.
Store it in an airtight container in the fridge for up to 3 days. Reheat it in the oven at 350°F (180°C) for 15-20 minutes. For a crispy top, broil for 2-3 minutes more.
Here are some reheating and freezing tips:
- Reheat in the oven or microwave until hot and creamy.
- Freeze for up to 2 months. Thaw overnight in the fridge before reheating.
- Freeze individual portions for a quick snack or lunch.
Follow these guidelines to enjoy your mac and cheese anytime. It’s a comforting dish that will become a favorite.
Serving Suggestions and Presentation Ideas
When serving your mini mac and cheese, how you present it matters a lot. You want to impress your guests, whether at a party or at home. Think about the look you want to achieve. Do you prefer a rustic, homemade feel or something sleek and modern?
To make your dish more appealing, try garnishing with fresh herbs like parsley or thyme. You can also add some crunch with breadcrumbs or crushed crackers. For a richer topping, consider cooked bacon or a dollop of sour cream.
Garnishing Tips
- Choose fresh, high-quality herbs for the best flavor and appearance
- Don’t be afraid to get creative with your garnishes – try using edible flowers or microgreens for a unique touch
- Keep your garnishes simple and understated if you want the focus to be on the mac and cheese itself
Plating Recommendations
To make your plate look great, think about colors and textures. A white or beige plate can be a clean base for your dish. A colorful plate can add to the visual appeal. Make sure to leave some space on the plate for balance.
Troubleshooting Common Issues
When making a tini mac and cheese recipe, you might face some common problems. We’ve gathered some tips to help you solve these issues. If your mac and cheese is too dry, add a bit more milk or cheese to the sauce. If it’s too wet, add more pasta or cheese to fix it.
Common issues include overcooked or undercooked pasta. To avoid this, carefully follow the cooking instructions. Check the pasta often. Using a thermometer can help ensure the cheese sauce is at the right temperature. Stir the sauce constantly for a creamy, smooth mac and cheese.
- Use high-quality cheese for the best flavor
- Don’t overmix the pasta and cheese sauce
- Experiment with different seasonings to find your favorite
By following these tips, you’ll make a delicious tini mac and cheese. Remember, practice makes perfect. Don’t worry if your first try isn’t perfect. With patience and practice, you’ll soon be a pro at making easy mac and cheese.
Conclusion: Mastering Your Tini Mac and Cheese Creation
Now that you know how to make delicious macaroni and cheese in small sizes, it’s time to get creative. Try out different cheese mixes and unique flavors. You can also customize your tini mac and cheese to your liking.
Whether you’re having a party or just want a cozy treat, your homemade mac and cheese will impress. Keep these tips in mind to become a pro at making tini mac and cheese. Enjoy your culinary adventures!
FAQ
What is tini mac and cheese?
Tini mac and cheese is a mini version of the classic macaroni and cheese. It’s perfect for parties or as a snack. You can enjoy the comfort of mac and cheese in a small, easy-to-eat format.
What makes tini mac and cheese special?
Tini mac and cheese is special because it’s a fun twist on the classic dish. The small size makes it great as an appetizer. It still has the creamy, cheesy flavor you love, but in a bite-sized way.
What are the essential ingredients for tini mac and cheese?
You’ll need small pasta, like elbow macaroni or mini shells. Also, shredded cheese, milk or cream, butter, and seasonings like salt, pepper, and paprika. These ingredients make the dish creamy and flavorful.
What kitchen equipment do I need to make tini mac and cheese?
You’ll need a small baking dish or muffin tin for the portions. A saucepan for cooking pasta and a mixing bowl for the cheese sauce. A piping bag or small spoon helps fill the portions.
How do I choose the right cheese for tini mac and cheese?
Choose cheeses that melt well, like cheddar, gruyere, and parmesan. The right cheese mix affects the taste and creaminess. Pick wisely for the best flavor.
What are the steps to prepare tini mac and cheese?
First, cook the pasta. Then, make a creamy cheese sauce. Fill the baking cups or muffin tins with pasta and sauce. Bake until the cheese is melted and bubbly. Serve your delicious tini mac and cheese bites.
Can I customize or add variations to tini mac and cheese?
Yes! You can add different cheeses, herbs, spices, or mix-ins like bacon, spinach, or caramelized onions. Get creative and make your tini mac and cheese unique.
How can I make tini mac and cheese in advance?
You can prepare the cheese sauce and pasta ahead of time. Assemble the dish and bake it just before serving. You can also freeze and reheat it later.
How can I present and serve tini mac and cheese?
You can garnish the bites with fresh herbs, grated cheese, or a drizzle of sauce. Serve them on a platter or in individual ramekins or cupcake liners. It’s a fun and easy-to-grab party appetizer.
What are some common issues with tini mac and cheese, and how can I troubleshoot them?
Common issues include overcooked pasta, a too-thin or too-thick cheese sauce, and trouble removing the bites. Follow the cooking instructions carefully, adjust the cheese sauce as needed, and use proper baking dishes or liners for easy removal.