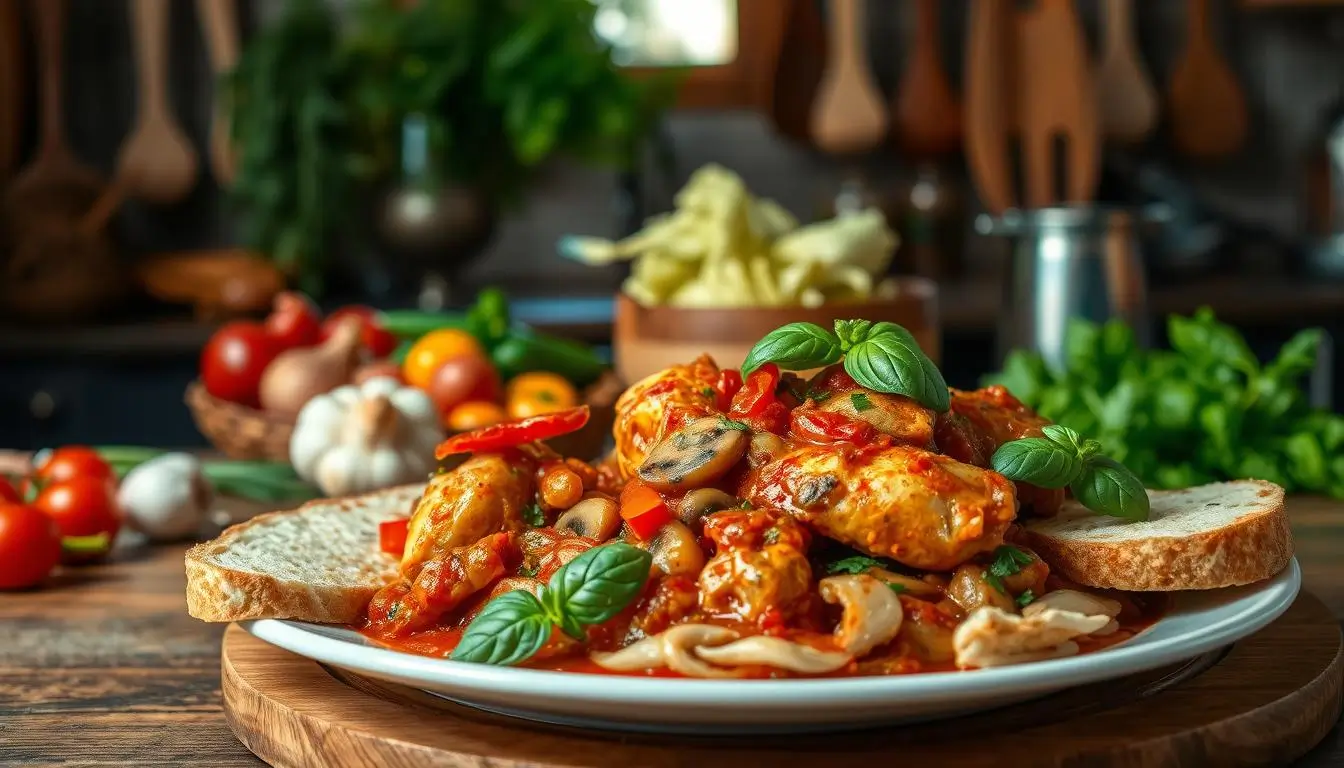
In today’s fast world, keeping a balanced diet is tough, especially at lunchtime. Many of us turn to quick, but often unhealthy, foods because of our busy lives.

Eating a healthy lunch can really help you feel more energetic and focused. It’s not hard to add low fat and nutritious meals to your day. This article will show you some easy and quick healthy lunch recipes that are great for when you’re in a hurry.
Key Takeaways
- Discover simple and delicious low fat healthy lunch recipes.
- Learn how to prepare quick and easy meals that fit into your busy schedule.
- Explore the benefits of maintaining a healthy diet during the day.
- Find inspiration for easy healthy lunch recipes that are both nutritious and tasty.
- Get tips on how to make quick healthy lunch options a part of your daily routine.
The Benefits of Low Fat Healthy Lunches
Eating a low fat healthy lunch boosts your energy and helps with weight management. Adding low fat healthy lunch recipes to your day can greatly improve your health.
Nutritional Advantages of Low Fat Meals
Low fat meals are packed with nutritional benefits. They let you eat fewer calories without losing out on important nutrients. This keeps your diet balanced and supports your health.
Reduced Calorie Intake Without Sacrificing Nutrients
Low fat lunches help you eat fewer calories but still get the nutrients you need. Focus on foods like lean proteins, whole grains, and lots of veggies.
Heart Health Benefits
Eating simple low fat lunches is good for your heart. Lower fat intake, especially bad fats, can lower heart disease risk. It helps keep your cholesterol healthy.
Energy Levels and Productivity
A healthy low fat lunch boosts your energy and productivity. Foods rich in nutrients give your body the fuel it needs. This improves your focus and work performance all day.
Weight Management Benefits
Low fat healthy lunch recipes are also key for weight management. They help control calorie intake and focus on nutrient-rich foods. This makes it easier to manage your weight.
Essential Nutrition Principles for Healthy Lunches
Learning about nutrition is key to making healthy lunches. A good lunch should have the right mix of nutrients. It should also be the right size and use top-quality ingredients.
Balancing Macronutrients
It’s important to balance macronutrients in your lunch. This means getting the right amounts of protein, carbs, and fats.
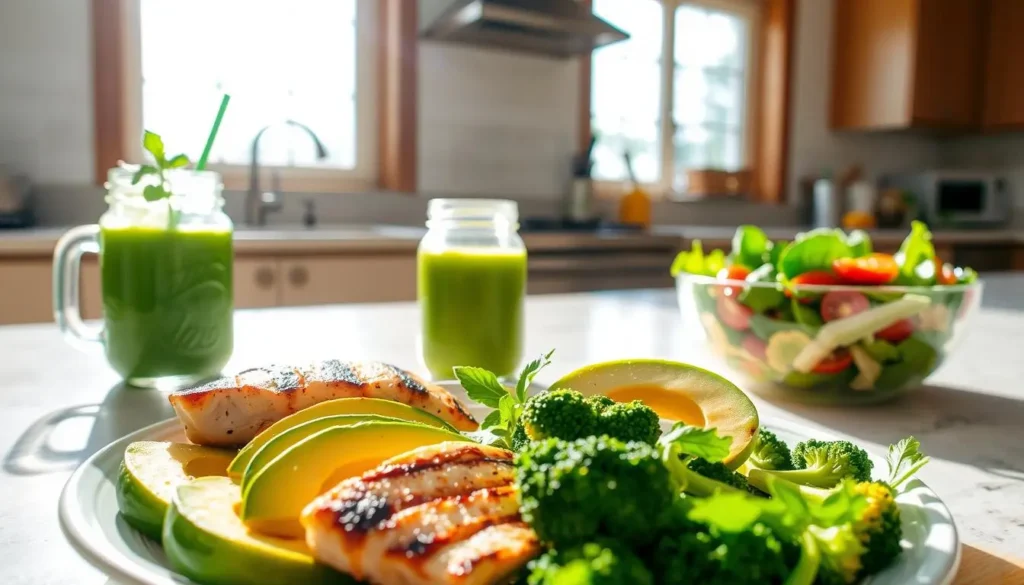
Protein, Carbs, and Fat Ratios
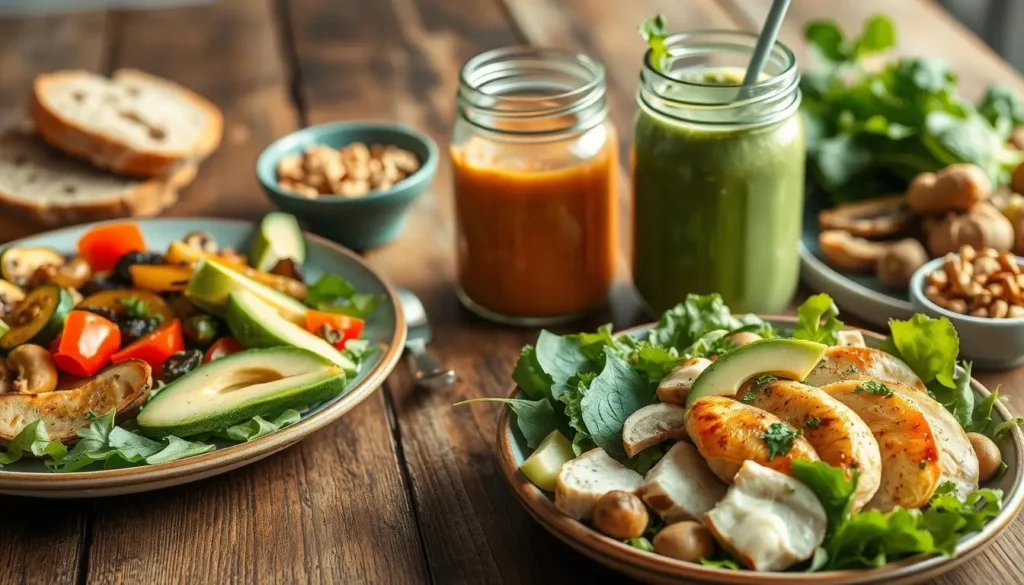
A balanced lunch should have protein, complex carbohydrates, and healthy fats. For example, grilled chicken, quinoa, and avocado together make a great mix.
Incorporating Fiber for Satiety
Adding fiber-rich foods like veggies, fruits, and whole grains helps you feel full. A high-fiber lunch can stop you from snacking too much.

Portion Control Guidelines
Keeping an eye on portion control is crucial for not eating too many calories. Using small plates and measuring your food helps avoid eating too much. Remember, the right serving size is key to a healthy lunch.
Choosing Quality Ingredients
Choosing high-quality ingredients is essential for a nutritious lunch. Always pick whole foods over processed ones. Fresh veggies, lean proteins, and whole grains are the best choices for a healthy meal.
By following these nutrition tips, you can make healthy vegetarian lunch options and low calorie lunch ideas that are both tasty and good for you.
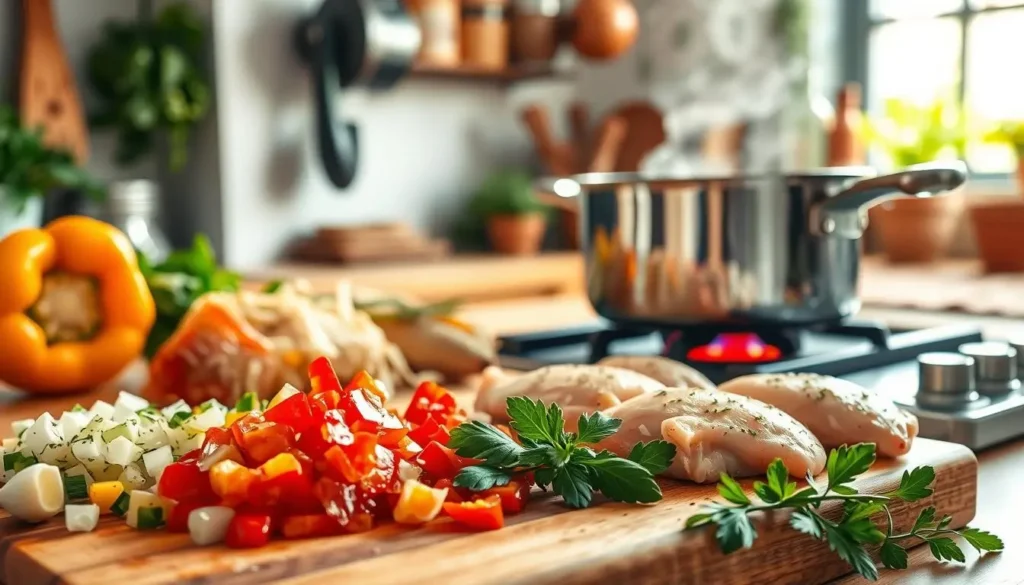
Kitchen Essentials for Quick Low Fat Meal Preparation
Having the right kitchen tools can make a big difference in making quick low fat meals. A well-equipped kitchen saves time and makes sure meals are healthy and nutritious.
Time-Saving Kitchen Tools
The right kitchen tools can make meal prep faster. Must-have appliances include a slow cooker for easy cooking, a food processor for quick chopping, and an immersion blender for soups and sauces.
Must-Have Appliances
- Slow Cooker
- Food Processor
- Immersion Blender
Meal Prep Containers
Meal prep containers are key for portion control and keeping meals fresh. Choose containers that are microwave-safe, dishwasher-friendly, and BPA-free.
Pantry Staples for Healthy Lunches
A well-stocked pantry is vital for quick meals. You’ll need whole grains like brown rice and quinoa, canned beans, and various spices.
Smart Food Storage Solutions
Proper food storage keeps food fresh and reduces waste. Use airtight containers for grains, nuts, and dried fruits.
| Storage Solution | Benefit |
|---|---|
| Airtight Containers | Maintains freshness |
| Glass Containers | Non-toxic and durable |
Low Fat Healthy Lunch Recipes for Beginners
Starting a healthy eating journey is easy. With simple ingredients and recipes, you can make tasty, nutritious lunches. Here are three low fat healthy lunch recipes for beginners.
Mediterranean Chickpea Salad
This salad is a Mediterranean favorite, full of nutrients. It’s a great easy healthy lunch recipe that’s both filling and tasty.
Ingredients and Preparation Steps
- 1 can chickpeas, drained and rinsed
- 1/2 cup chopped cucumber
- 1/2 cup cherry tomatoes, halved
- 1/4 cup red onion, thinly sliced
- 2 tbsp olive oil
- 1 tbsp lemon juice
- Salt and pepper to taste
- Fresh parsley, chopped (optional)
Mix chickpeas, cucumber, cherry tomatoes, and red onion in a bowl. Whisk olive oil and lemon juice in a small bowl. Pour over the salad and toss. Season with salt and pepper. Add chopped parsley if you like.
Nutritional Information
This salad is tasty and healthy, offering protein, fiber, and healthy fats. Each serving has about 350 calories, 5g fat, 60g carbs, and 15g protein.
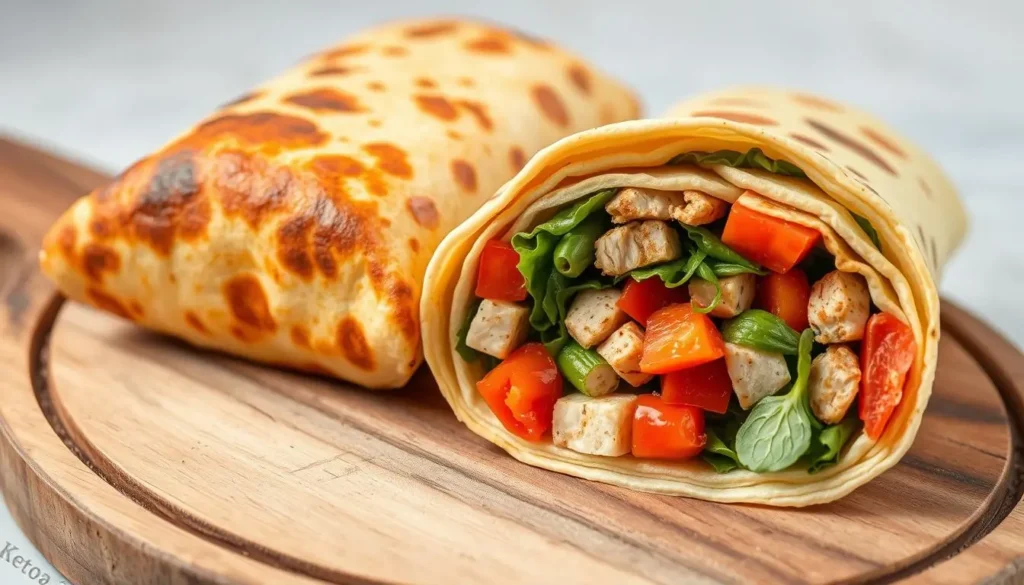
Lean Turkey Wrap with Avocado
A lean turkey wrap with avocado is a quick, satisfying lunch. It’s a low fat healthy lunch recipe that’s easy to make and full of nutrients.
Ingredients and Preparation Steps
- 1 whole wheat tortilla
- 2 oz lean turkey breast, sliced
- 1/2 avocado, mashed
- 1 cup mixed greens
- 1/4 cup sliced cucumber
- 1/4 cup cherry tomatoes, halved
Place the tortilla flat and add turkey, avocado, greens, cucumber, and tomatoes. Roll up and slice in half.
Nutritional Information
This wrap is packed with protein, healthy fats, and carbs. Each serving has about 400 calories, 10g fat, 40g carbs, and 30g protein.
Quinoa Power Bowl
A quinoa power bowl is a nutritious meal for lunch. It’s a great way to add quinoa recipes to your diet, offering protein and fiber.
Ingredients and Preparation Steps
- 1 cup cooked quinoa
- 1 cup roasted vegetables (such as broccoli, carrots, and sweet potatoes)
- 1/4 cup chopped fresh parsley
- 2 tbsp olive oil
- 1 tbsp lemon juice
- Salt and pepper to taste
Mix cooked quinoa, roasted veggies, and parsley in a bowl. Whisk olive oil and lemon juice in a small bowl. Pour over the quinoa mix and toss. Season with salt and pepper.
Nutritional Information
This quinoa bowl is rich in nutrients, offering carbs, protein, and healthy fats. Each serving has about 500 calories, 15g fat, 60g carbs, and 15g protein.
Vegetarian Low Fat Lunch Options
Looking for healthy vegetarian lunch ideas? There are many tasty and low fat options. Vegetarian diets are good for your health, lowering heart disease and cancer risks. Adding low fat vegetarian meals to your diet is both tasty and healthy.
Protein-Rich Vegetarian Recipes
Protein is key, and you can find it in many vegetarian foods. Here are some protein-rich vegetarian recipes for a low fat lunch:
Lentil and Vegetable Salad
Lentils are packed with protein and fiber, making them perfect for a salad. Mix cooked lentils with bell peppers, cucumbers, and tomatoes. Add a light vinaigrette for a refreshing, filling meal.
Tofu Stir-Fry with Brown Rice
Tofu is a high-protein vegetarian choice with many preparation options. Stir-frying tofu with veggies and serving it over brown rice is a balanced, satisfying lunch.
Colorful Buddha Bowls
Buddha bowls are a favorite for their versatility. For a low fat vegetarian bowl, start with quinoa or brown rice. Add roasted or steamed veggies and top with beans or tofu.
- Roasted sweet potatoes
- Steamed broccoli
- Sliced avocado
- Chickpeas or black beans
Hearty Bean and Vegetable Soups
Soups are comforting and nutritious, especially with beans and veggies. Black bean, lentil, and minestrone soups are healthy and filling. Make them low in fat by using vegetable broth and minimal oil.
Key ingredients for hearty soups:
- Dried beans or lentils
- Vegetable broth
- A variety of vegetables (e.g., carrots, celery, onions)
- Herbs and spices for flavor
By adding these vegetarian low fat lunch options to your routine, you can enjoy a variety of healthy, delicious meals that support your well-being.
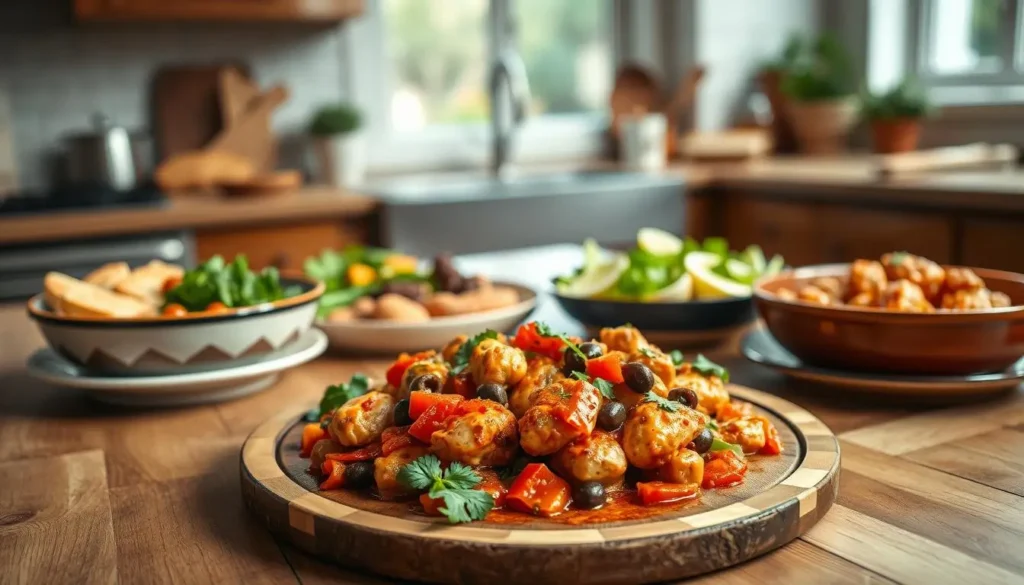
Protein-Packed Low Fat Lunch Ideas
Protein-packed lunches are both filling and key for keeping energy up all day. They help you reach your health goals without losing flavor.
Lean Meat Options
Lean meats are full of protein and fit well in low-fat meals. Chicken breast and lean beef are top picks.
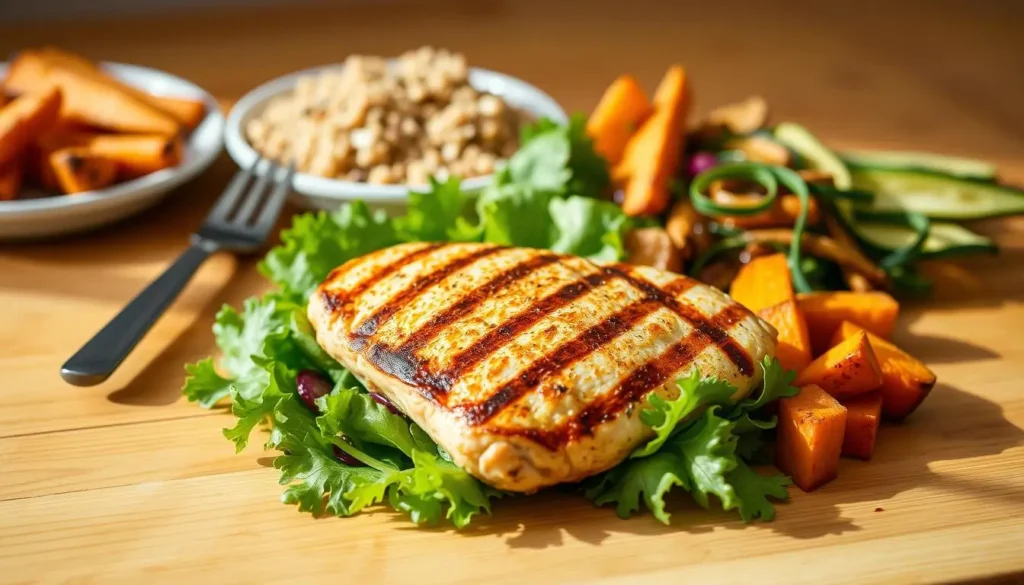
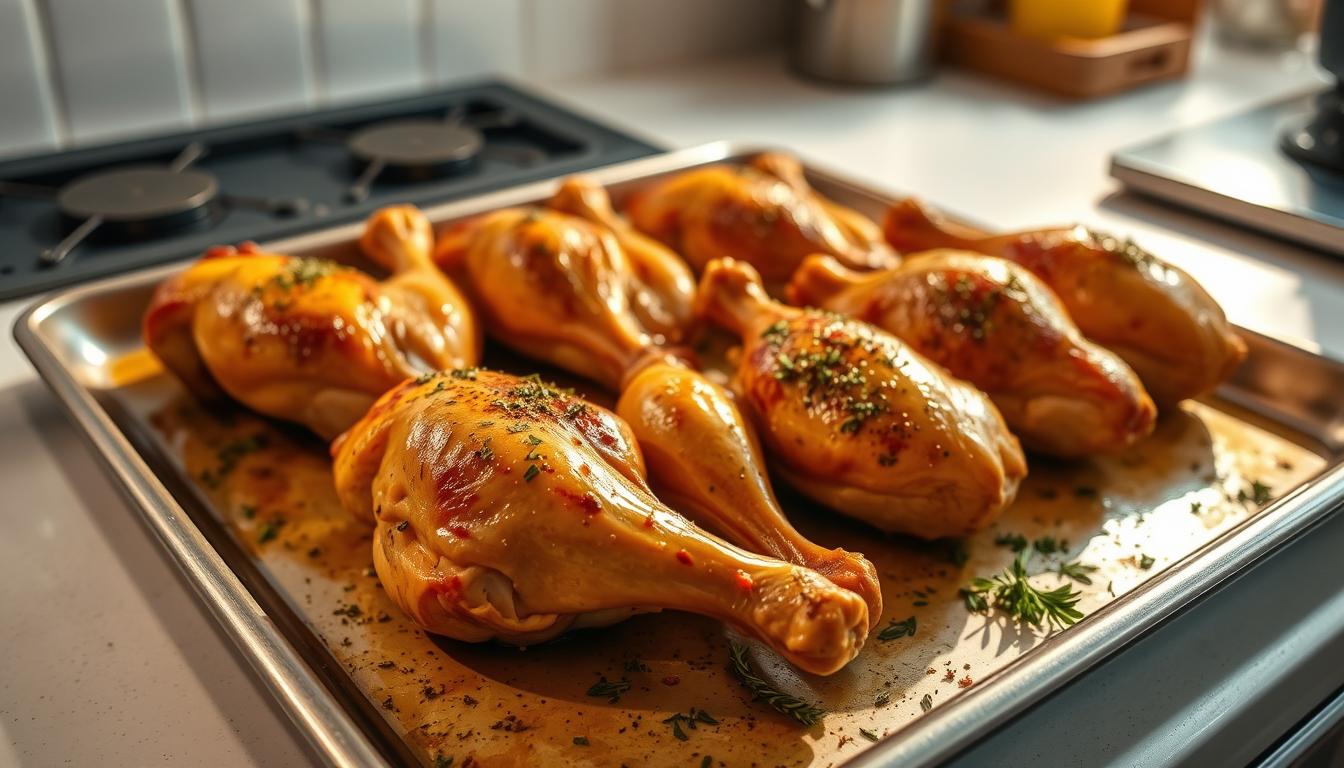
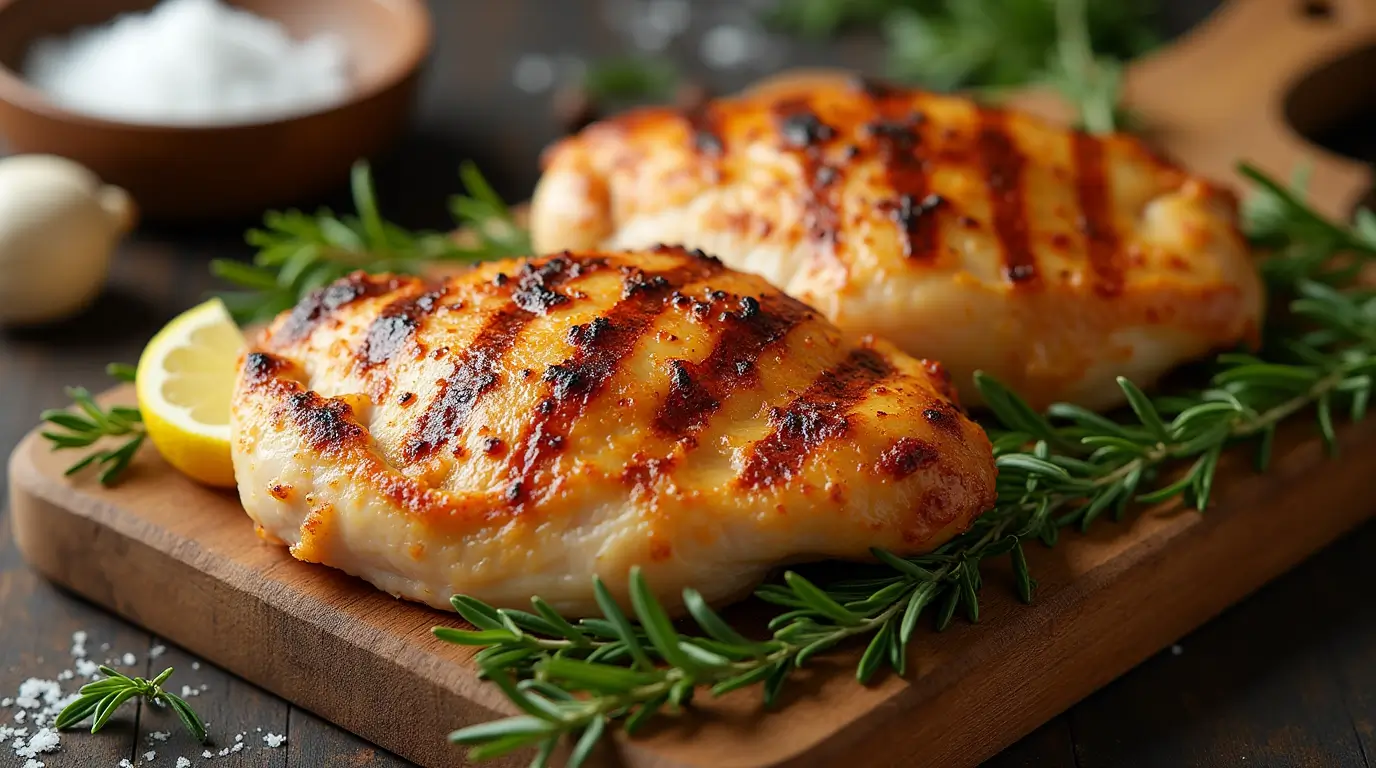
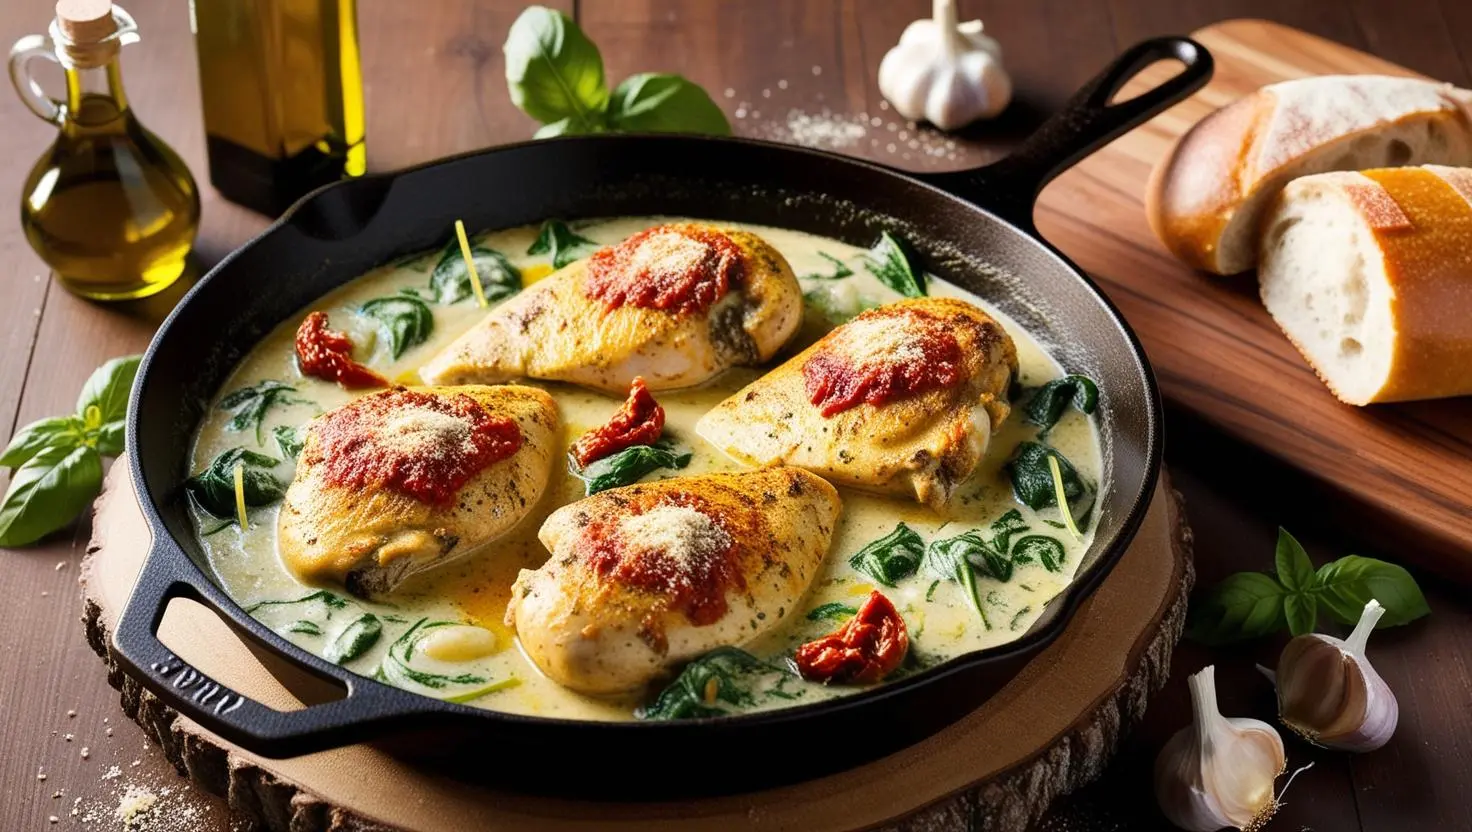
Chicken Breast Recipes
Chicken breast is great for many dishes, like salads and wraps. Try grilling it and pair it with quinoa and veggies for a healthy meal.
Lean Beef Alternatives
Lean beef, like sirloin or tenderloin, is a better choice than fatty cuts. Use it in stir-fries or on top of salads.
Fish and Seafood Recipes
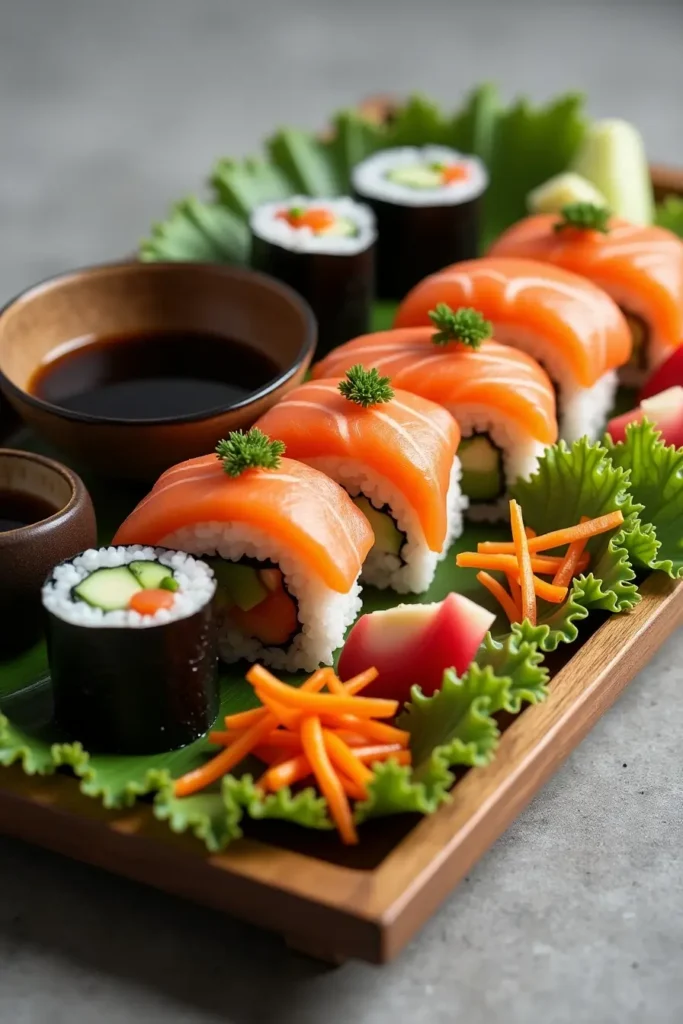
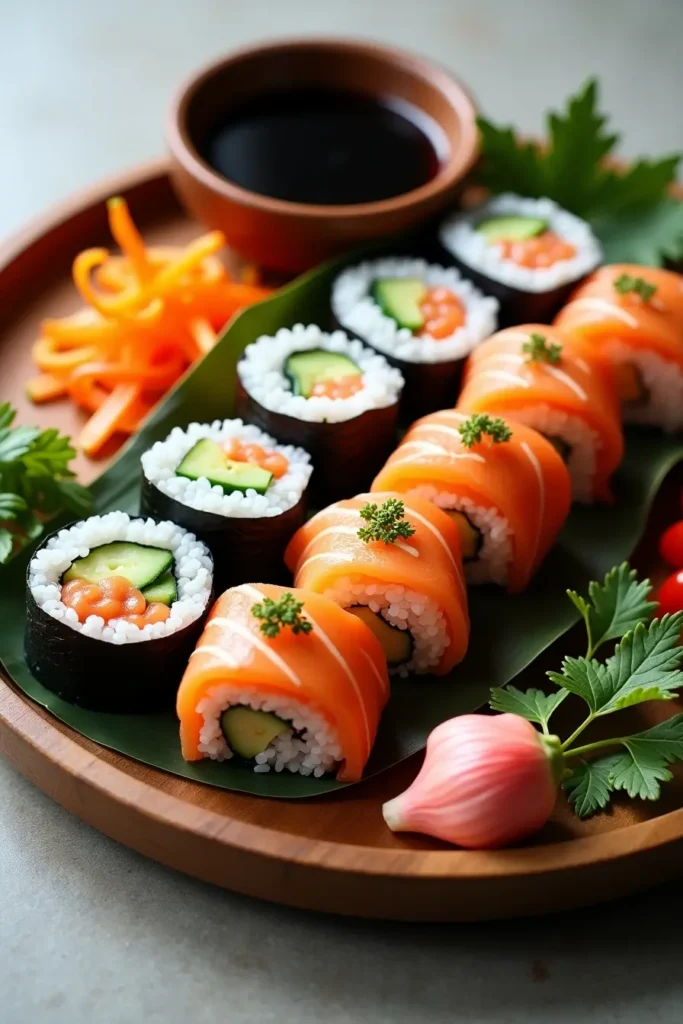
Fish and seafood are not just protein-rich but also full of omega-3s, good for your heart. Grilled salmon or a shrimp salad make for a great protein lunch.
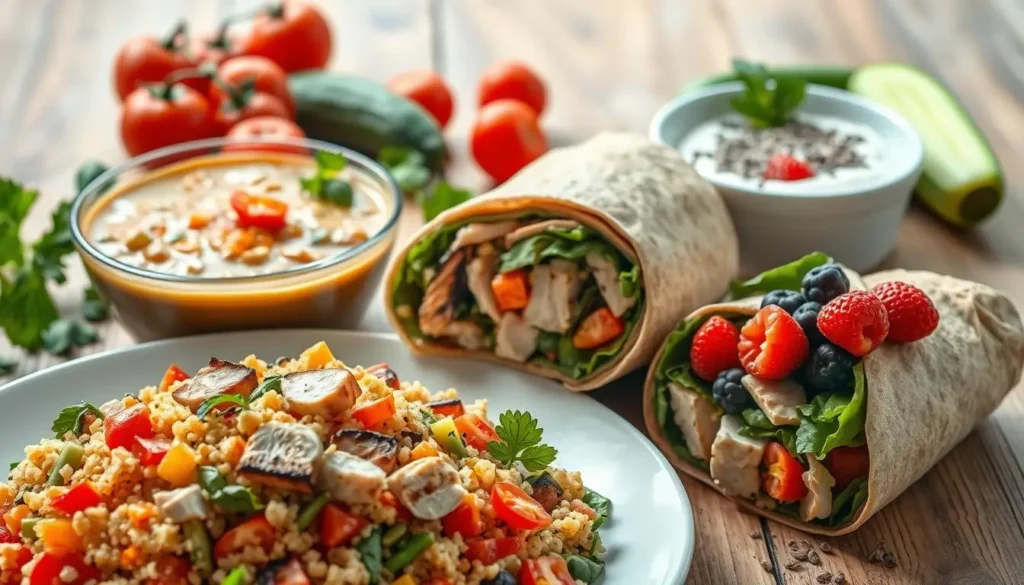
Plant-Based Protein Alternatives
Vegetarians and vegans can go for plant-based proteins like lentils, chickpeas, and tofu. They’re perfect for soups, salads, and wraps.
Adding these protein-rich, low-fat lunch ideas to your diet means you can enjoy a balanced meal. It supports your health and well-being.
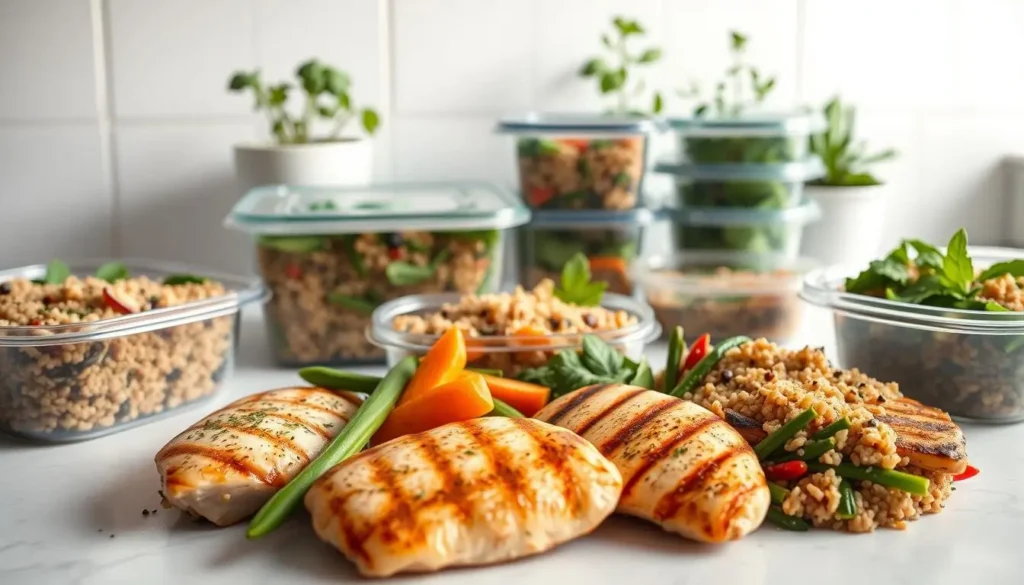
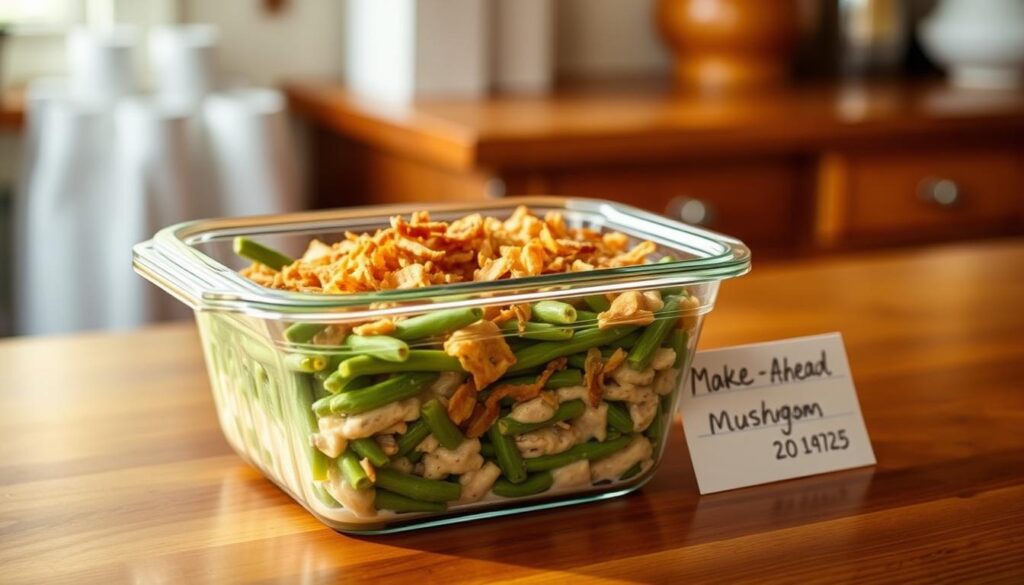
Make-Ahead Low Fat Meal Prep Strategies
Low fat meal prep strategies are key for a healthy lifestyle without too much kitchen time. Spend a few hours on the weekend to prep healthy meals. This way, you’ll have low fat meals ready all week.
Weekend Prep Routines
Starting a meal prep routine on the weekend is super helpful. It saves time and lets you plan meals that fit your diet.
Time-Saving Techniques
Use quick tips like chopping veggies in bulk and cooking proteins ahead. Assemble salads just before eating. These tricks cut down meal prep time a lot.
Grocery Shopping Lists
Having a good grocery list is key for meal prep. Include lean proteins, whole grains, and lots of veggies. Organize your list by category for easier shopping.
Batch Cooking Techniques
Batch cooking means making big batches of meals that can be reheated all week. It’s great for low fat meals like soups and casseroles.
Storage and Reheating Tips
Right storage and reheating are crucial for keeping meals safe and tasty. Use airtight containers and label them. Reheat to a safe temperature to avoid illness.
These make-ahead strategies make healthy meals easy without daily cooking stress. Meal prep is great for busy people or health lovers aiming for their diet goals.
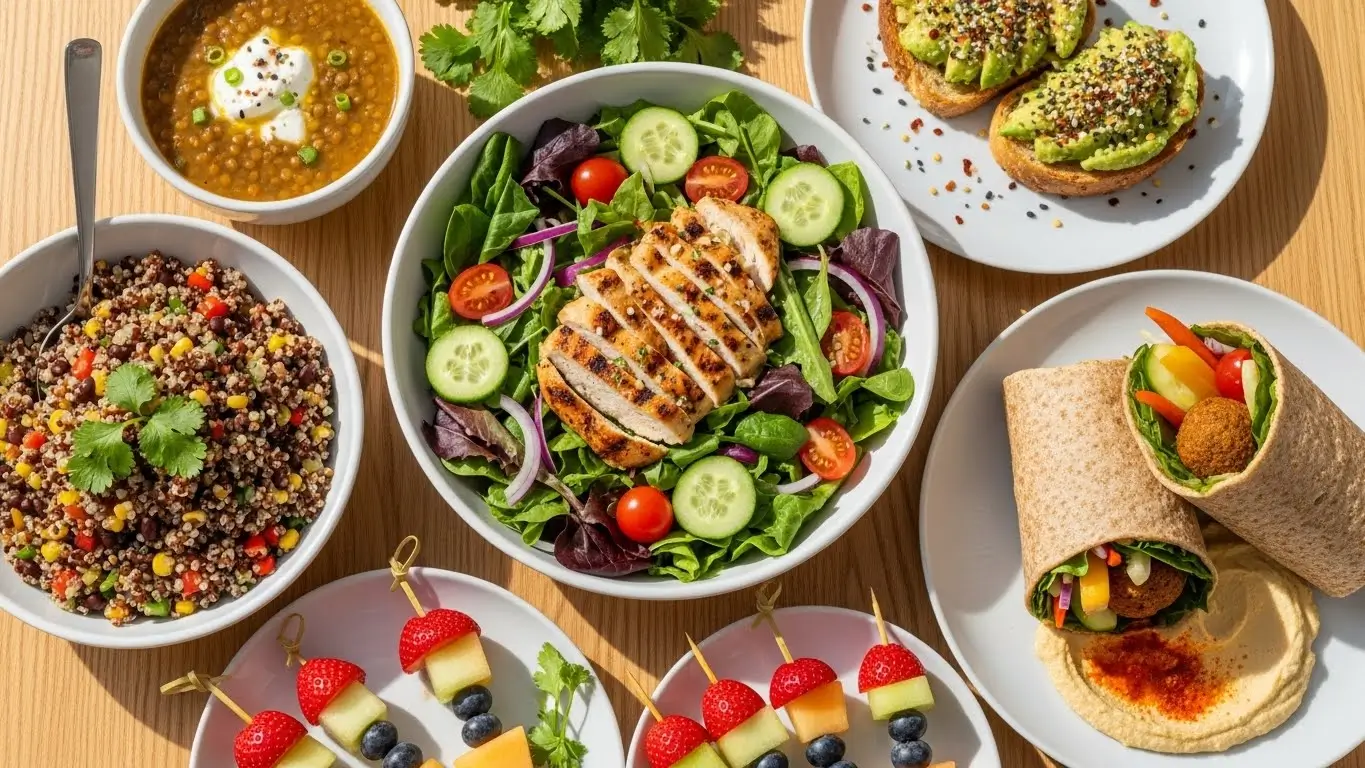
Low Calorie Lunch Ideas Under 300 Calories
Low-calorie lunches are more than just cutting calories. They’re about nourishing your body with the right foods. A balanced lunch boosts your energy and supports your health.
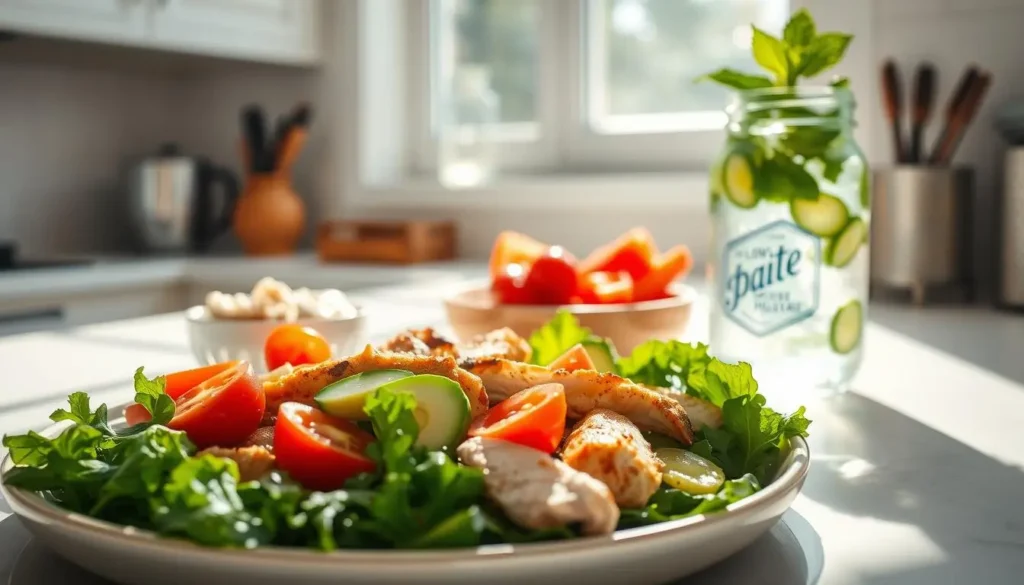
Satisfying Salad Combinations
Salads are perfect for a lunch under 300 calories. They’re filling and tasty. The trick is to mix different ingredients for variety.
Greek Yogurt Dressing Alternatives
Using Greek yogurt in salad dressings adds protein and creaminess. Mix it with herbs and lemon juice for a zesty dressing.
Adding Volume with Low-Calorie Vegetables
Vegetables like cucumbers, bell peppers, and carrots are low in calories. They’re also full of fiber and water, making them very filling.
Light Soup and Sandwich Pairings
Pairing a light soup with a small sandwich makes a filling lunch under 300 calories. Choose soups that are broth-based, not creamy.
Nutrient-Dense Low Calorie Options
Choosing nutrient-dense foods is key for a healthy lunch. Foods high in fiber, protein, and healthy fats keep you full and meet your nutritional needs.
Lean proteins, whole grains, and colorful vegetables are great choices. They provide essential nutrients and help keep your weight healthy.
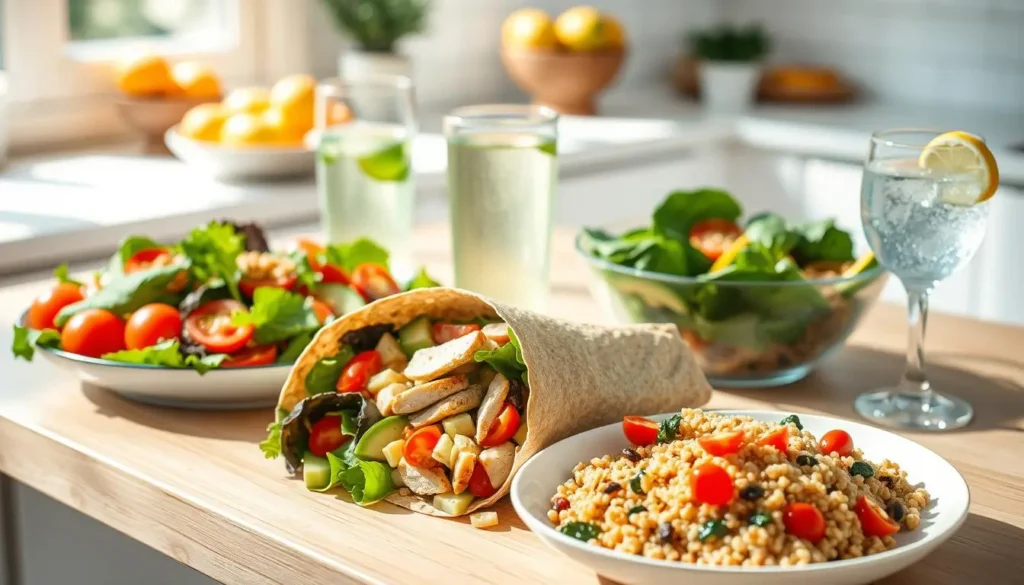
Quick and Easy Low Fat Healthy Lunch Recipes
For those with busy lives, finding quick and easy healthy lunch recipes is a big help. With the right ingredients and simple steps, you can make nutritious meals. These meals are good for your health and don’t take up too much time.
15-Minute Meal Ideas
15-minute meal ideas are perfect for when you’re in a rush. They’re great for busy days when you need a healthy lunch quickly.
Tuna and White Bean Salad
A Tuna and White Bean Salad is a quick and protein-rich option. Just mix canned tuna with white beans, onions, and lemon juice. It’s ready in no time.
Microwave Egg and Vegetable Mug
Another fast choice is a Microwave Egg and Vegetable Mug. Crack an egg into a mug, add your favorite veggies, and cook for a minute. It’s a healthy and filling meal.
No-Cook Lunch Options
No-cook lunch options are perfect for hot days or when you don’t want to cook. Salads, wraps, and cold soups are all quick and easy to make without heating up the kitchen.
Healthy Lunch Box Ideas for Work
Packing a healthy lunch box for work is a smart move. Include fruits, nuts, and lean proteins to keep your meals interesting and nutritious.
By adding these quick and easy low fat healthy lunch recipes to your daily routine, you can eat well even on the busiest days.
Conclusion: Sustaining Healthy Lunch Habits
Starting healthy eating habits is a journey. It takes commitment and creativity. By adding low fat healthy lunch recipes to your day, you keep your diet balanced and improve your health.
Making healthy habits fun and easy is key. Try new ingredients, flavors, and ways to prepare meals. This keeps your lunches interesting. Whether you’re busy or love health, the recipes and tips here can help you reach your goals.
Healthy eating boosts energy, helps with weight, and improves health. Keep finding new low fat healthy lunch recipes. Make healthy eating a lasting part of your life.
FAQ
What are some easy healthy lunch recipes that are low in fat?
Easy healthy lunches include Mediterranean Chickpea Salad, Lean Turkey Wrap with Avocado, and Quinoa Power Bowl. These meals are tasty, nutritious, and quick to make.
How can I make my lunches more nutritious and low in fat?
To make lunches healthier, balance macronutrients and add fiber-rich foods. Choose quality ingredients. Meal prep can also save time.
What are some protein-rich vegetarian low fat lunch options?
Protein-rich vegetarian lunches include Lentil and Vegetable Salad, Tofu Stir-Fry with Brown Rice, and Hearty Bean and Vegetable Soups. These meals are protein-rich and full of fiber and nutrients.
Can I prepare low fat healthy lunches in advance?
Yes, you can prep healthy lunches in advance. Use weekend prep, batch cooking, and storage tips. This saves time and ensures healthy meals are ready.
What are some low calorie lunch ideas under 300 calories?
Low calorie lunches under 300 calories include satisfying salads, light soups with sandwiches, and Greek yogurt with fruit and nuts. Greek yogurt dressing and adding veggies can also help.
How can I make healthy lunches for work?
For work lunches, prepare no-cook meals, healthy lunch boxes, and use meal prep containers. Include fruits, veggies, whole grains, and lean proteins for a balanced meal.
What are some quick and easy low fat healthy lunch recipes?
Quick and easy lunches include Tuna and White Bean Salad and Microwave Egg and Vegetable Mug. These are great for busy days when you need a fast, healthy meal.