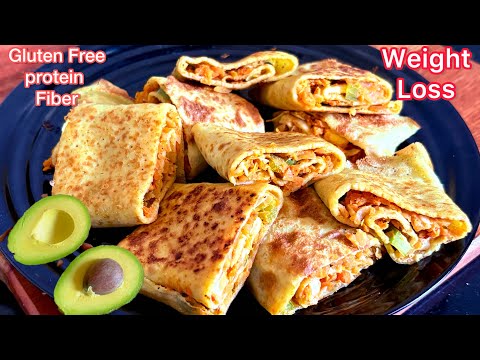
Eating delicious and nutritious meals is crucial for achieving your weight loss goals. A well-balanced diet not only helps you shed pounds but also improves your overall health and wellbeing. Incorporating Weight Loss Recipes can enhance your meal planning and support your journey.
Imagine savoring wholesome cooking ideas that are both tasty and good for you. With the right nutritious diet plans, you can enjoy flavorful meals while working towards a healthier you.


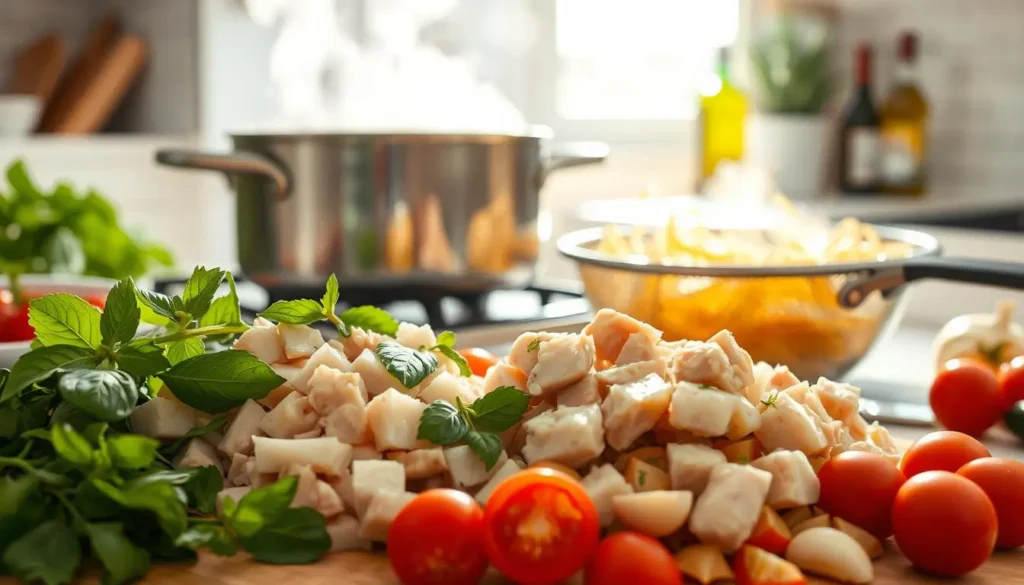
Our collection of recipes is designed to make mealtime enjoyable and stress-free. We’ve carefully curated a selection of dishes that are not only mouth-watering but also packed with nutrients.
The Science Behind Healthy Eating for Weight Loss
Understanding the science behind healthy eating is crucial for effective weight loss. It’s not just about cutting calories or following the latest diet trend; it’s about making informed choices that nourish your body while promoting a healthy weight.
Caloric Deficit: The Foundation of Weight Loss
A caloric deficit occurs when you consume fewer calories than your body burns, resulting in weight loss. This can be achieved through a combination of reducing your daily caloric intake and increasing your physical activity. For instance, incorporating Weight Loss Recipes and low calorie meal ideas into your diet can help create this deficit without sacrificing nutrition.
Nutrient Density vs. Empty Calories
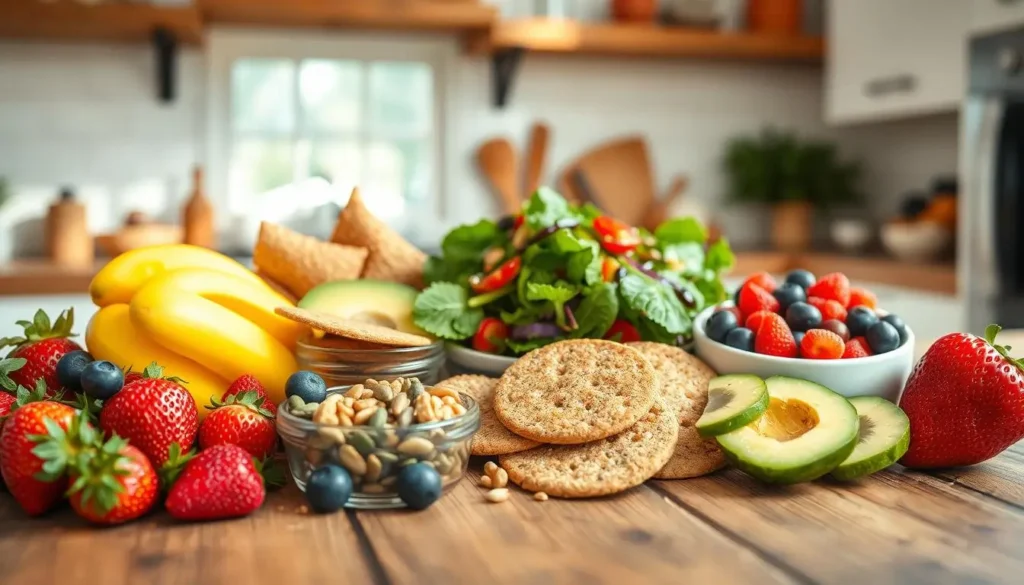
Not all calories are created equal. Nutrient-dense foods provide vitamins, minerals, and other beneficial compounds, whereas empty calories offer little to no nutritional value. Choosing clean eating dishes rich in nutrients over empty calories is vital for overall health and successful weight loss.
| Nutrient-Dense Foods | Empty Calorie Foods |
|---|---|
| Leafy greens | Sugary drinks |
| Berries | Processed snacks |
| Nuts and seeds | Fast food |
As the table illustrates, making informed choices about the foods you eat can significantly impact your weight loss journey. By focusing on nutrient-dense foods and avoiding empty calories, you can achieve a healthier, more sustainable weight loss.
“The food you eat can either be the safest and most powerful form of medicine, or the slowest form of poison.”
Ann Wigmore
Essential Nutrients for Effective Weight Management
Achieving effective weight management requires a comprehensive approach that includes understanding the role of essential nutrients. A diet rich in the right nutrients not only supports weight loss but also enhances overall health.
Protein: Your Weight Loss Ally
Protein is a crucial nutrient for weight loss. It helps build and repair muscles, making it an essential component of easy weight loss meals. Foods high in protein include lean meats, fish, eggs, and legumes.
Fiber: Keeping You Fuller Longer
Fiber is another key nutrient that aids in weight management by promoting satiety and reducing cravings. Incorporating Weight Loss Recipes that are high in fiber, such as those featuring whole grains, fruits, and vegetables, can be particularly effective.
Healthy Fats: Not All Fats Are Created Equal
Healthy fats, found in foods like avocados, nuts, and olive oil, are vital for overall health and can support weight loss efforts by providing a feeling of fullness and satisfaction.
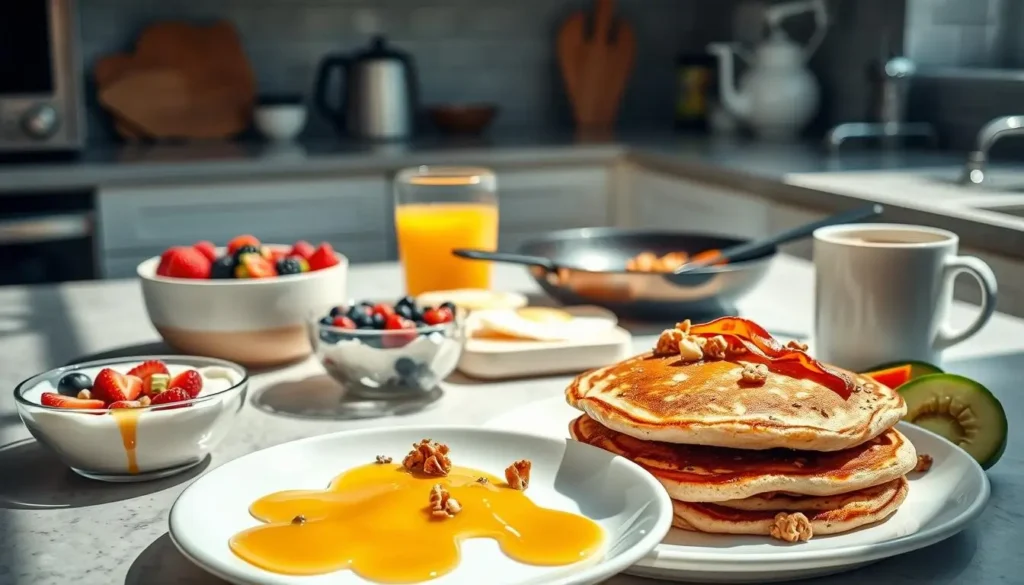
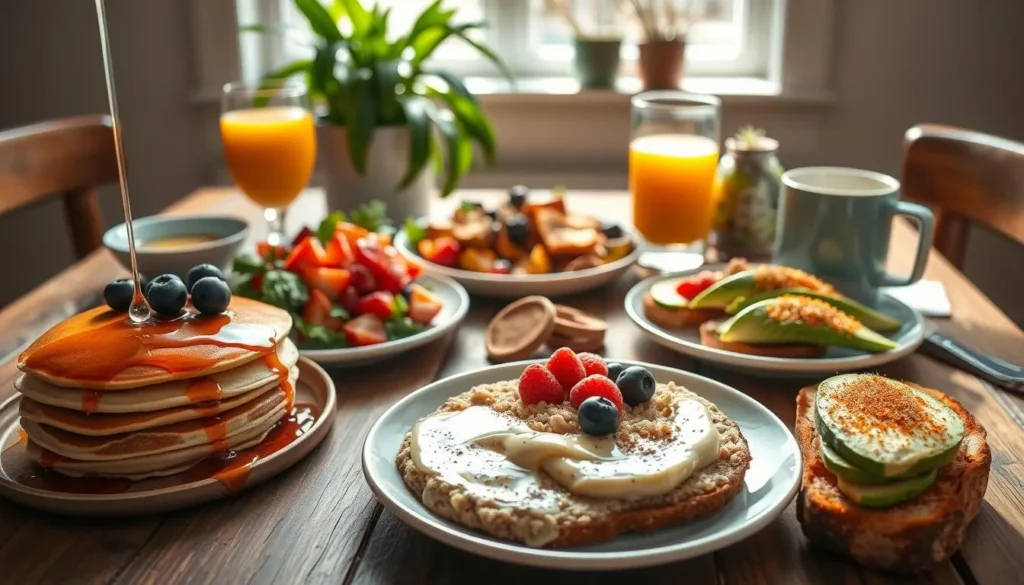
Breakfast Recipes to Kickstart Your Metabolism
Starting your day with a nutritious breakfast is crucial for kickstarting your metabolism. A well-balanced breakfast helps in boosting your energy levels and supports your weight loss efforts.
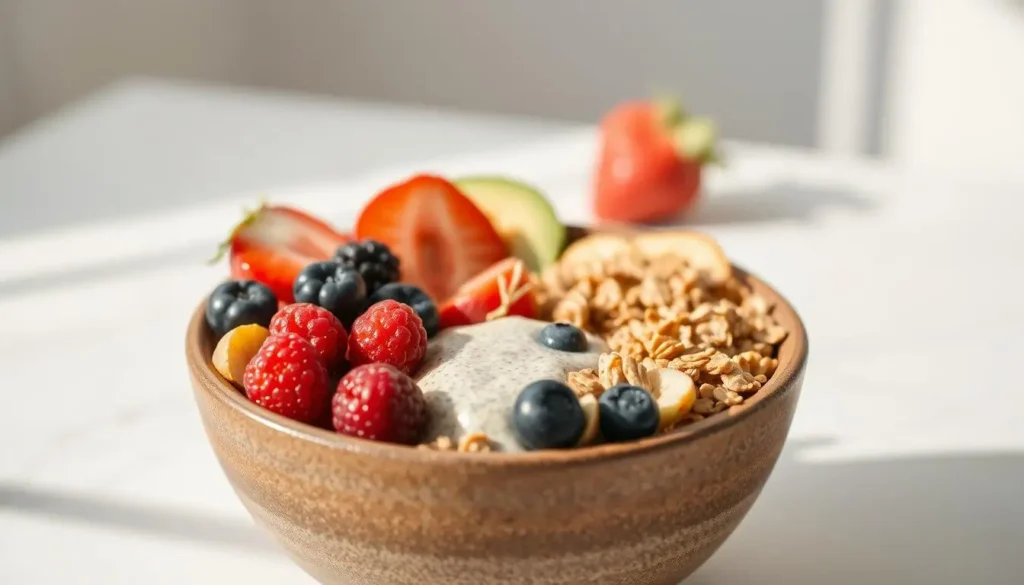
Protein-Packed Breakfast Bowls
Protein-packed breakfast bowls are an excellent way to start your day. They are not only filling but also provide the necessary protein to build and repair muscles.
Greek Yogurt Parfait with Berries and Nuts
A Greek yogurt parfait with berries and nuts is a delicious and healthy breakfast option. Layer Greek yogurt with fresh berries and top with chopped nuts for a protein-rich breakfast that keeps you full until lunchtime.
Savory Egg Muffins with Vegetables
Savory egg muffins with vegetables are a great make-ahead breakfast option. Whisk eggs with salt and pepper, add diced vegetables, pour into muffin tins, and bake until set.
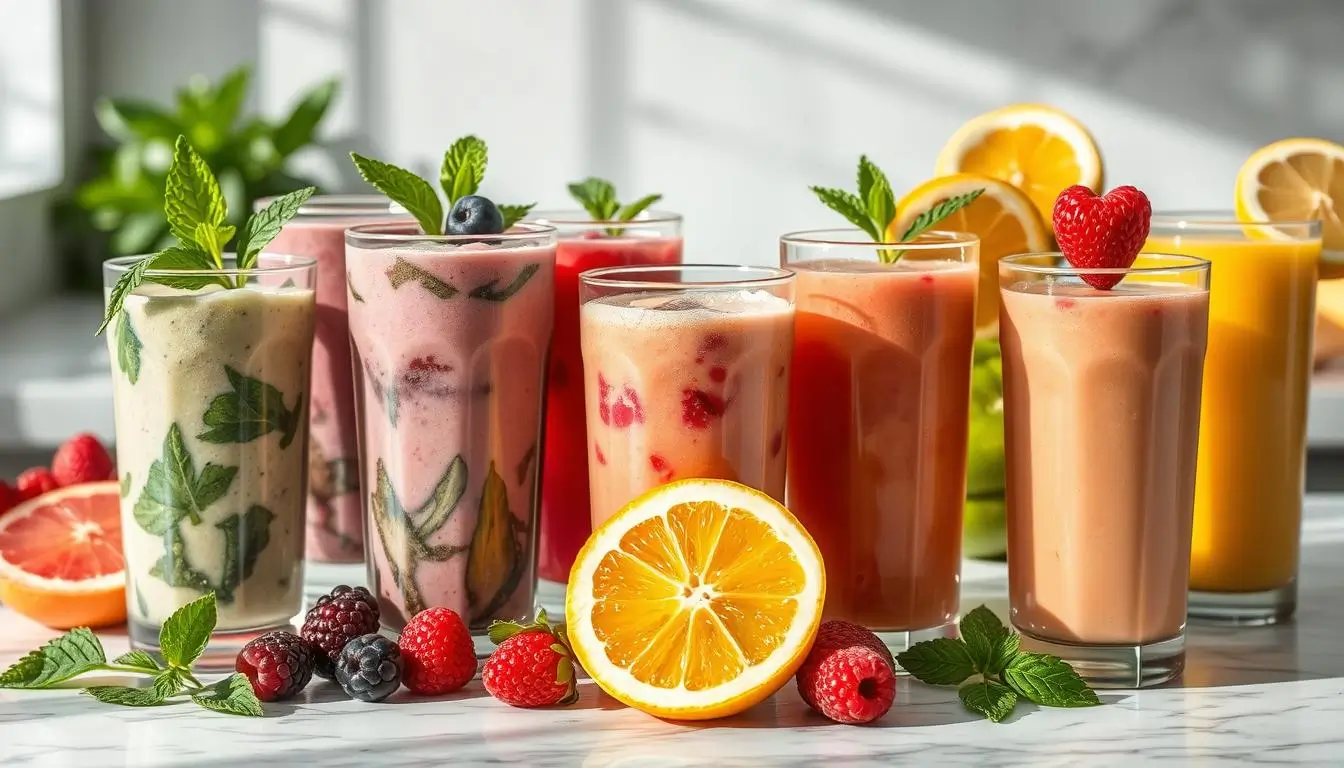
Quick Smoothie Recipes Under 300 Calories
For those in a hurry, quick smoothie recipes under 300 calories are an ideal breakfast solution. Blend your favorite fruits with Greek yogurt or milk, add a handful of spinach for an extra nutritional boost, and enjoy a quick healthy meal on-the-go.
Healthy Oatmeal Variations
Oatmeal is a versatile breakfast option that can be customized to suit any taste. Try adding different fruits, nuts, or spices to create healthy weight loss recipes that are both satisfying and delicious.
Satisfying Lunch Ideas That Won’t Derail Your Diet
Finding healthy lunch options that are both satisfying and diet-friendly can be challenging, but there are several delicious solutions. The key is to focus on nutrient-dense foods that are low in calories but high in flavor and satiety.
Mason Jar Salads for Busy Weekdays
Mason jar salads are a convenient and healthy lunch option. Layering ingredients like greens, vegetables, lean proteins, and healthy fats in a jar creates a meal that’s both nutritious and easy to transport. Prepare your salad the night before to save time in the morning.
Hearty Soups Under 400 Calories
Soups can be a very satisfying lunch option, especially when they’re packed with vegetables and lean protein. Here are a couple of recipes to try:
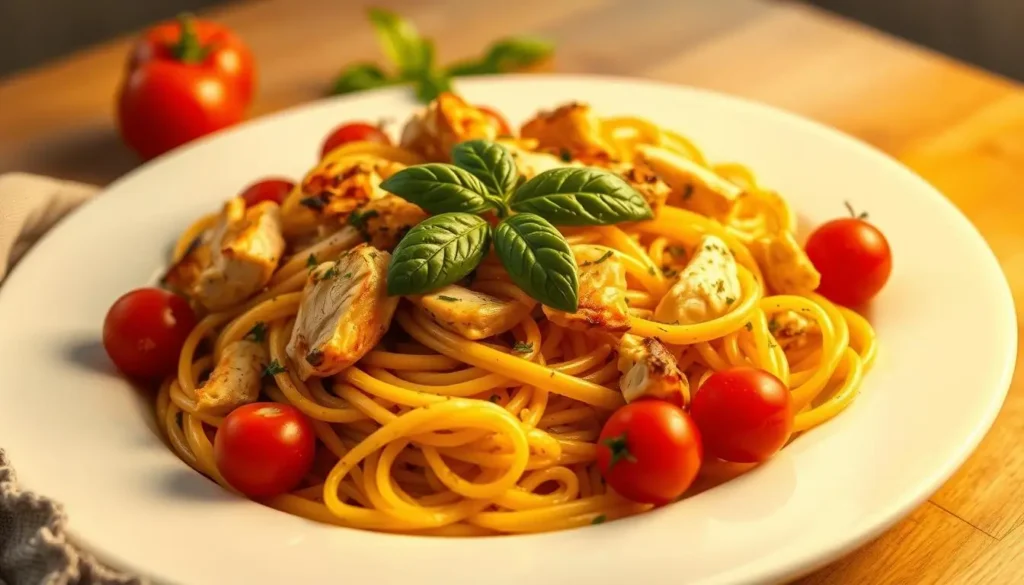
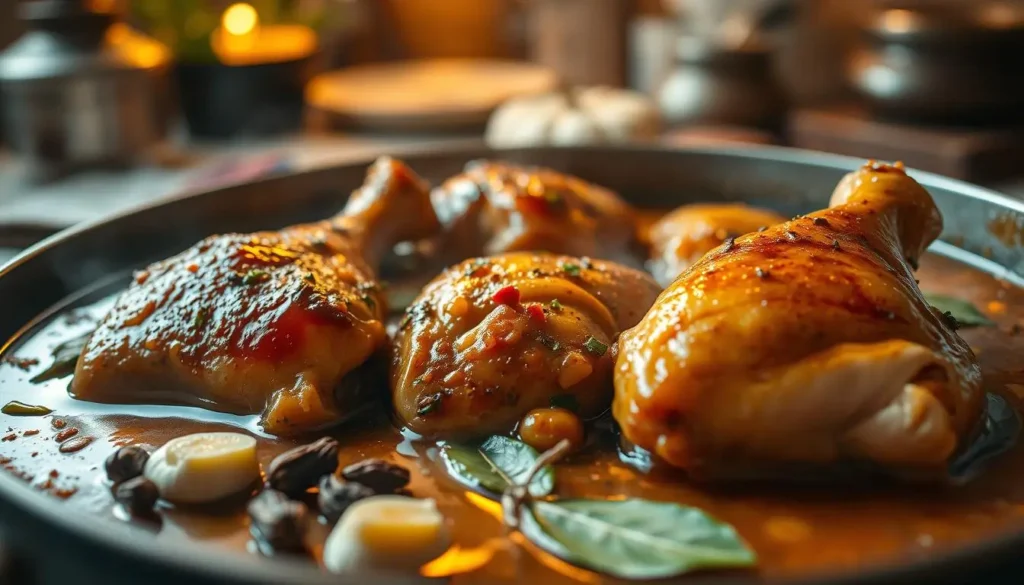
Chicken and Vegetable Soup
This classic soup is a staple for a reason. With lean chicken, a variety of vegetables, and a clear broth, it’s a low-calorie option that’s full of flavor.
Lentil and Kale Soup
Lentils are a great source of protein and fiber, making this soup very filling. Paired with kale, it’s a nutrient-dense option that’s under 400 calories.
| Soup | Calories | Protein |
|---|---|---|
| Chicken and Vegetable | 320 | 35g |
| Lentil and Kale | 380 | 18g |
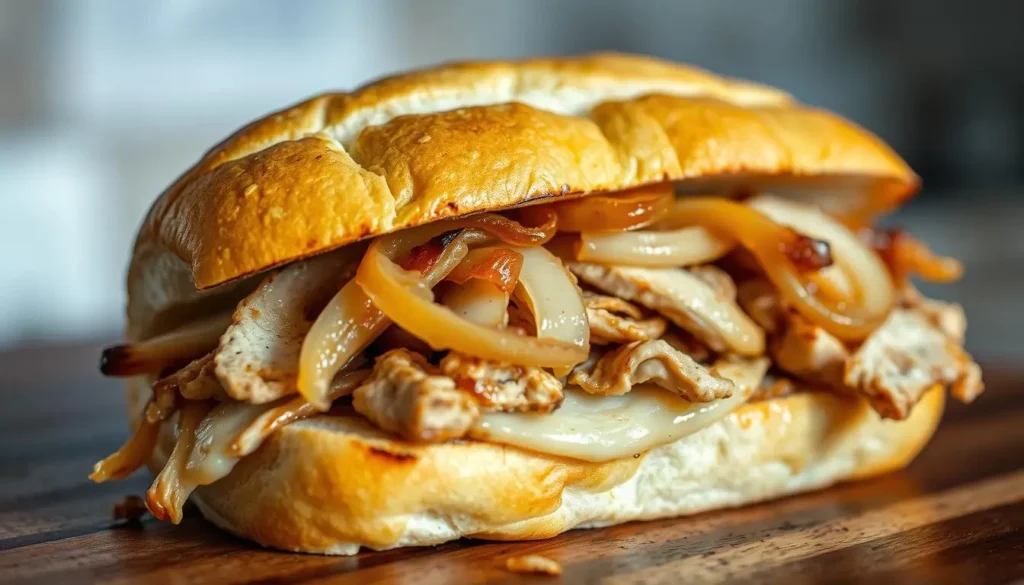
Protein-Rich Wraps and Sandwiches
Wraps and sandwiches are another convenient lunch option. Using whole grain wraps or bread and filling them with lean proteins, vegetables, and healthy fats can create a satisfying meal that’s easy to take on the go.
By incorporating these ideas into your lunch routine, you can enjoy low calorie meal ideas that support your diet goals without sacrificing flavor or satisfaction.
Healthy Weight Loss Recipes for Dinner
Healthy dinner recipes are crucial for weight loss, offering a balance of nutrients without sacrificing flavor. Preparing dinner can be straightforward and enjoyable with the right recipes.
Sheet Pan Dinners: Minimal Effort, Maximum Nutrition
Sheet pan dinners are a great way to cook a complete meal with minimal cleanup. Simply arrange your protein and vegetables on a baking sheet, season, and roast. This method helps retain the nutrients in your food and allows for a variety of slimming recipes.
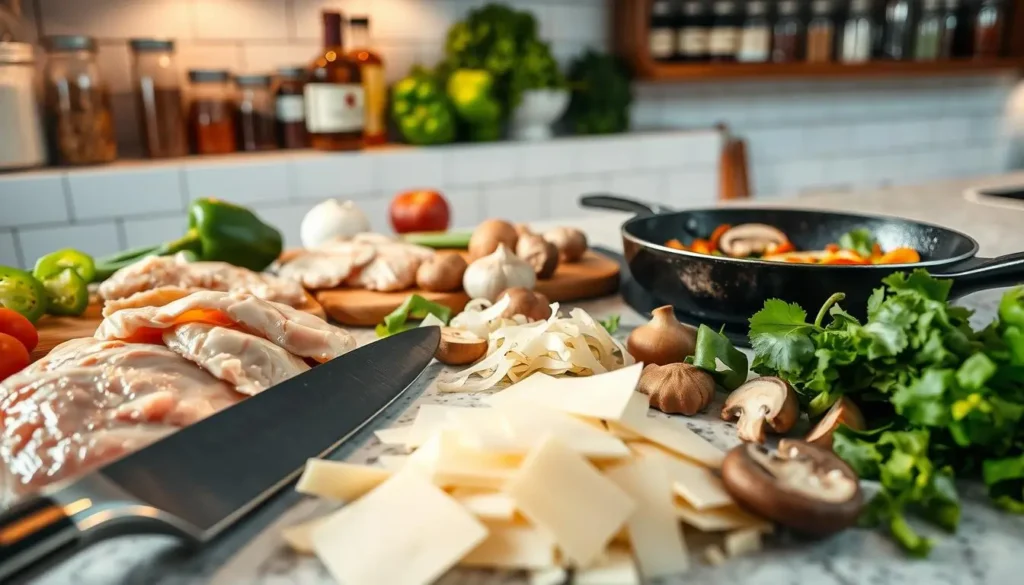
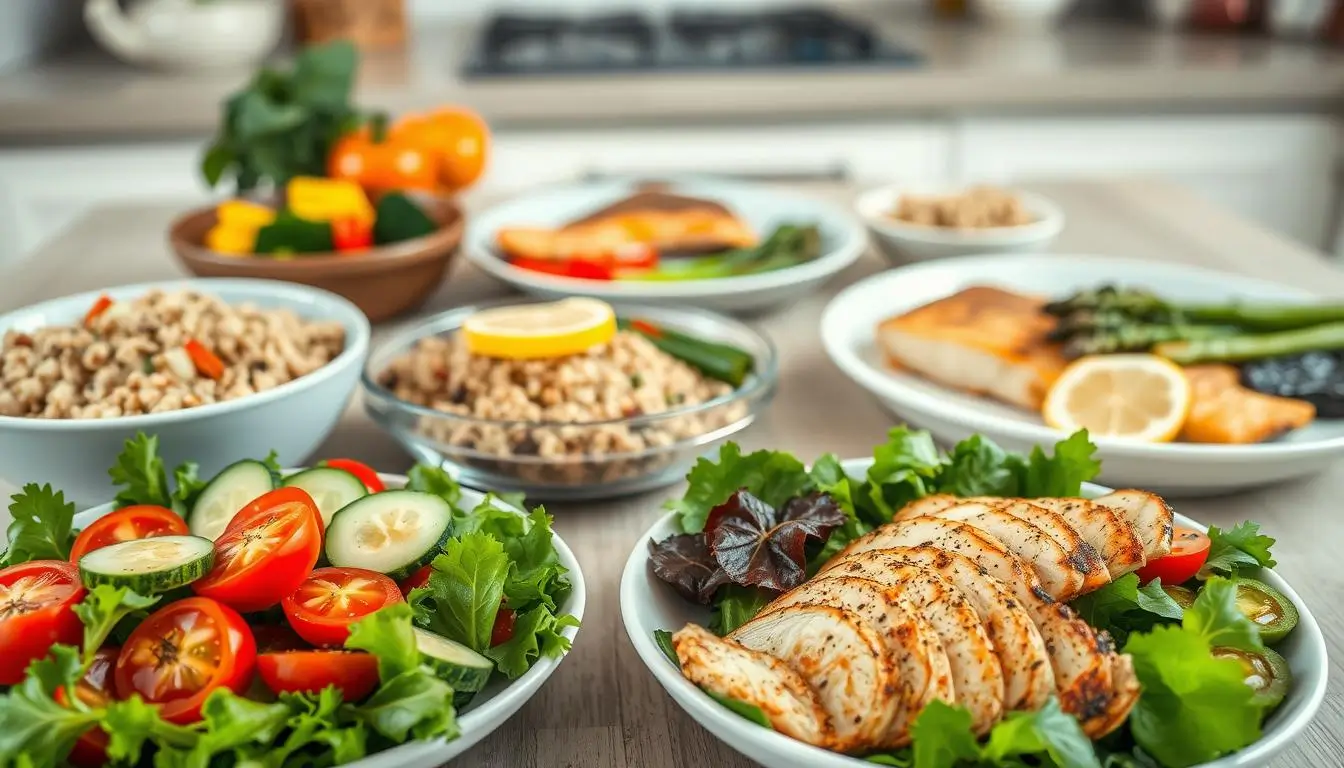
Lean Protein and Vegetable Combinations
Combining lean protein with a variety of vegetables is a cornerstone of wholesome cooking ideas. Not only do these combinations provide essential nutrients, but they also help keep you full and satisfied.
Grilled Salmon with Roasted Asparagus
Grilled salmon paired with roasted asparagus makes for a delicious and healthy dinner. Salmon is rich in omega-3 fatty acids, while asparagus is a good source of fiber and vitamins.
Turkey Meatballs with Zucchini Noodles
For a twist on traditional pasta, try turkey meatballs served with zucchini noodles. This dish is low in carbs and rich in protein, making it an excellent option for those looking to lose weight.
Healthy Comfort Food Makeovers
Comfort food doesn’t have to be unhealthy. By making a few simple substitutions, you can enjoy your favorite comfort foods while still working towards your weight loss goals. Think baked sweet potato fries instead of regular fries, or cauliflower mac and cheese.
By incorporating these healthy dinner recipes into your routine, you can enjoy delicious meals while staying on track with your weight loss objectives.
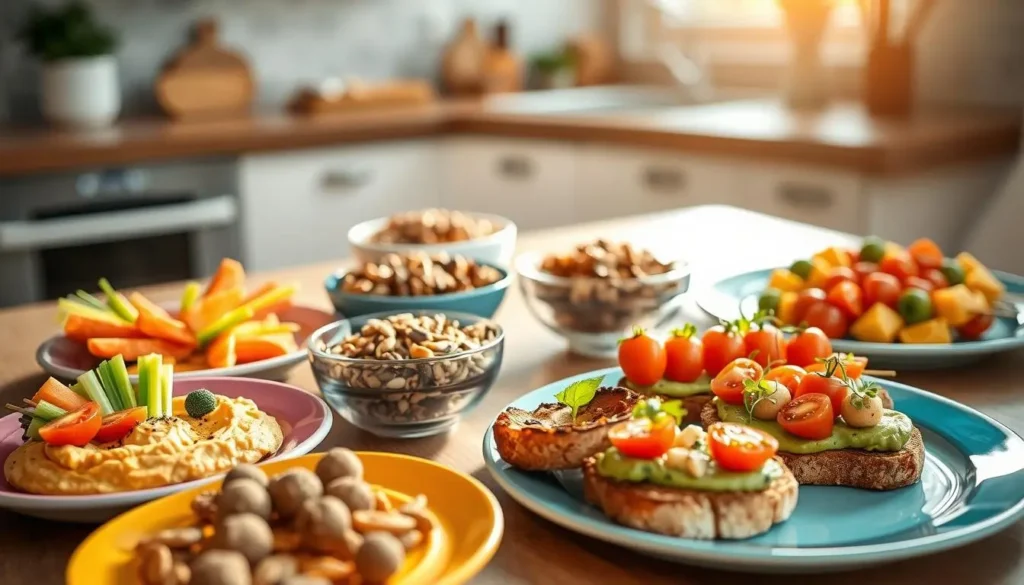
Smart Snacking for Weight Loss Success
Healthy snacking is a vital component of a successful weight loss plan, providing essential nutrients and satiety. By choosing the right snacks, you can curb hunger, maintain energy levels, and support your overall weight loss journey.
Protein-Rich Snacks Under 200 Calories
Protein-rich snacks are excellent for weight loss as they help build and repair muscles. Some options under 200 calories include Greek yogurt with nuts, hard-boiled eggs, and cottage cheese with fruit. These snacks are not only high in protein but also provide a feeling of fullness that lasts.
Fiber-Filled Options to Beat Cravings
Fiber-filled snacks are another great option for weight loss. They help keep you full and satisfied, reducing the likelihood of overeating. Examples include raw vegetables with hummus, apple slices with almond butter, and whole-grain crackers with avocado. Fiber-rich foods also support healthy digestion and bowel function.
“The key to successful weight loss is not just about cutting calories, but also about nourishing your body with the right foods.”
Sweet Treats That Won’t Sabotage Your Progress
Who says you can’t have sweet treats on a weight loss diet? There are plenty of options that are both delicious and diet-friendly. For instance:
- Dark Chocolate Covered Strawberries: A classic treat that’s easy to make and rich in antioxidants.
- Baked Apple with Cinnamon: A warm, comforting dessert that’s low in calories and high in fiber.
Dark Chocolate Covered Strawberries
To make dark chocolate covered strawberries, simply melt some dark chocolate, dip fresh strawberries into it, and let them cool. This treat is not only delicious but also packed with antioxidants and fiber.
Baked Apple with Cinnamon
Baked apples are a great dessert option for those watching their weight. Simply core some apples, fill them with cinnamon, and bake until tender. This snack is low in calories and high in fiber, making it very satisfying.
| Snack Option | Calories | Nutritional Benefits |
|---|---|---|
| Greek Yogurt with Nuts | 150 | High in Protein, Calcium |
| Apple Slices with Almond Butter | 120 | Rich in Fiber, Healthy Fats |
| Dark Chocolate Covered Strawberries | 100 | Antioxidants, Fiber |
By incorporating these smart snacking options into your diet, you can support your weight loss goals and maintain overall health. Remember, the key is to choose snacks that are nutrient-dense and low in empty calories.
Low-Carb Recipe Options for Faster Results
For those seeking to accelerate their weight loss journey, incorporating low-carb recipes can be a highly effective strategy. Low-carb diets focus on reducing the intake of carbohydrates, such as those found in sugary foods, pasta, and bread, and instead emphasize foods high in protein and fat.
This dietary approach not only aids in weight loss but also helps in maintaining stable energy levels throughout the day. By choosing the right low-carb recipes, individuals can enjoy a variety of delicious meals while staying on track with their weight loss goals.
Cauliflower Rice Dishes
Cauliflower rice has become a staple in low-carb cooking, offering a versatile and nutritious alternative to traditional rice. It’s easy to make by pulsing cauliflower florets in a food processor until they resemble rice.
Some popular cauliflower rice dishes include:
- Cauliflower Fried Rice with Shrimp
- Cauliflower Rice Pilaf with Roasted Vegetables
- Cauliflower Rice Bowl with Grilled Chicken
Zucchini Noodle Creations
Zucchini noodles, or “zoodles,” are another low-carb favorite, providing a great substitute for traditional pasta. They’re rich in vitamins and minerals and can be prepared in a variety of ways.
Popular zucchini noodle dishes include:
- Zucchini Noodles with Pesto Sauce and Cherry Tomatoes
- Zucchini Noodle Stir-Fry with Shrimp and Vegetables
- Zucchini Noodle Salad with Grilled Chicken and Avocado
Protein-Forward Meals with Minimal Carbs
Protein is a crucial component of a successful weight loss diet, as it helps build and repair muscle tissue. Incorporating protein-rich foods into your meals can keep you feeling fuller for longer.
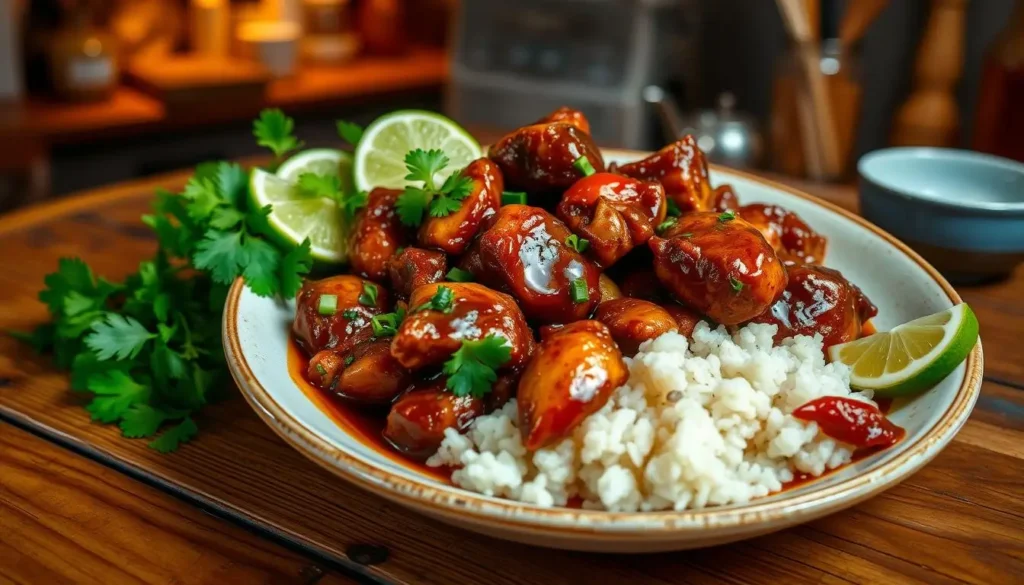
Steak and Mushroom Lettuce Wraps
A flavorful and satisfying low-carb option, steak and mushroom lettuce wraps combine grilled steak, sautéed mushrooms, and fresh lettuce leaves for a meal that’s both healthy and filling.
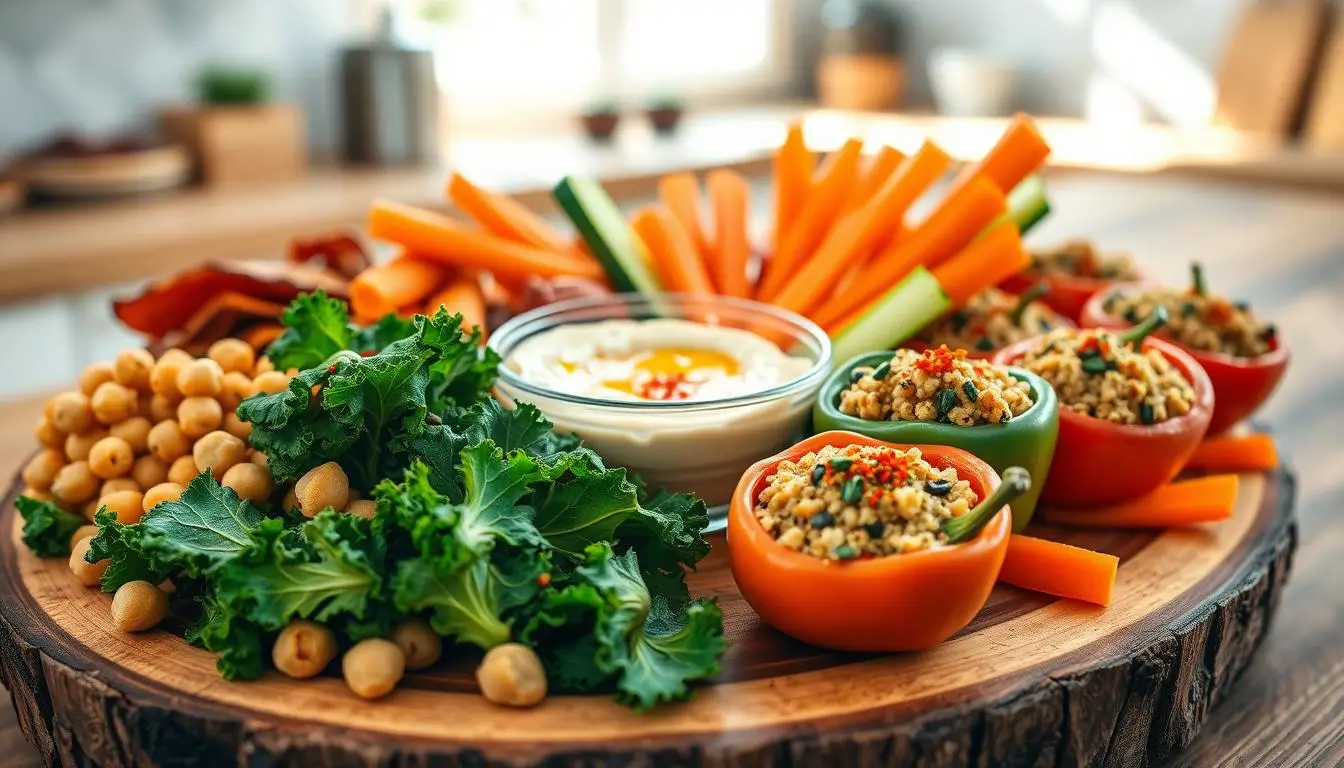
Stuffed Bell Peppers with Ground Turkey
This recipe involves filling bell peppers with a mixture of ground turkey, vegetables, and spices, then baking until tender. It’s a nutritious and filling meal that’s perfect for a weeknight dinner.
| Recipe | Carb Count | Protein Content |
|---|---|---|
| Steak and Mushroom Lettuce Wraps | 5g | 50g |
| Stuffed Bell Peppers with Ground Turkey | 10g | 35g |
| Cauliflower Fried Rice with Shrimp | 8g | 20g |
As nutrition expert, Marion Nestle, once said, “The most important thing to know about food is that it’s not just about nutrients, it’s about the overall pattern of eating.”
“The key to a successful low-carb diet is not just cutting out carbs, but focusing on whole, nutrient-dense foods that provide the body with the necessary building blocks for optimal health.”
By incorporating these low-carb recipe options into your meal plan, you can enjoy a variety of quick healthy meals that support your weight loss goals.
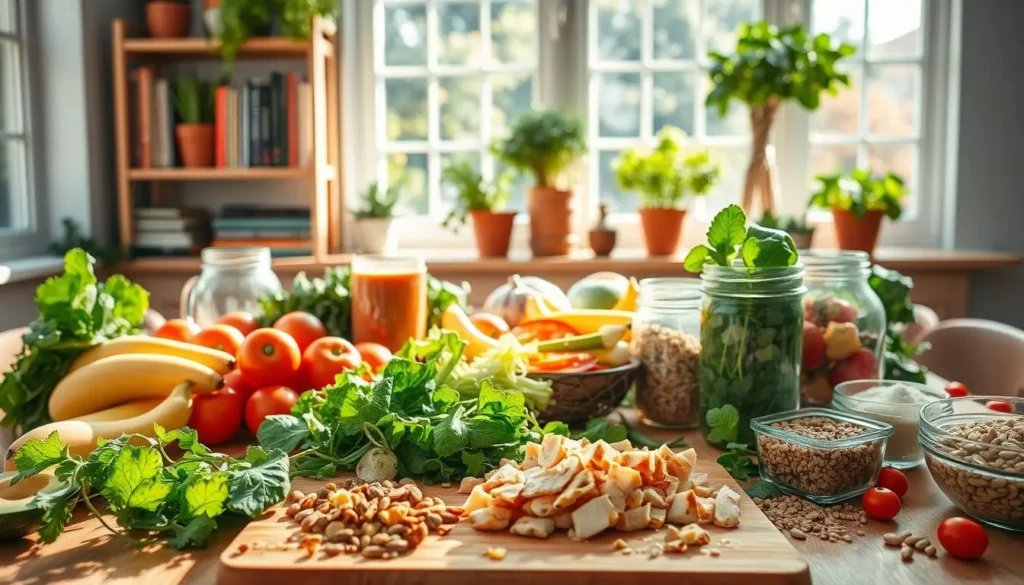
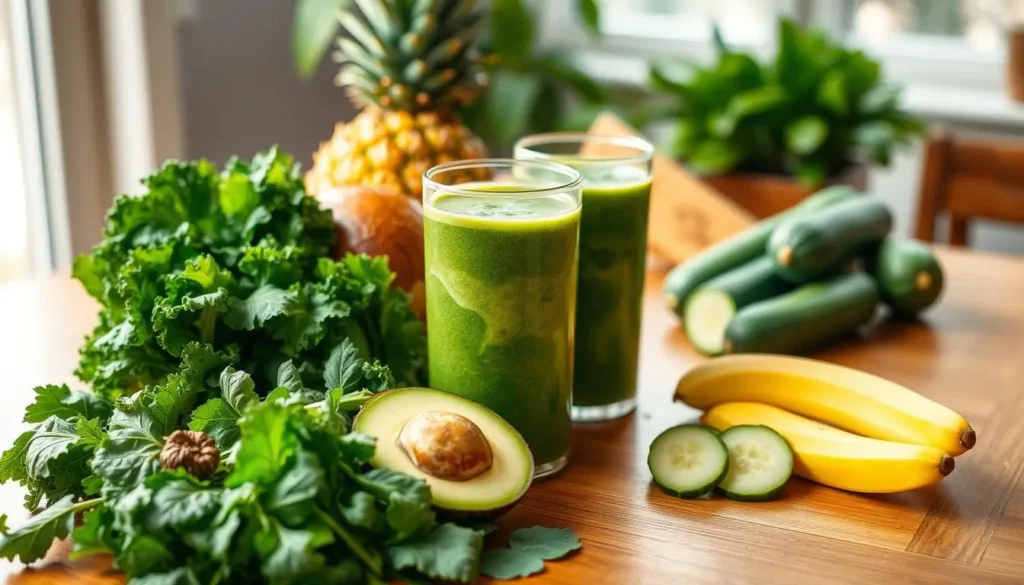
Plant-Based Weight Loss Recipes
Plant-based weight loss recipes offer a delicious and nutritious path to achieving your weight management goals. By focusing on whole, unprocessed foods, you can create meals that are not only satisfying but also conducive to weight loss.
High-Protein Vegetarian Meals
For vegetarians, incorporating high-protein foods is crucial for maintaining muscle mass during weight loss. Options like lentils, chickpeas, and tofu are excellent sources of protein. Try making a lentil soup with spinach and quinoa for a filling meal that’s under 400 calories.
Vegan Options That Keep You Satisfied
Vegans can also enjoy satisfying meals that support weight loss. Vegan stir-fries with a variety of vegetables and a protein source like tempeh or edamame can be very filling. Adding healthy fats like avocado enhances the satiety of these meals.
Nutrient-Dense Plant Bowls
Nutrient-dense plant bowls are a great way to pack a variety of nutrients into one meal. Two examples include:
Southwest Quinoa Bowl
This bowl combines cooked quinoa with black beans, roasted vegetables, diced tomatoes, and a drizzle of a citrus-based dressing. It’s a flavorful and filling option that’s rich in fiber and protein.
Mediterranean Chickpea Bowl
Featuring chickpeas, mixed greens, sliced cucumbers, cherry tomatoes, and a dollop of tzatziki sauce, this bowl is not only delicious but also packed with nutrients. It’s an excellent example of a clean eating dish that supports weight loss.
By incorporating these plant-based weight loss recipes into your diet, you can enjoy a variety of flavors while working towards your weight loss goals. These meals are designed to be nutritious, filling, and conducive to a healthy weight loss journey.
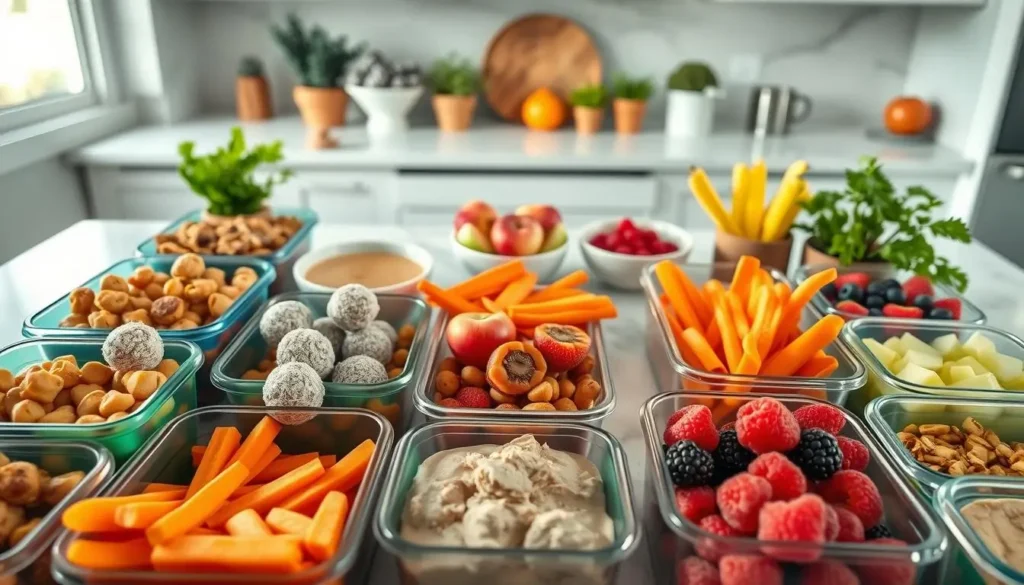
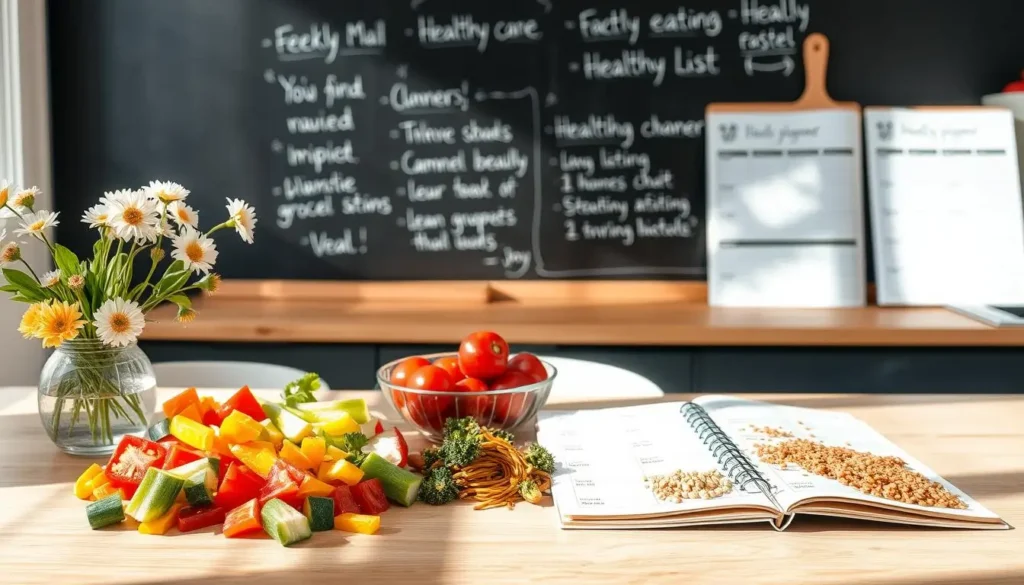
Meal Prep Strategies for Consistent Weight Loss
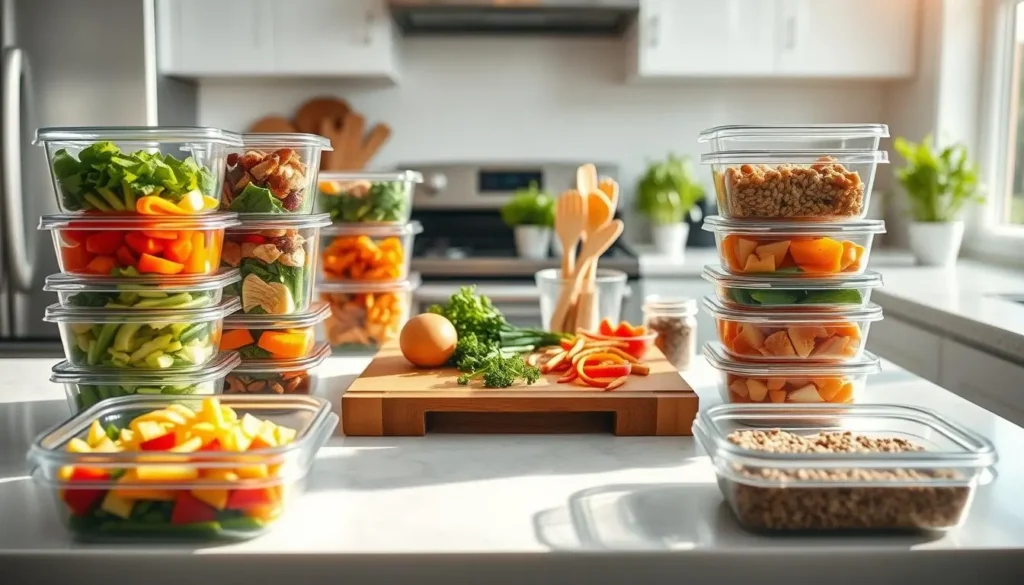
Effective meal prep is the cornerstone of consistent weight loss, allowing you to stay on track with your healthy eating goals. By preparing your meals in advance, you can ensure that you’re fueling your body with nutritious food, even on the busiest days.
Weekend Prep for Weekday Success
Dedicate a few hours on the weekend to prepare your meals for the week ahead. This can include cooking proteins, roasting vegetables, and assembling salads or meal containers. Having a plan in place makes it easier to stick to your easy weight loss meals plan.
- Plan your meals for the week
- Make a grocery list based on your meal plan
- Shop for ingredients on the weekend
- Prep and cook meals in bulk
Batch Cooking Fundamentals
Batch cooking involves preparing large quantities of a single ingredient or meal, which can then be portioned out for future meals. This technique is a cornerstone of wholesome cooking ideas and can save you time during the week.
- Cook a large batch of grains like brown rice or quinoa
- Roast a big batch of vegetables
- Grill or bake proteins in bulk
Storage Tips for Maximum Freshness
Proper storage is crucial to maintaining the freshness and safety of your prepped meals. Use airtight containers to keep food fresh and label them with the date they were prepared.
Best Containers for Different Food Types
Different foods require different types of containers. For example, glass containers are great for storing soups and sauces, while BPA-free plastic containers are suitable for salads and meal prep.
Most prepped meals can be safely stored in the refrigerator for 3 to 5 days. If you won’t be using a meal within that timeframe, consider freezing it. Frozen meals can be just as nutritious and delicious as fresh ones.
Quick 15-Minute Healthy Meals
Preparing nutritious meals doesn’t have to be time-consuming. With a few simple strategies, you can create quick healthy meals that fit into your busy schedule.
No-Cook Options for Busy Days
No-cook meals are a lifesaver on busy days. Consider preparing overnight oats, salads with canned proteins, or fruit and yogurt parfaits. These meals are not only quick but also packed with nutrients.
Simple Cooking Techniques for Fast Results
When you do have a few minutes to cook, simple techniques like grilling, sautéing, or steaming can produce healthy meals quickly. For example, grilling chicken or fish with a side of steamed vegetables is a nutritious and fast option.
Pantry Staples for Last-Minute Meals
Having the right pantry staples can make all the difference. Keep canned beans, tuna, and tomatoes on hand, along with frozen vegetables and whole grains.
Canned Proteins That Work
Canned tuna, salmon, and chicken are excellent sources of protein that can be used in salads or as part of a quick meal.
Frozen Vegetables Worth Stocking
Frozen vegetables like broccoli, spinach, and bell peppers are nutritious and can be steamed or sautéed in minutes.
By incorporating these strategies into your daily routine, you can enjoy nutritious diet plans without spending hours in the kitchen.
Flavor Boosters That Won’t Add Calories
Transform your healthy eating plan with these innovative ways to add flavor without the extra calories. When it comes to slimming recipes, the key is not just about reducing calories, but also about making meals enjoyable and satisfying.
Herbs and Spices for Weight Loss
Herbs and spices are not only flavor enhancers but also come with their own set of health benefits. They can add depth and variety to your low-calorie meal ideas without the need for extra salt or sugar.
Metabolism-Boosting Spices
Certain spices have been shown to have a positive effect on metabolism. For example, cayenne pepper contains capsaicin, which can boost your metabolism and help burn fat. Similarly, turmeric with its active compound curcumin, has anti-inflammatory properties that can aid in weight management.
Fresh Herbs to Grow at Home
Growing your own herbs can be a rewarding experience and ensures you have fresh flavors at your fingertips. Herbs like basil, mint, and cilantro are easy to grow and can add a burst of freshness to any dish.
“The discovery of a new dish does more for human happiness than the discovery of a new star.” – Jean Anthelme Brillat-Savarin
Homemade Dressings and Sauces
Store-bought dressings and sauces can be high in calories and preservatives. Making your own at home allows you to control the ingredients and keep them healthy. For instance, a simple vinaigrette made with olive oil, vinegar, and herbs can be a great addition to your salads.
| Dressing/Sauce | Main Ingredients | Calories per Serving |
|---|---|---|
| Balsamic Vinaigrette | Olive oil, balsamic vinegar, Dijon mustard | 60 |
| Yogurt Dill Sauce | Greek yogurt, dill, lemon juice | 50 |
Cooking Methods That Enhance Flavor
The way you cook your food can significantly impact its flavor. Techniques like grilling, roasting, and sautéing can enhance the natural flavors of your ingredients, making your meals more enjoyable without adding extra calories.
Making Healthy Weight Loss Recipes Part of Your Lifestyle
Incorporating healthy weight loss recipes into your daily routine can be simple and enjoyable. Start by planning your meals around easy weight loss meals that include a balance of protein, healthy fats, and complex carbohydrates. This will help you stay on track and avoid last-minute, unhealthy choices.
Grocery shopping is a crucial step in maintaining a healthy diet. Focus on buying whole foods, such as vegetables, lean proteins, and whole grains, which are essential for wholesome cooking ideas. Consider meal prepping on the weekends to save time during the week and ensure you have healthy options readily available.
Developing healthy cooking habits is also vital. Experiment with new recipes and flavors to keep your diet interesting. Use herbs and spices to add flavor without extra calories. By making these simple changes, you can make healthy weight loss recipes a sustainable part of your lifestyle.
FAQ
What are some healthy weight loss recipes that are easy to prepare?
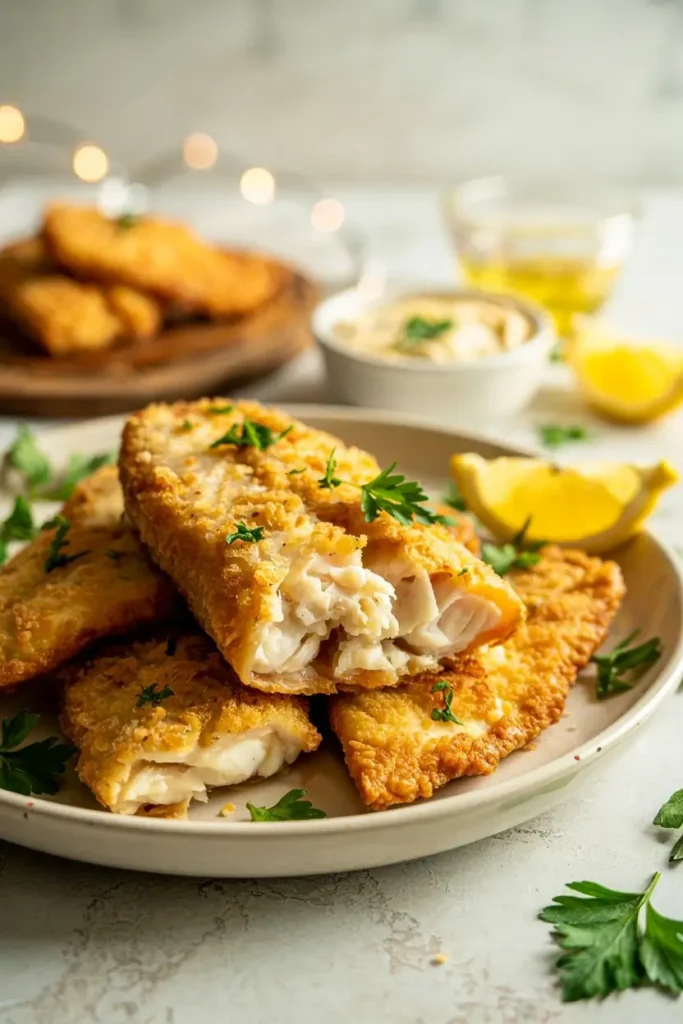
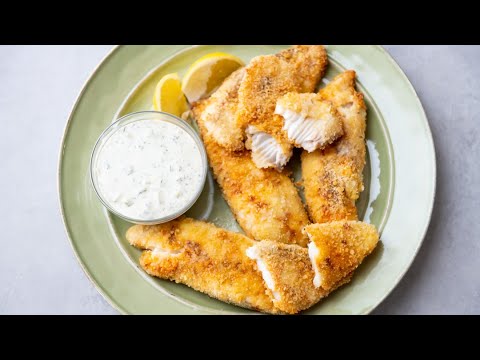
You can try low-calorie meal ideas like grilled chicken with roasted vegetables, clean eating dishes such as quinoa salads with lean protein, or slimming recipes that incorporate wholesome cooking ideas like baked salmon with sweet potatoes.
How can I make healthy meals that are also quick and delicious?
Quick healthy meals can be achieved by preparing nutritious diet plans in advance, using easy weight loss meals like one-pot recipes, and incorporating healthy weight loss recipes that are rich in protein and fiber.
What are some good sources of protein for weight loss?
Good sources of protein for weight loss include lean meats like chicken and turkey, fish like salmon, eggs, tofu, and legumes like lentils and chickpeas. These can be incorporated into protein-rich snacks and meals.
Can I still enjoy my favorite comfort foods while trying to lose weight?
Yes, you can make healthy comfort food makeovers by substituting high-calorie ingredients with lower-calorie alternatives and using cooking methods that enhance flavor without adding calories.
How can I keep my meals interesting while following a weight loss diet?
You can keep your meals interesting by trying new flavor boosters like herbs and spices, making homemade dressings and sauces, and experimenting with different cooking methods that enhance flavor.
Are there any low-carb recipe options that are effective for weight loss?
Yes, low-carb recipe options like cauliflower rice dishes, zucchini noodle creations, and protein-forward meals with minimal carbs can be effective for weight loss.
How can I meal prep effectively for weight loss?
Effective meal prep strategies include preparing meals over the weekend for the week ahead, using batch cooking fundamentals, and storing meals in containers that maintain freshness.
What are some tips for making healthy eating a sustainable part of my lifestyle?
To make healthy eating sustainable, focus on meal planning, grocery shopping for whole foods, and developing cooking habits that support long-term weight loss and overall health.