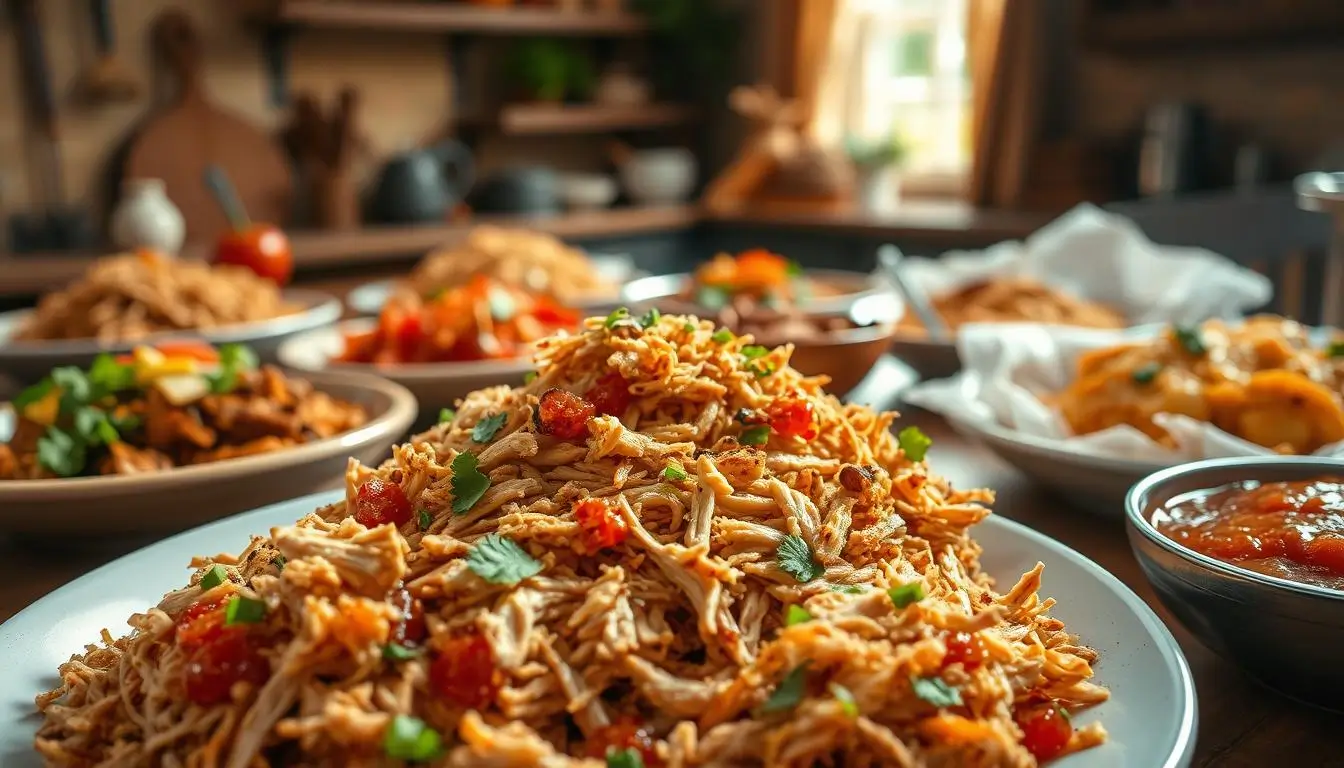
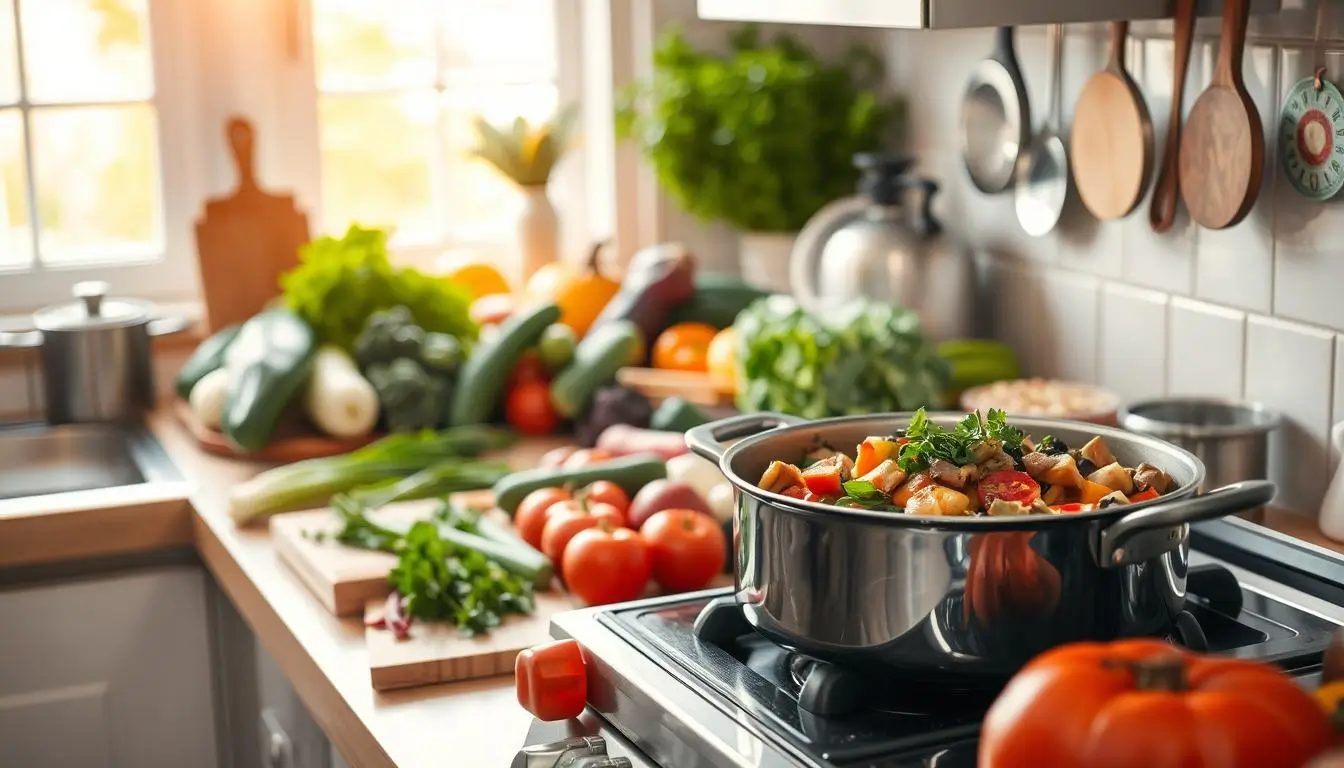
In the UK, more people are choosing plant-based eating and vegetarian lifestyles. This change is because they know how good it is for their health. Eating more fruits, vegetables, and whole grains is key.

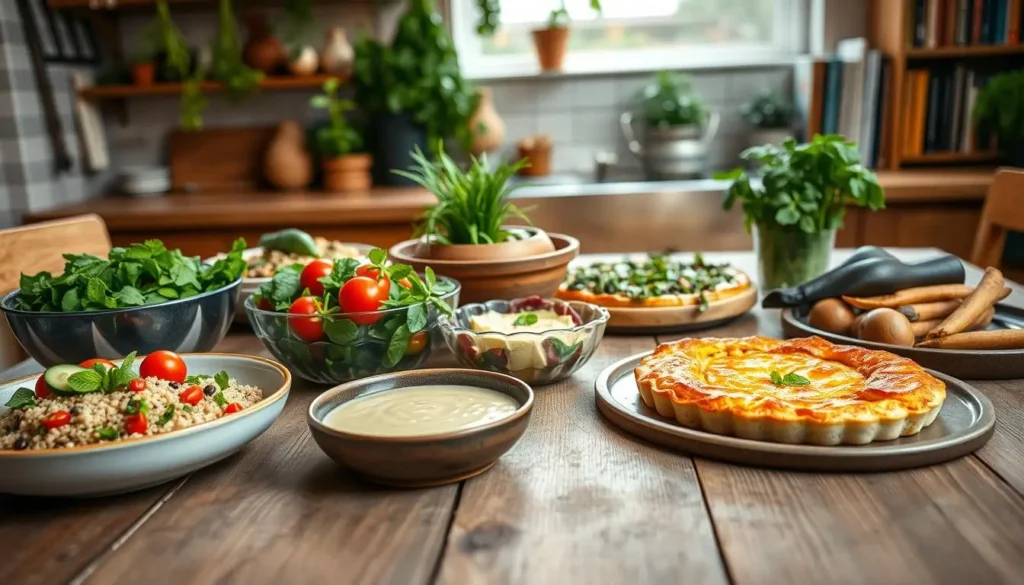
There’s a big need for delicious and easy vegetarian dinner ideas in the UK. Luckily, the country’s food scene is full of inspiring vegetarian recipes. These recipes suit many tastes and diets.
Key Takeaways
- Explore the variety of vegetarian dinner ideas available in the UK.
- Discover healthy vegetarian dinner recipes for a balanced diet.
- Find inspiration for your next vegetarian meal with our recipe suggestions.
- Learn how to create delicious and easy-to-make vegetarian dinners.
- Get started with simple and flavorful vegetarian recipe ideas.
The Rise of Vegetarian Dining in the UK
The UK is moving towards more vegetarian meals. This change is due to health and environmental concerns. Now, many people are looking for tasty, meat-free options.
Current Trends in Plant-Based Eating
More people want vegan and flexitarian choices. Restaurants and food makers are listening. They now offer more plant-based options.
Recent numbers show the UK’s plant-based market is booming. Vegan product sales have jumped by over 20% in a year.
Health Benefits of Going Meat-Free
Eating less meat can lower heart disease and cancer risks. A vegetarian diet is full of nutrients. It includes vitamins, minerals, and antioxidants.
Dr. Michael Greger says a plant-based diet is life-saving and health-promoting. Choosing meatless meals can boost your health and wellbeing.
Essential Ingredients for a UK Vegetarian Kitchen
Setting up a vegetarian kitchen in the UK means choosing the right ingredients. This ensures you can make a variety of healthy, easy meals. A well-stocked kitchen is key to cooking nutritious veggie dinners.
Staple Vegetables and Where to Source Them
Carrots, onions, and potatoes are must-haves for any veggie kitchen. You can find them at UK supermarkets or local farmers’ markets. For the freshest produce, try local farmers’ markets.
Plant-Based Proteins Available in UK Supermarkets
Plant-based proteins are vital for a balanced diet. UK supermarkets offer a wide range, including tofu, tempeh, and seitan. You’ll also find beans and lentils. Look for them in the international or health food sections.
Must-Have Herbs and Spices
Herbs and spices make vegetarian dishes taste great. You’ll need basil, oregano, cumin, and turmeric. These are available in most supermarkets, fresh or dried.
| Ingredient | Common Use | Source |
|---|---|---|
| Tofu | Stir-fries, curries | Supermarkets |
| Lentils | Soups, stews | Supermarkets, health food stores |
| Turmeric | Curries, soups | Supermarkets, spice shops |
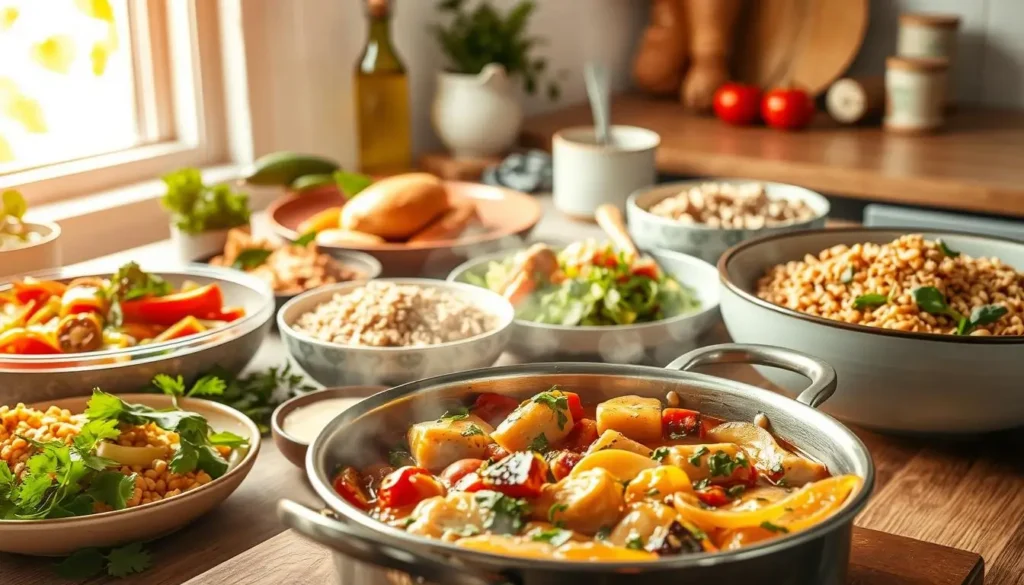
Healthy Vegetarian Dinner Recipes for Beginners
Discover the ease of cooking vegetarian meals with these quick, healthy, and delicious dinner recipes. For beginners, it’s all about simplicity and flavor.
15-Minute Veggie Stir Fry
A 15-minute veggie stir fry is a perfect quick vegetarian dinner recipe. Simply sauté your favorite vegetables (like bell peppers, broccoli, and carrots) with some oil, garlic, and ginger. Add a splash of soy sauce and serve over rice or noodles. This dish is not only fast but also highly customizable.
- Use pre-cut vegetables to save time.
- Add tofu or tempeh for extra protein.
- Experiment with different seasonings like chili flakes or sesame oil.
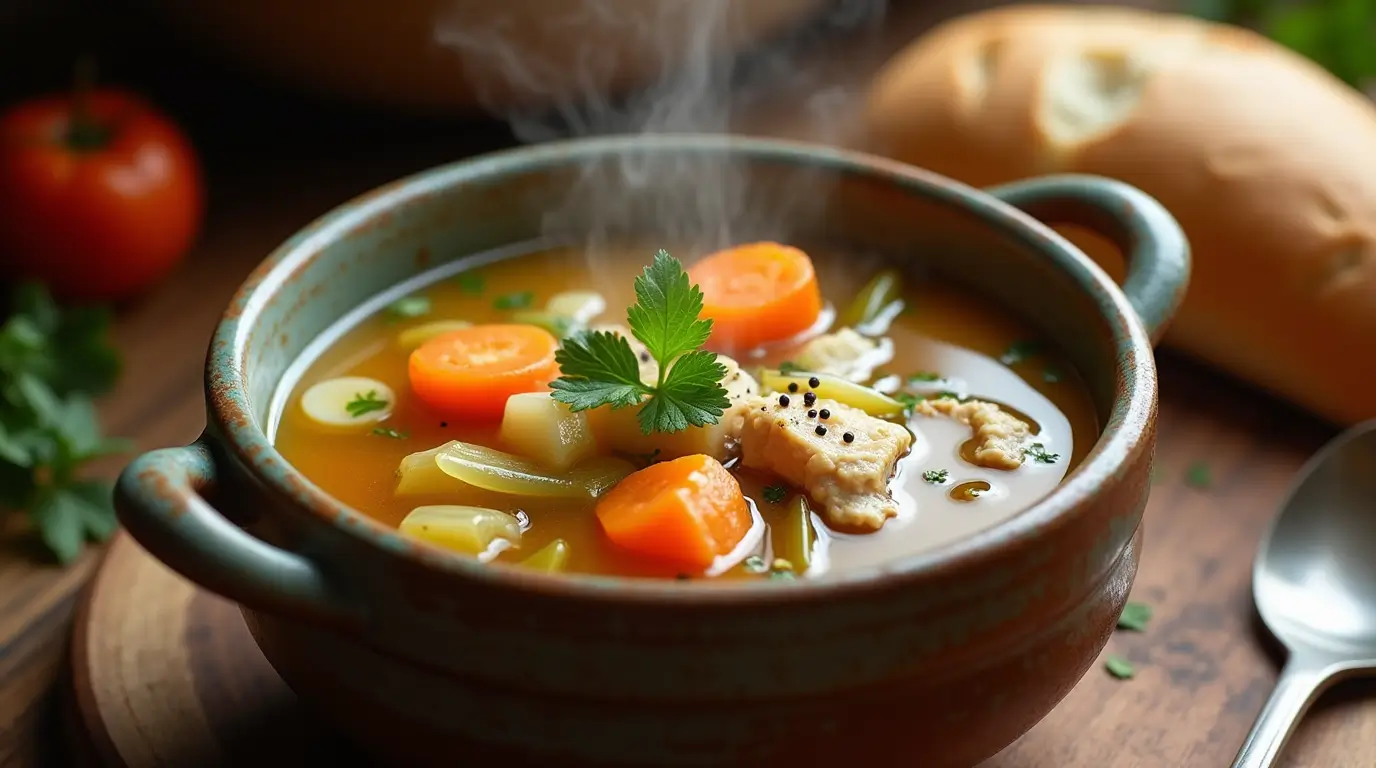
Simple Bean and Vegetable Soup
A simple bean and vegetable soup is a hearty and healthy vegetarian dinner recipe. Combine canned beans, diced vegetables, and vegetable broth in a pot. Simmer until the vegetables are tender, then season with herbs and spices. This soup is great for meal prep and can be frozen for later.
Speedy Chickpea Curry
For a speedy chickpea curry, sauté onions, ginger, and garlic, then add canned chickpeas, curry powder, and coconut milk. Simmer until heated through and serve with rice or naan. This curry is a flavorful and nutritious quick vegetarian dinner recipe.

These recipes showcase how easy it is to prepare healthy vegetarian dinner recipes that are both quick and delicious. Perfect for beginners, they offer a great introduction to vegetarian cooking.
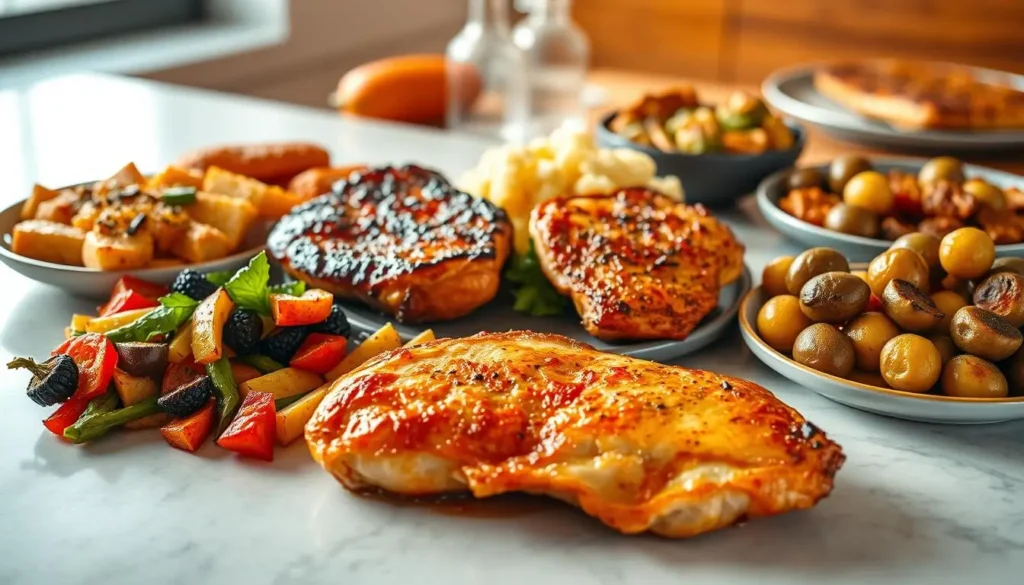
Hearty British-Inspired Vegetarian Meals
Classic British dishes are now vegetarian, offering warm, filling meals. These dishes are great for a chilly evening or a special event.
Vegetarian Shepherd’s Pie with Lentils
This vegetarian version of shepherd’s pie uses lentils for protein. It’s filled with sautéed veggies and topped with mashed potatoes. It’s a comforting, satisfying meal.
- 1 cup lentils, cooked
- 2 cups mixed vegetables
- 2 tbsp tomato paste
- 3 cups mashed potatoes
This recipe is not only tasty but also full of nutrients. It’s a great example of vegetarian recipe inspiration.
Meat-Free Bangers and Mash
Plant-based sausages can be just as tasty as meat ones. Pair them with mashed potatoes and steamed veggies for a delicious vegan dinner. You can find these sausages in UK supermarkets.
Plant-Based Sunday Roast
The traditional Sunday roast can be made vegetarian. Roast veggies like carrots, Brussels sprouts, and parsnips. Serve with a plant-based meat substitute or tofu. This hearty, plant-based meal will be a hit with your family.
These British-inspired vegetarian meals show the variety and richness of plant-based food. Whether you’re a vegetarian or just looking for vegetarian recipe inspiration, these dishes will please everyone.
Mediterranean-Inspired Vegetarian Dishes
The Mediterranean region is full of healthy and tasty vegetarian dishes. The Mediterranean diet focuses on fresh veggies, fruits, and herbs. This makes it easy to create nutritious and flavorful vegetarian meals.
Greek-Style Stuffed Peppers
Greek-style stuffed peppers are a colorful and healthy choice for dinner. They are filled with rice, herbs, and veggies, then baked until soft. It’s a tasty way to enjoy Greek flavors.
Italian Aubergine Parmigiana
Italian Aubergine Parmigiana is a classic dish that’s both tasty and healthy. It has layers of fried aubergine, tomato sauce, and mozzarella cheese. It’s a great option for those who love Italian food but don’t eat meat.
Spanish Vegetable Paella
Spanish Vegetable Paella is a vibrant and hearty dish. It’s made with saffron rice and a mix of veggies like artichokes and bell peppers. It’s a filling and flavorful plant-based dinner.
| Dish | Main Ingredients | Cooking Time |
|---|---|---|
| Greek-Style Stuffed Peppers | Bell peppers, rice, herbs, vegetables | 45 minutes |
| Italian Aubergine Parmigiana | Aubergine, tomato sauce, mozzarella cheese | 60 minutes |
| Spanish Vegetable Paella | Saffron-infused rice, mixed vegetables | 50 minutes |
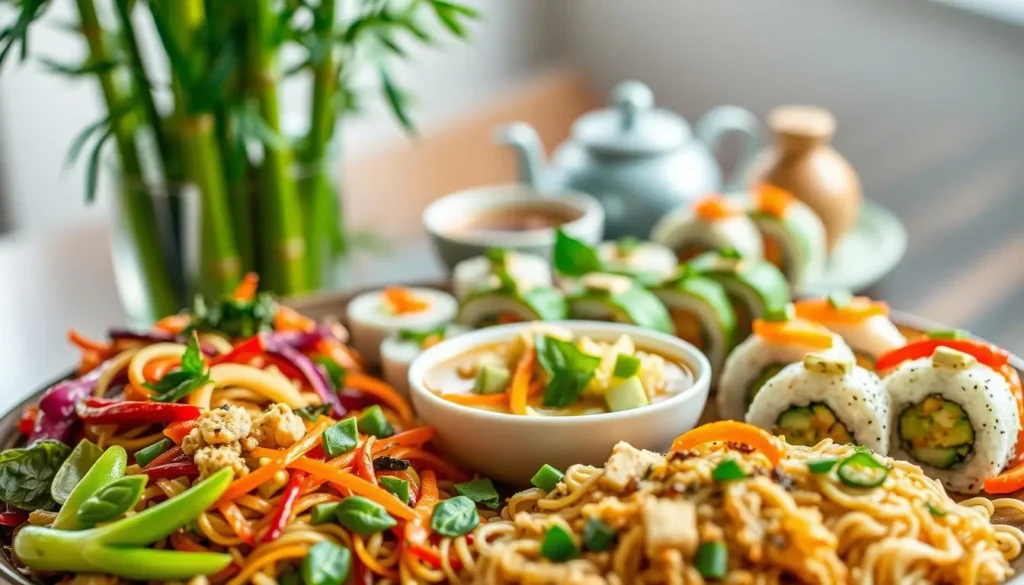
Asian-Inspired Vegetarian Recipes
Asian cuisine is full of tasty and healthy vegetarian dishes. Each region has its own flavors and ingredients. This makes Asian vegetarian cooking incredibly diverse.
These recipes show the wide range of Asian vegetarian dishes. From India’s spices to Japan’s soy sauce, there’s something for everyone.
Indian Dhal with Seasonal Vegetables
Indian dhal is a comforting, healthy meal. It’s made with lentils and seasonal veggies. It’s easy to make and full of flavor.
Thai Green Curry with Tofu
Thai green curry is famous for its creamy coconut milk and spices. Adding tofu makes it a quick, nutritious option.
Japanese Vegetable Ramen
Japanese ramen is loved around the world. Making it vegetarian is easy by using veggies instead of meat. It’s a hearty, nutritious meal for any time.
| Recipe | Main Ingredients | Prep Time |
|---|---|---|
| Indian Dhal | Lentils, Seasonal Vegetables, Spices | 30 minutes |
| Thai Green Curry | Tofu, Coconut Milk, Green Curry Paste | 20 minutes |
| Japanese Vegetable Ramen | Ramen Noodles, Vegetables, Soy Sauce | 40 minutes |
These Asian-inspired vegetarian recipes add variety to your meals. They ensure you enjoy nutritious and tasty dishes.
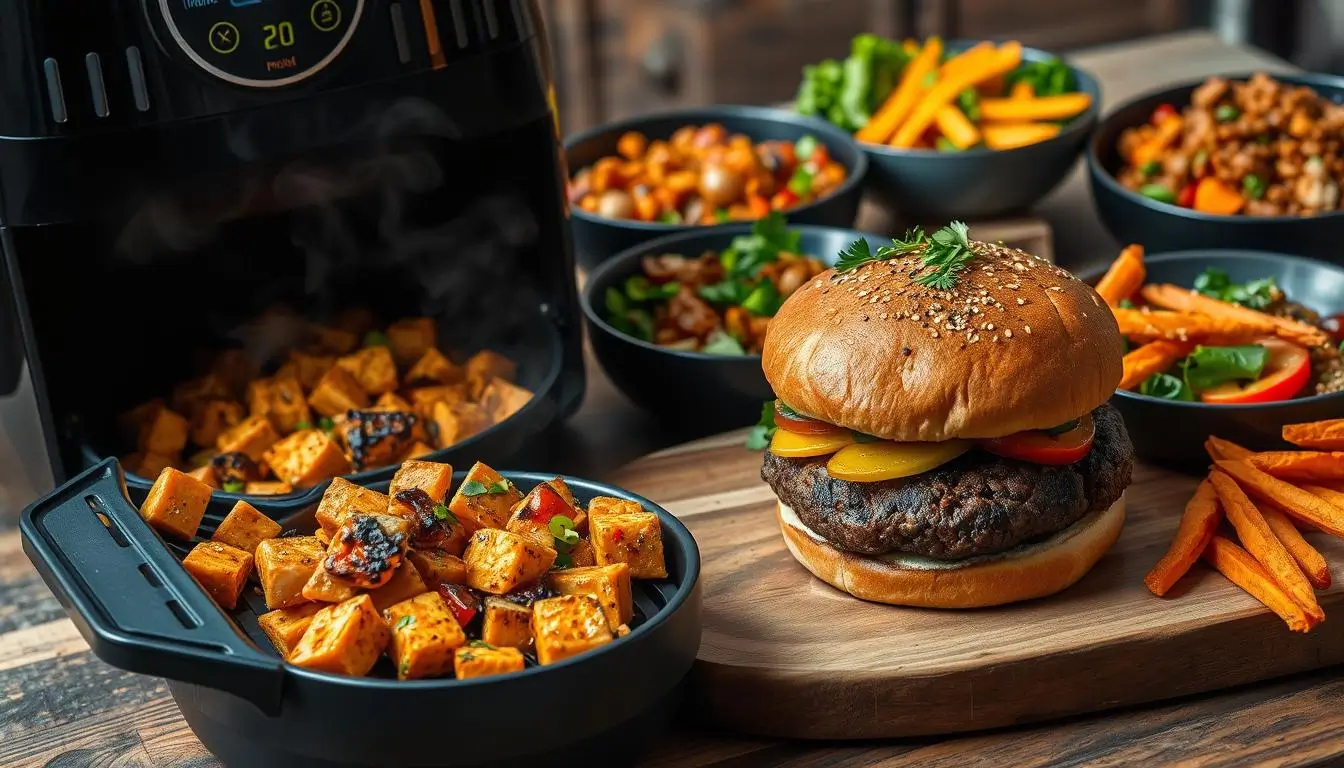
Quick and Easy Healthy Vegetarian Dinner Recipes
For those with busy lives, finding fast and healthy vegetarian dinners is key. With the right ingredients and simple cooking, you can make tasty, nutritious meals quickly.
Low-Calorie Vegetable Stir-Fry Options
Low-calorie vegetable stir-fries are great for a quick dinner. Pick your favorite veggies like broccoli, bell peppers, and carrots. Stir-fry them with oil, garlic, and ginger. Serve with brown rice or whole-grain noodles for a satisfying meal.
High-Protein Plant-Based Meals
High-protein plant-based meals are vital for vegetarians. Lentil soup, chickpea curry, and tofu stir-fries are packed with protein, fiber, and vitamins. They’re quick to make, perfect for busy weeknights.
Nutrient-Dense Salad Bowls
Nutrient-dense salad bowls are a fantastic way to get lots of nutrition in one meal. Mix greens with various veggies, beans, and nuts. Top with a healthy dressing. These bowls are nutritious, quick to make, and can be tailored to your liking.
Family-Friendly Vegetarian Dinners
Finding vegetarian recipes that everyone likes can make dinner time fun. Vegetarian meals have lots of flavors and textures. We’ll look at some tasty and easy vegetarian dinner ideas for families.
Kid-Approved Veggie Pasta Dishes
Pasta is a favorite in many homes, and it’s easy to make it vegetarian. Add roasted veggies like zucchini, bell peppers, and cherry tomatoes for extra taste. Use vegetarian sauces like pesto or marinara for an Italian flavor.
Some kid-friendly veggie pasta dishes include:
- Vegetarian mac and cheese with hidden veggies
- Pesto pasta with roasted vegetables
- Tomato and spinach pasta bake
Vegetarian Taco Night Ideas
Taco nights are fun for the whole family. Make them vegetarian with beans, cheese, and veggies. Let everyone add their favorite toppings like salsa, avocado, and sour cream.
Here are some vegetarian taco ideas:
- Black beans and roasted sweet potatoes
- Grilled portobello mushrooms
- Roasted vegetable and guacamole
Plant-Based Pizza Alternatives
Pizza is a hit with kids, and it’s easy to make vegetarian. Use a cauliflower crust or whole-wheat base. Top it with veggies and cheese. Try different sauces like BBQ or pesto for a twist.
| Pizza Topping | Vegetarian Option |
|---|---|
| Pepperoni | Roasted red peppers |
| Mushrooms | Grilled portobello mushrooms |
| Olives | Artichoke hearts |
By using these ideas, you can make a fun and varied vegetarian dinner menu. The whole family will love it.
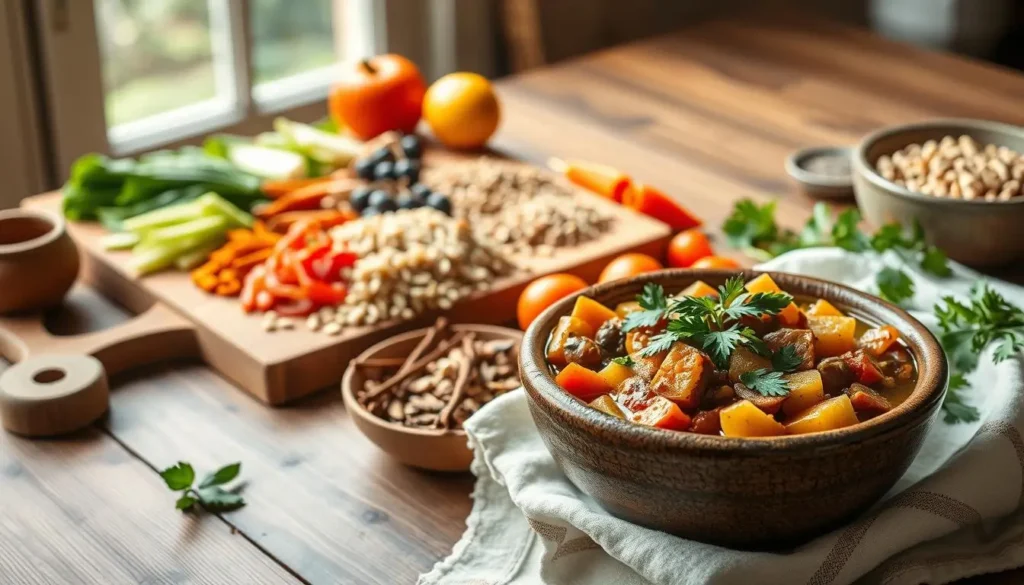
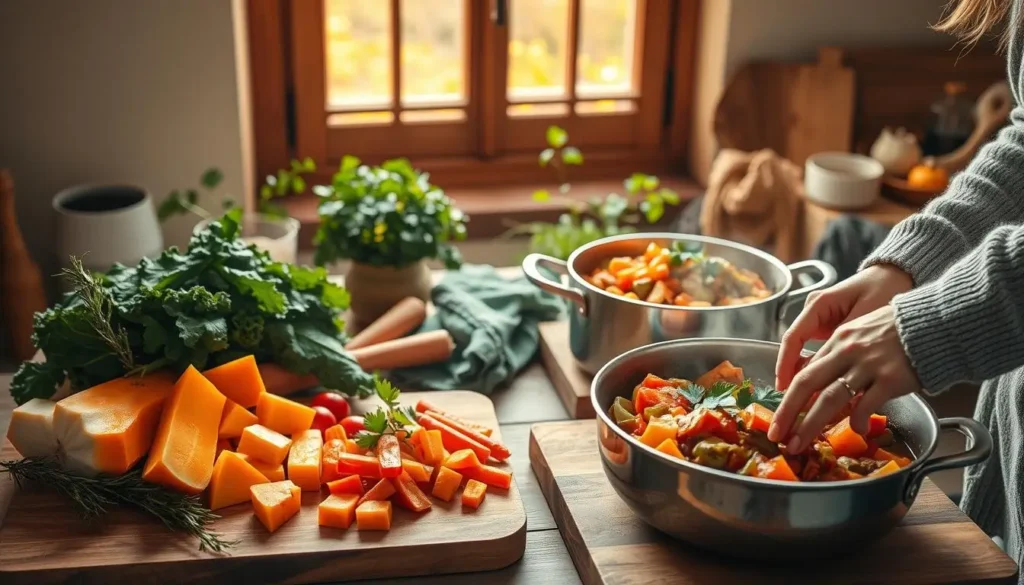
Seasonal Vegetarian Cooking in the UK
Seasonal vegetarian cooking in the UK is a journey of fresh flavors and sustainable eating. It focuses on the produce of each season. This way, home cooks make dishes that taste great and are good for the planet.
Spring Vegetable Recipes
Spring in the UK brings vibrant veggies like asparagus, peas, and radishes. A tasty dish is a spring vegetable risotto with fresh peas and asparagus. You can also try roasted radish salad and grilled asparagus with lemon butter.
Summer Harvest Dishes
Summer in the UK is full of colorful veggies like tomatoes, courgettes, and bell peppers. These are great for summer vegetable skewers, ratatouille, and salads with heirloom tomatoes.
Autumn Root Vegetable Meals
Autumn brings out root veggies like carrots, parsnips, and sweet potatoes. Try roasted root vegetable soup, mashed parsnips with garlic, and carrot and ginger soup for a cozy meal.
Winter Warming Vegetarian Recipes
Winter in the UK calls for warm, comforting meals. Options like lentil stew, roasted vegetable quinoa bowl, and vegetable and bean chili are both nourishing and flavorful.
By cooking with the seasons, UK home cooks enjoy a varied and exciting vegetarian diet all year. This supports local farmers and cuts down on carbon emissions from transporting produce.
Meal Prepping Vegetarian Dinners
Preparing vegetarian dinners ahead of time can make weeknights easier. Spend a few hours on the weekend on meal prep. This way, you can enjoy healthy meals all week.
This method saves time and ensures you eat nutritious and balanced meals. With a good meal prep plan, you can try many easy vegetarian meals without daily stress.
Weekend Prep for Weekday Ease
On weekends, chop veggies, cook grains, and prep proteins. This makes weeknight meals quick and simple. For example, roasting a big batch of veggies on Sunday can be used for several meals.
Freezer-Friendly Vegetarian Meals
Some vegetarian dishes freeze really well. Make big batches of soups, stews, or casseroles. These can be reheated when you’re too busy to cook.
Storage Tips for Fresh Ingredients
Keeping fresh ingredients in good shape is key. Use airtight containers for veggies and damp paper towels for herbs. This keeps your ingredients fresh and cuts down on waste.
Using these meal prep tips can save you time and let you enjoy a variety of easy vegetarian meals. Whether you’re a long-time vegetarian or just starting, meal prep can really help your daily life.
Addressing Nutritional Needs in Vegetarian Cooking
A well-planned vegetarian diet is key to maintaining overall health and well-being. Vegetarian cooking offers a variety of delicious and nutritious options. It’s essential to be mindful of the nutrients your body needs.
To ensure you’re getting all the necessary nutrients, focus on consuming a diverse range of foods. This includes a variety of vegetables, fruits, whole grains, and plant-based proteins.
Ensuring Adequate Protein Intake
Protein is a crucial nutrient that can be found in various plant-based foods. Some high-protein options include:
- Legumes like lentils, chickpeas, and black beans
- Nuts and seeds such as almonds, chia seeds, and hemp seeds
- Tofu and tempeh for a versatile protein source
- Whole grains like quinoa and farro
Iron-Rich Vegetarian Recipes
Iron is another vital nutrient that requires attention in a vegetarian diet. Increase your iron intake with:
- Dark leafy greens like spinach and kale
- Legumes and beans
- Nuts and seeds such as pumpkin seeds and sesame seeds
- Fortified cereals for an added boost
Balancing Essential Nutrients
Balancing nutrients is vital for a healthy vegetarian diet. Ensure you’re getting enough:
- Vitamin B12 through fortified foods or supplements
- Omega-3 fatty acids from walnuts, flaxseeds, and chia seeds
- Calcium from fortified plant milk and dark leafy greens
By being mindful of these nutrients and incorporating a variety of whole foods into your diet, you can enjoy a balanced and nutritious vegetarian lifestyle.
Conclusion: Embracing a Flavorful Vegetarian Lifestyle
Choosing a vegetarian lifestyle can be both rewarding and delicious. It offers many health benefits and opens up a world of flavors. We’ve shared many healthy vegetarian dinner recipes to spark your cooking.
There’s a wide range of vegetarian dinner recipes to try, from British to Mediterranean and Asian dishes. By using seasonal ingredients and meal prepping, you can make your vegetarian lifestyle both healthy and fun.
Keep exploring vegetarian cuisine by trying new ingredients and flavors. With creativity and the right recipes, you can enjoy a healthy and tasty vegetarian lifestyle. It will make your meals exciting and good for you.
FAQ
What are some easy vegetarian dinner recipes?
Easy vegetarian dinner recipes include veggie stir-fries and bean soups. Chickpea curries are also great. These meals are quick, simple, and full of nutrients.
How can I ensure I’m getting enough protein in a vegetarian diet?
Include beans, lentils, tofu, and tempeh in your diet. Quinoa and farro are also good protein sources. This variety ensures you get enough protein.
What are some healthy vegetarian dinner ideas for weight loss?
For weight loss, try low-calorie stir-fries and nutrient-rich salad bowls. Vegetable soups are also good. These meals are tasty, low in calories, and full of nutrients.
Can I meal prep vegetarian dinners?
Yes, meal prepping vegetarian dinners saves time. Prep roasted veggies, beans, and grains on weekends. Then, use them to make quick meals during the week.
What are some delicious vegan dinner ideas?
Delicious vegan dinner ideas include vegan versions of comfort foods. Try vegan shepherd’s pie or pasta dishes. Explore cuisines like Indian and Thai for more ideas.
How can I make vegetarian cooking more flavorful?
To add flavor, try different herbs and spices. Use umami-rich ingredients like mushrooms and soy sauce. Aromatics like garlic and ginger also add depth to your dishes.
What are some quick and easy vegetarian dinner recipes for busy weeknights?
For busy nights, try one-pot wonders like lentil soup. Veggie stir-fries and roasted vegetable bowls are also quick. These meals are fast, simple, and easy to clean up.
How can I incorporate more seasonal ingredients into my vegetarian cooking?
Visit local farmer’s markets or join a CSA program to find seasonal produce. Try new recipes that use these ingredients. This way, you can enjoy the freshest flavors.