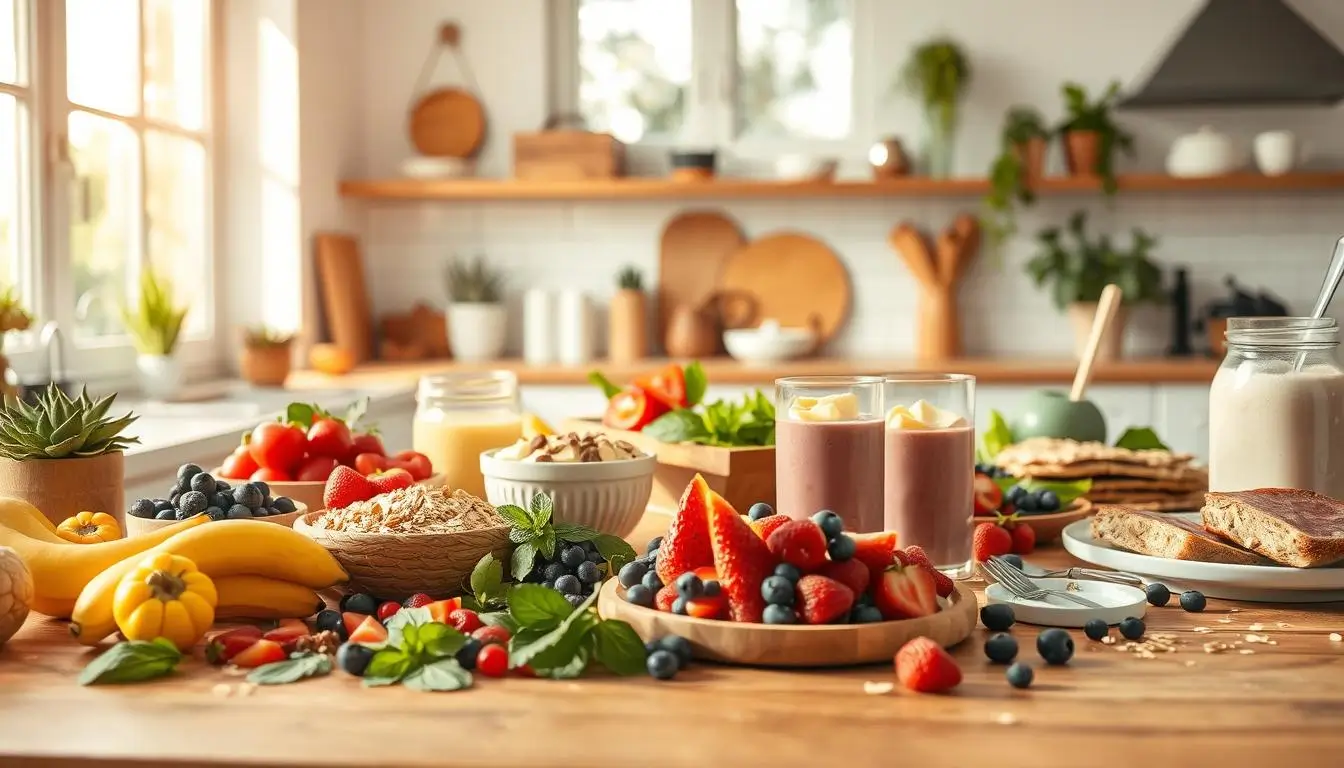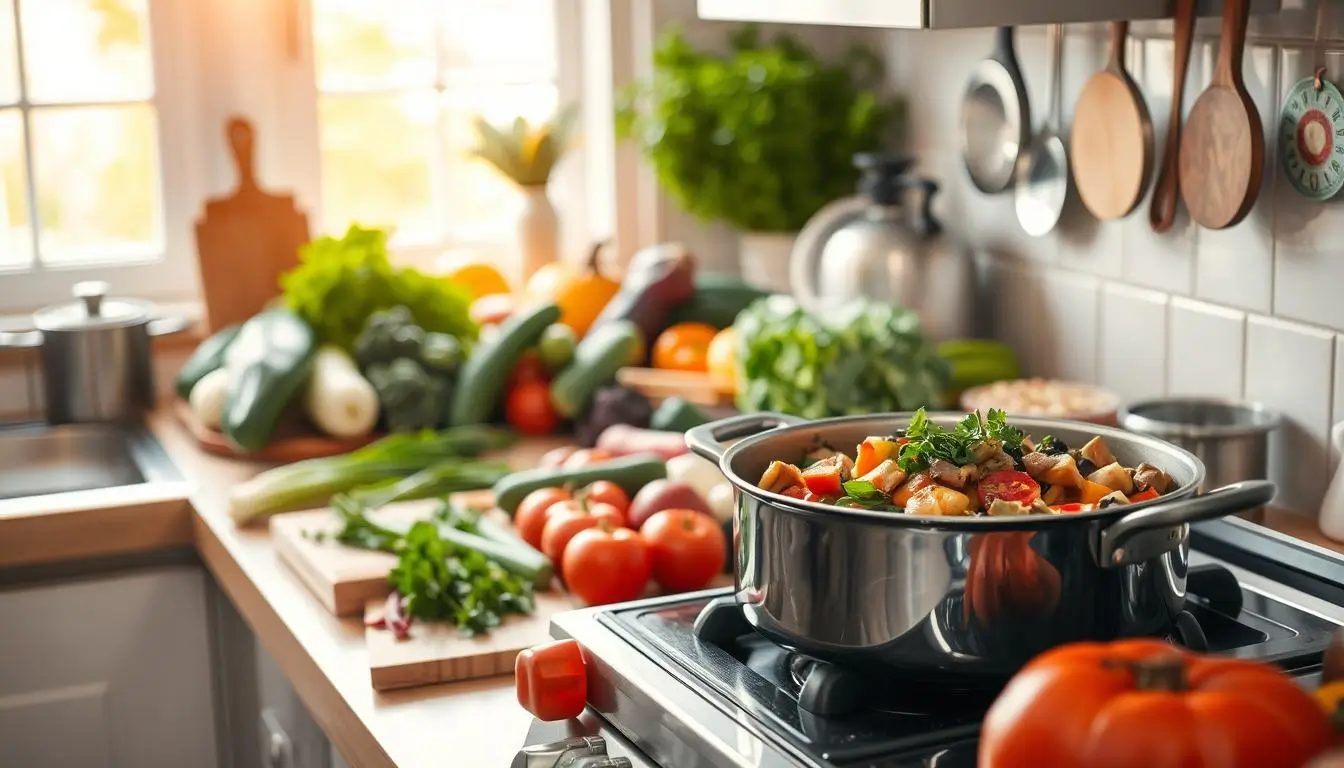
Busy weeknights need simple and nutritious meals that taste great. One pot cooking is a great choice. It offers many easy weeknight meals that are both healthy and tasty.
Table of Contents

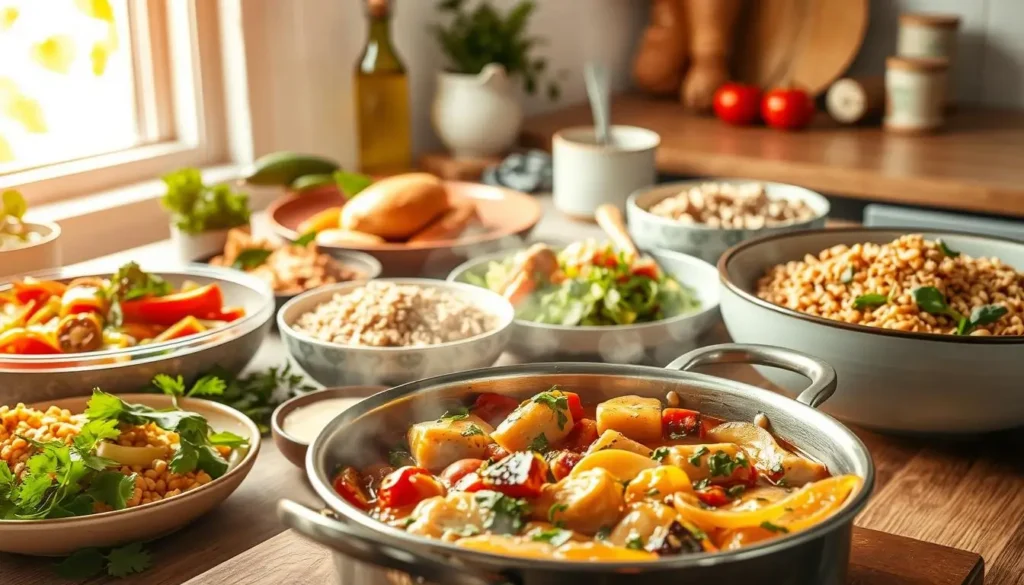
One pot cooking makes a delicious meal with little cleanup. It’s perfect for those short on time. This method also keeps nutrients and flavors in your food.
Key Takeaways
- Simple and nutritious meals with minimal cleanup
- Variety of healthy one pot dinner recipes for weeknights
- Retains nutrients and flavors in meals
- Ideal for busy individuals and families
- Enhances flavor and nutrition with one pot cooking
The Benefits of One Pot Cooking
One pot cooking has changed how we make meals. It’s great for those who want quick dinner ideas that taste good and are healthy.
Time-Saving Advantages
One pot cooking saves a lot of time. You can cook everything together, which cuts down on prep and cooking time. It’s perfect for low-effort cooking.
Celebrity chef Jamie Oliver said, “Cooking is not just about the food, it’s about the love and care you put into it.” One pot cooking lets you do that with less effort.
Fewer Dishes, Less Cleanup
It also means less dishes and cleanup. You only have one pot to wash. This is great for busy people or those who like to cook efficiently.
Enhanced Flavor Development
One pot cooking makes food taste better. All ingredients cook together, blending their flavors into a delicious dish. It’s perfect for stews and slow-cooked meals.
Budget-Friendly Meal Solutions
Lastly, it’s budget-friendly. You can use cheap ingredients and make meals stretch further. This way, you can eat well without spending a lot.
Essential Equipment for One Pot Cooking
To cook well with one pot, you need the right tools. There are many good choices. The right tools can really help your meals turn out great.
Dutch Ovens and Their Versatility
Dutch ovens are very useful in kitchens. They can do many things like braising, stewing, and baking.
Best Sizes for Family Meals
For big family meals, a big Dutch oven is best. Sizes from 5 to 7 quarts are good for 4 to 6 people.
Stovetop to Oven Convenience
Dutch ovens are great because they can go from stovetop to oven. This lets you cook in many ways.
Cast Iron Skillets for Perfect Searing
Cast iron skillets keep heat well and cook evenly. They’re perfect for searing meat and cooking veggies.
Instant Pots and Pressure Cookers
Instant Pots and pressure cookers are popular. They cook food fast without losing flavor.
Sheet Pans for Roasted One-Pan Meals
Sheet pans are great for roasting veggies and proteins in the oven. They’re very versatile.

| Cookware | Primary Use | Benefits |
|---|---|---|
| Dutch Ovens | Braising, Stewing, Baking | Versatile, Even Heating |
| Cast Iron Skillets | Searing, Frying | Excellent Heat Retention |
| Instant Pots | Pressure Cooking, Slow Cooking | Time-Saving, Versatile |
| Sheet Pans | Roasting | Easy Cleanup, Versatile |
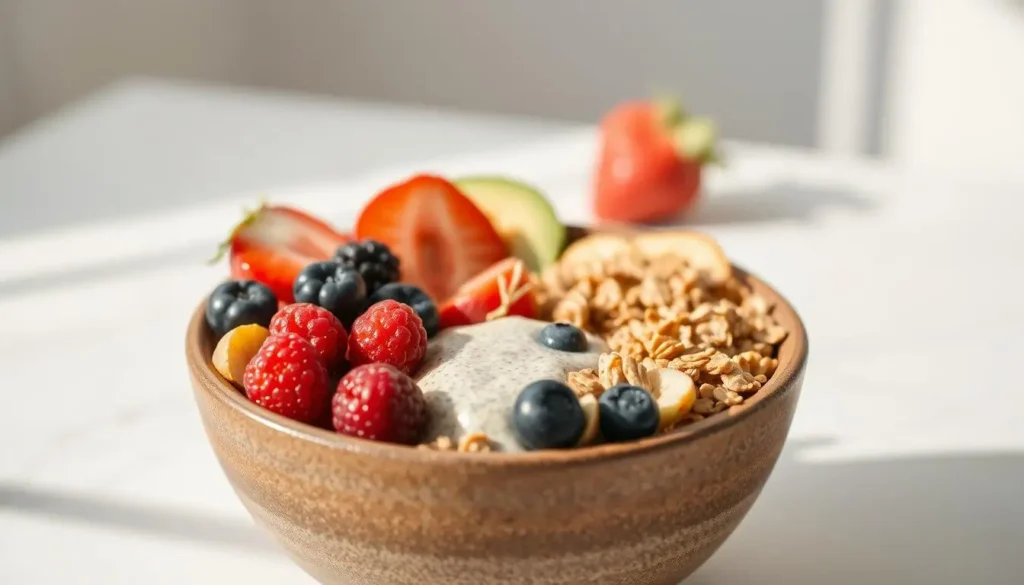
Nutritional Principles for Balanced One Pot Meals
To make sure your one pot meals are healthy, learn about balanced nutrition. A good meal has protein, carbs, and veggies.
Protein, Carb, and Vegetable Ratios
A balanced meal has protein, carbs, and veggies. The right mix depends on your diet. But, a good rule is 25% protein, 40% carbs, and 35% veggies.
| Nutrient | Percentage | Examples |
|---|---|---|
| Protein | 25% | Chicken, Beans, Tofu |
| Carbohydrates | 40% | Rice, Quinoa, Pasta |
| Vegetables | 35% | Bell Peppers, Carrots, Spinach |
Incorporating Whole Grains
Adding whole grains like brown rice and quinoa makes meals better. They give you fiber and important vitamins.
Healthy Fat Sources
Healthy fats like olive oil and nuts make meals tasty and good for you. They help your heart and give you energy.
Reducing Sodium While Maximizing Flavor
To cut down on salt, use herbs and spices for flavor. Choose low-sodium broth or make your own to reduce sodium.
By using these tips, you can make tasty and healthy one pot meals. They’re great for nutritious family dinners and wholesome meal prep.
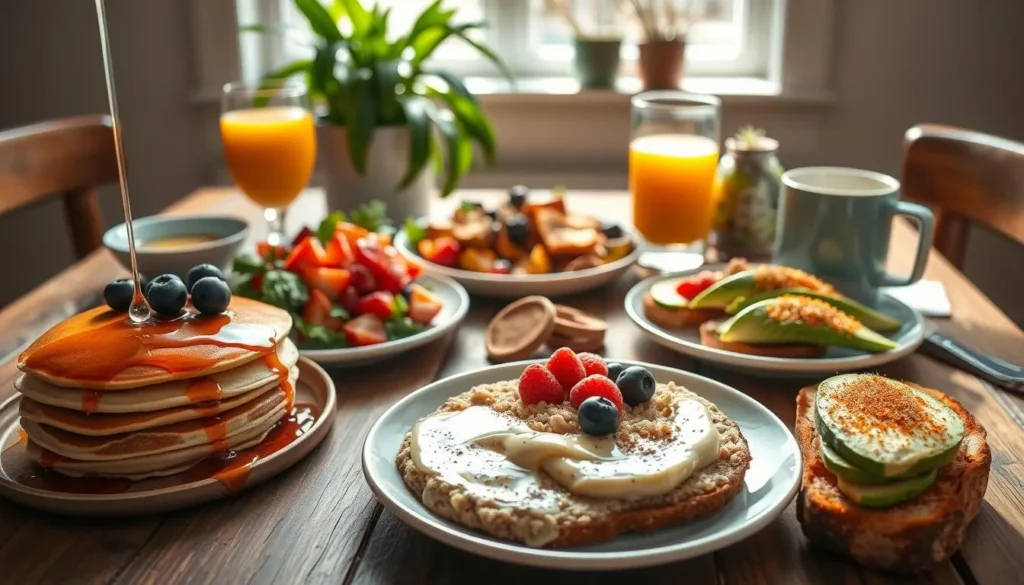
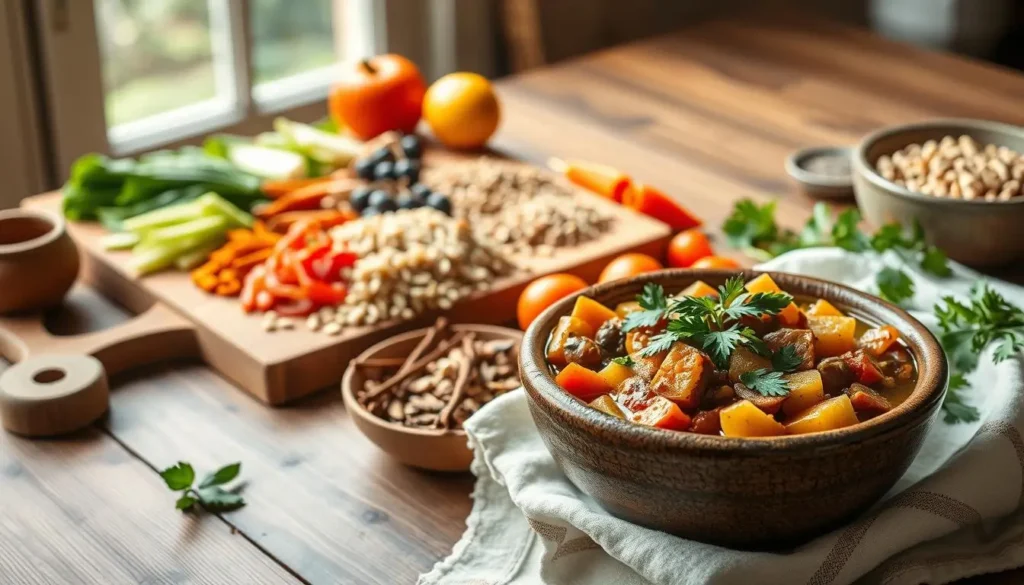
10 Healthy One Pot Dinner Recipes for Beginners
Starting with one pot dinners is easy. We’ll show you 10 healthy recipes for beginners. These meals are tasty, nutritious, and quick to make. They’re perfect for busy nights when you need a fast, healthy meal.
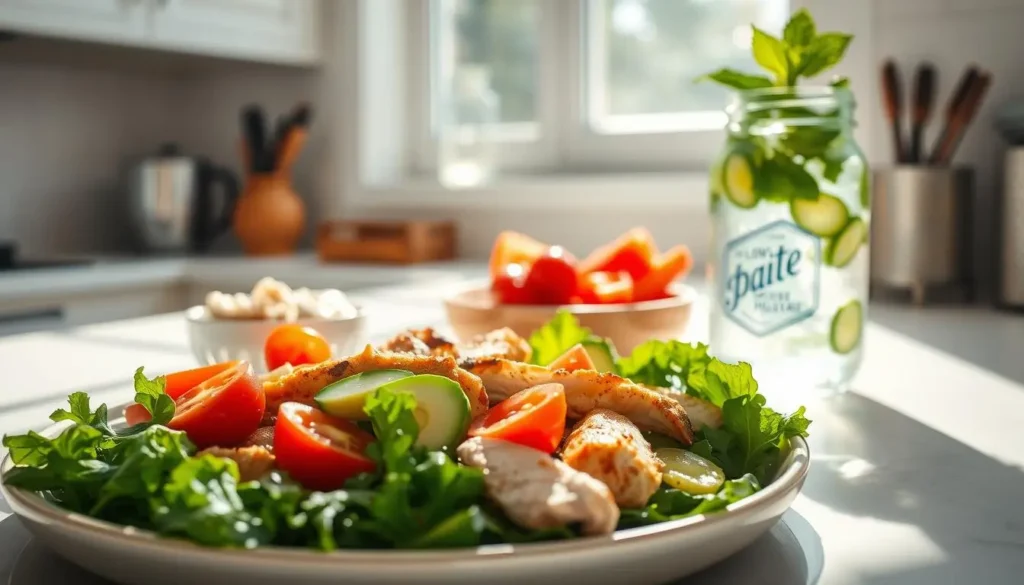
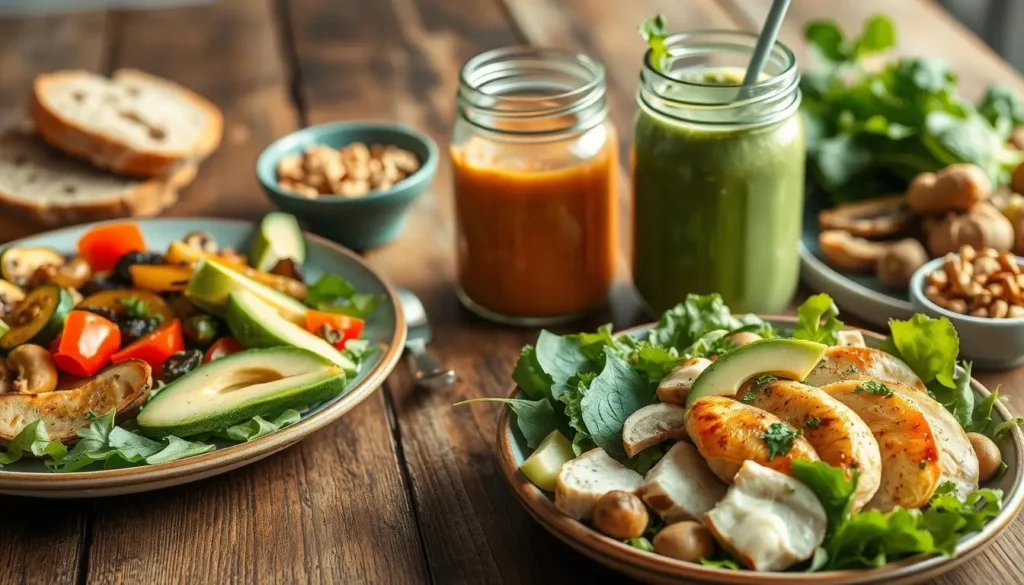
Greek-Style Chicken and Vegetable Skillet
This recipe is great for beginners. It has chicken, bell peppers, onions, and tomatoes. It’s ready in under 30 minutes, making it a quick and healthy meal.
One Pot Mediterranean Quinoa with Chickpeas
This dish is full of protein thanks to quinoa and chickpeas. It’s flavored with Mediterranean spices. It’s ready in about 25 minutes, making it a delicious and healthy option.
Tuscan White Bean and Kale Soup
This soup is full of beans and greens. It’s a hearty, simple recipe. It takes about 40 minutes to make, but it’s worth it for its rich flavor.
Simple Vegetable and Brown Rice Pilaf
This recipe is versatile. You can add your favorite vegetables. It’s a great way to learn about changing ingredients in one pot meals.
Ingredient Substitutions
One pot cooking is flexible. You can swap ingredients based on what you like or what you have. Try using tofu or tempeh for a vegetarian option, or different beans or veggies to keep things interesting.
Cooking Techniques
Learning basic cooking techniques can make your meals better. Searing protein before adding veggies can add flavor. Knowing when to add delicate ingredients like spinach can keep them fresh and tasty.
| Recipe | Cooking Time | Main Ingredients |
|---|---|---|
| Greek-Style Chicken Skillet | 25 minutes | Chicken, Bell Peppers, Tomatoes |
| Mediterranean Quinoa | 25 minutes | Quinoa, Chickpeas, Spinach |
| Tuscan White Bean Soup | 40 minutes | White Beans, Kale, Tomatoes |
| Vegetable and Brown Rice Pilaf | 30 minutes | Brown Rice, Mixed Vegetables |
Family-Friendly One Pot Dinners
One pot dinners are great for busy families. They are easy weeknight meals that are also nutritious family dinners. They are simple to make and clean up is easy. This means more time to spend with your family.
Turkey Chili with Sweet Potatoes
This dish is warm and sweet. It’s a mix of chili and sweet potatoes. It’s a tasty way to eat veggies.
Veggie-Packed Beef and Barley Stew
This stew is full of veggies and beef. It’s filling and tasty. Barley adds fiber and minerals.
Lemon Garlic Chicken with Roasted Vegetables
This recipe is light and healthy. It has lemon and garlic with chicken and veggies. It’s a favorite among families.
Kid-Approved Pasta and Hidden Veggie Sauce
Kids love pasta. This sauce has hidden veggies. It’s a clever way to get them to eat veggies.
| Recipe | Cooking Time | Nutritional Highlights |
|---|---|---|
| Turkey Chili with Sweet Potatoes | 30 minutes | High in protein, fiber, and vitamins A & C |
| Veggie-Packed Beef and Barley Stew | 45 minutes | Rich in iron, fiber, and antioxidants |
| Lemon Garlic Chicken with Roasted Vegetables | 25 minutes | Good source of vitamin C, protein, and healthy fats |
| Kid-Approved Pasta and Hidden Veggie Sauce | 20 minutes | Contains vitamin A, lycopene, and complex carbohydrates |
These family-friendly one pot dinners are easy and fun. They have different ingredients and flavors. This way, your family gets the nutrients they need and enjoys tasty meals.
Plant-Based One Pot Wonders
One pot cooking is now more fun with plant-based foods. It mixes flavors and nutrients well. This makes it great for quick dinner ideas and balanced dinner options.
Coconut Curry Lentil Pot
The Coconut Curry Lentil Pot is tasty and healthy. It has red or green lentils, coconut milk, and veggies. It shows how one pot cooking can make a meal both cozy and good for you.
Mexican-Inspired Black Bean and Rice Skillet
This skillet dish is full of black beans, rice, and veggies. It has Mexican spices. It’s a quick dinner idea for a busy night.
Mushroom and Barley Risotto
Mushroom and Barley Risotto is creamy and comforting. It’s made easier with one pot cooking. This way, you get a rich, velvety texture without stirring all the time.
Hearty Vegetable and Chickpea Stew
This stew is full of nutrients. It has many veggies and chickpeas in a tasty broth. It’s a balanced dinner option that’s also filling and healthy.
Protein Boosting Tips
To get enough protein in plant-based meals, add lentils, chickpeas, tofu, or tempeh. Nuts and seeds like almonds and chia seeds are also good for protein.
Flavor Enhancers
To make your one pot dishes taste better, use spices, herbs, and other ingredients. A squeeze of fresh lemon juice or a sprinkle of nutritional yeast can really improve the taste.
30-Minute Meals: Quick Dinner Ideas for Busy Weeknights
Busy weeknights need fast and tasty meals. One pot dinners are perfect. You can make a healthy dinner in 30 minutes or less.
Quick Shrimp and Vegetable Stir-Fry
A stir-fry is quick for dinner. Cook your favorite veggies and shrimp in a wok or big skillet. Serve over rice or noodles. Prep time: 10 minutes, Cook time: 15 minutes.
Speedy Taco Skillet
Tacos don’t have to take long. Cook ground beef or chicken in a skillet with taco seasoning. Serve with tortillas, cheese, and toppings. This recipe is a crowd-pleaser!
Fast Salmon and Vegetable Packets
Baking salmon and veggies in foil is healthy and easy. Season the salmon and add veggies. Bake in the oven. Prep time: 10 minutes, Cook time: 12 minutes.
Express Chicken and Vegetable Curry
Curry is tasty and quick for dinner. Use pre-cut veggies and curry sauce. Serve over rice or with naan bread.
Prep-Ahead Elements
To speed up weeknight dinners, prep ahead:
- Chop veggies on the weekend
- Marinate proteins early
- Cook rice or grains ahead
Time-Saving Techniques
Save time in the kitchen with:
- Using one pot for meals
- Keeping your kitchen organized
- Having a stocked pantry
Use these quick one pot dinner ideas and tips. You’ll enjoy healthy, tasty meals even on busy weeknights.
Seasonal One Pot Dinner Ideas
Seasons change, and so do our meals. Using seasonal produce makes our food fresh and tasty. It also helps local farmers and is good for the planet.
Here are some tasty and easy one pot dinner ideas for each season:
Spring: Asparagus and Pea Risotto
Spring brings fresh asparagus and peas. A creamy risotto with Arborio rice, asparagus, and peas is a great spring meal. It’s a simple homemade recipe for the new season.
Summer: Ratatouille with White Beans
Summer’s veggies shine in a hearty ratatouille. Adding white beans makes it a filling meal for warm nights. It’s a wholesome meal prep for any week.
Fall: Butternut Squash and Chicken Skillet
Fall brings sweet butternut squash and chicken together. This skillet dinner is tasty and full of nutrients. It’s a comforting meal for the season.
Winter: Hearty Beef and Root Vegetable Stew
Winter calls for warm, comforting meals. A beef and root vegetable stew is just that. It’s a simple yet satisfying meal for cold nights.
These seasonal one pot dinners add variety and joy to your meals. Using fresh, seasonal ingredients makes them nourishing and delicious.
Meal Prep Strategies with Wholesome One Pot Recipes
Wholesome one pot recipes make meal prep easy. They help you have nutritious dinners every night. By prepping meals ahead, you save time and enjoy healthy food without daily cooking stress.
Batch Cooking Fundamentals
Batch cooking is key in meal prep. It means making lots of one thing or a whole meal. This is great for one pot recipes because you cook once and eat many times.
To start batch cooking, pick a recipe that’s good for big batches. Like a big stew or chili. Just multiply the ingredients and cook as usual.
Storage and Reheating Tips
Storing and reheating meals right is important. Use tight containers for fridge or freezer storage.
When reheating, heat to 165°F to keep food safe.
| Storage Method | Reheating Instructions |
|---|---|
| Refrigerator | Reheat in microwave or on stovetop until hot |
| Freezer | Thaw overnight in refrigerator, then reheat |
Freezer-Friendly One Pot Meals
Some one pot meals are great for freezing. Look for recipes with ingredients that freeze well. Like soups, stews, and casseroles.
Tip: Mark and date your frozen meals. This helps you know what you have.
Repurposing Leftovers into New Meals
Turning leftovers into new meals is smart. It cuts down on waste and gets you creative. Think of how to change last night’s dinner into tomorrow’s lunch or a new dish.
For example: Use leftover chili on baked potatoes or in salads. Or, turn roasted veggies into a salad.
Conclusion: Simplifying Healthy Eating with One Pot Cooking
One pot cooking is a big help for those who want quick and tasty meals. It saves time and makes cleaning up easier. Plus, it brings out the best flavors in your food.
Adding simple recipes to your meals makes eating healthy easier. It doesn’t matter if you’re new to cooking or have been doing it for years. There are many one pot dishes to try, like stews, skillet dinners, and grain bowls.
Using one pot cooking changes how you make meals. It makes it simpler to eat well. With the right tools and recipes, you can make yummy, healthy food. Try one pot cooking and see how it makes cooking better and more fun.
FAQ
What are some easy and healthy one pot dinner recipes?
Try Greek-Style Chicken and Vegetable Skillet. Or, make One Pot Mediterranean Quinoa with Chickpeas. Simple Vegetable and Brown Rice Pilaf is also great. These meals are tasty, healthy, and quick to make.
How can I make one pot meals more nutritious?
Mix protein, carbs, and veggies in your meals. Use whole grains and healthy fats. Cut down on salt and add lots of colorful veggies.
What are the benefits of using a Dutch oven for one pot cooking?
Dutch ovens are great for many cooking methods. They cook food evenly. You can use them on the stovetop or in the oven.
Can I meal prep with one pot recipes?
Yes, one pot recipes are perfect for meal prep. Cook big batches and store them. Reheat when you need a meal.
How can I make one pot meals more flavorful?
Use onions, garlic, and ginger for flavor. Add herbs and spices to taste. Try using broth instead of water for more taste.
Are one pot meals suitable for busy weeknights?
Yes, they’re great for busy nights. Quick to make and cook in one pot. Ready in 30 minutes or less.
Can I customize one pot recipes to suit my dietary needs?
Yes, you can change ingredients and spices. Adjust cooking methods to fit your needs.
What are some tips for cooking one pot meals in advance?
Prepare ingredients before cooking. Cook in bulk and store in airtight containers. Freeze portions for later. Reheat to a safe temperature.