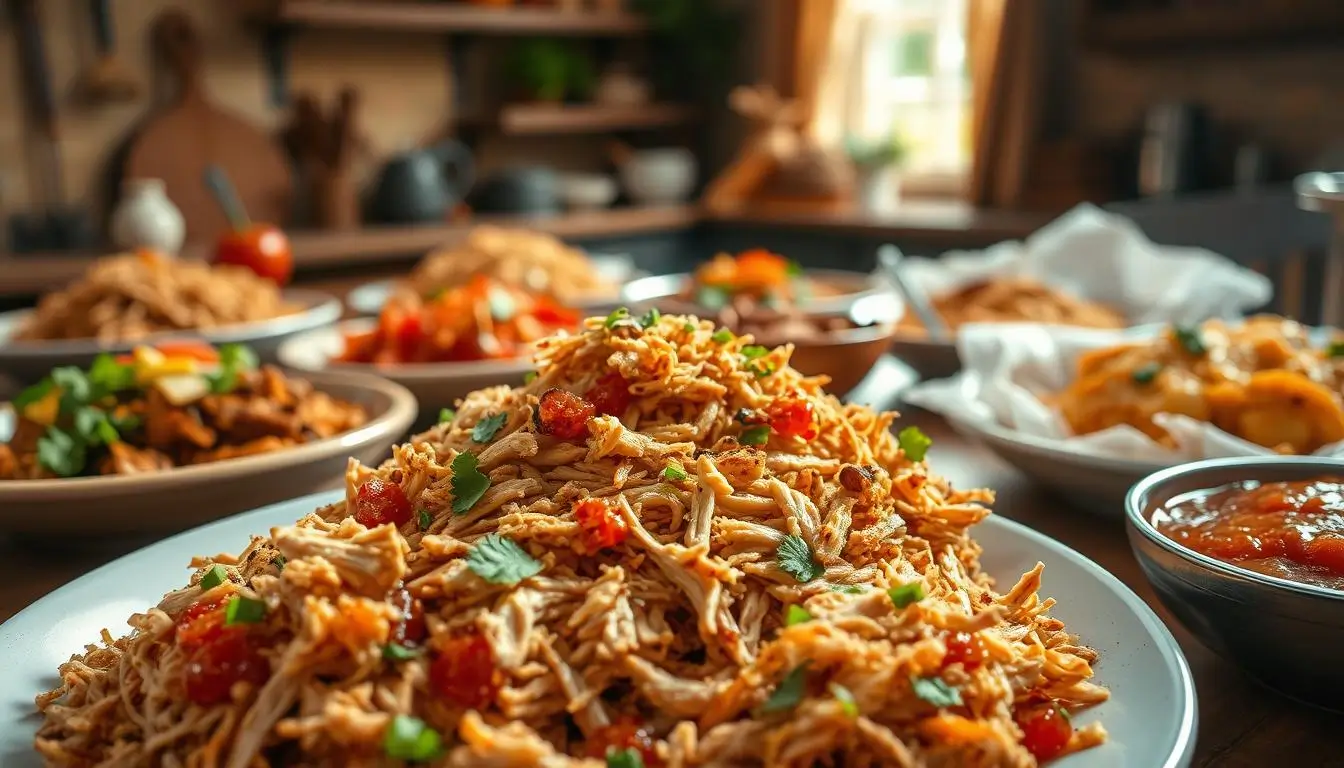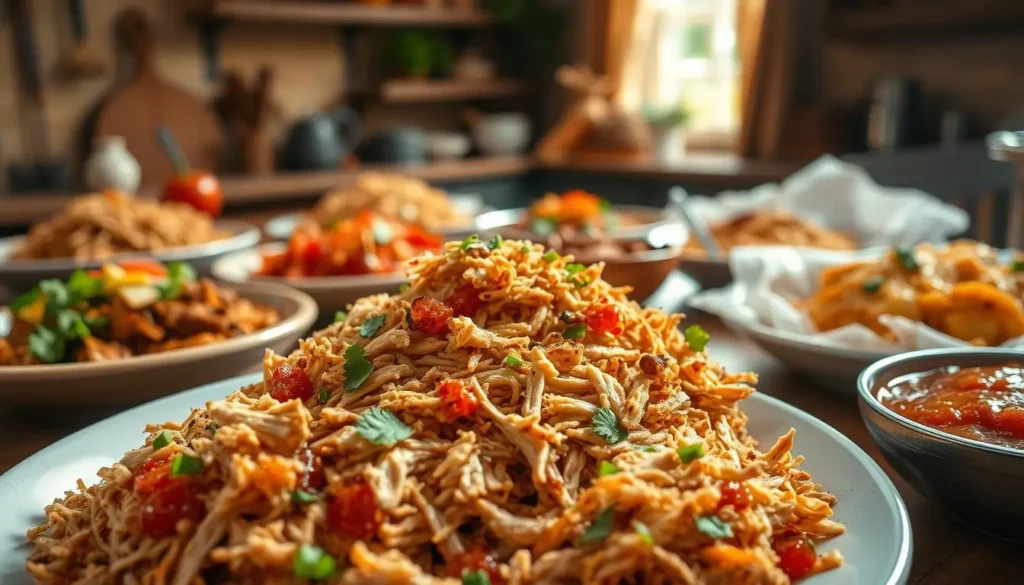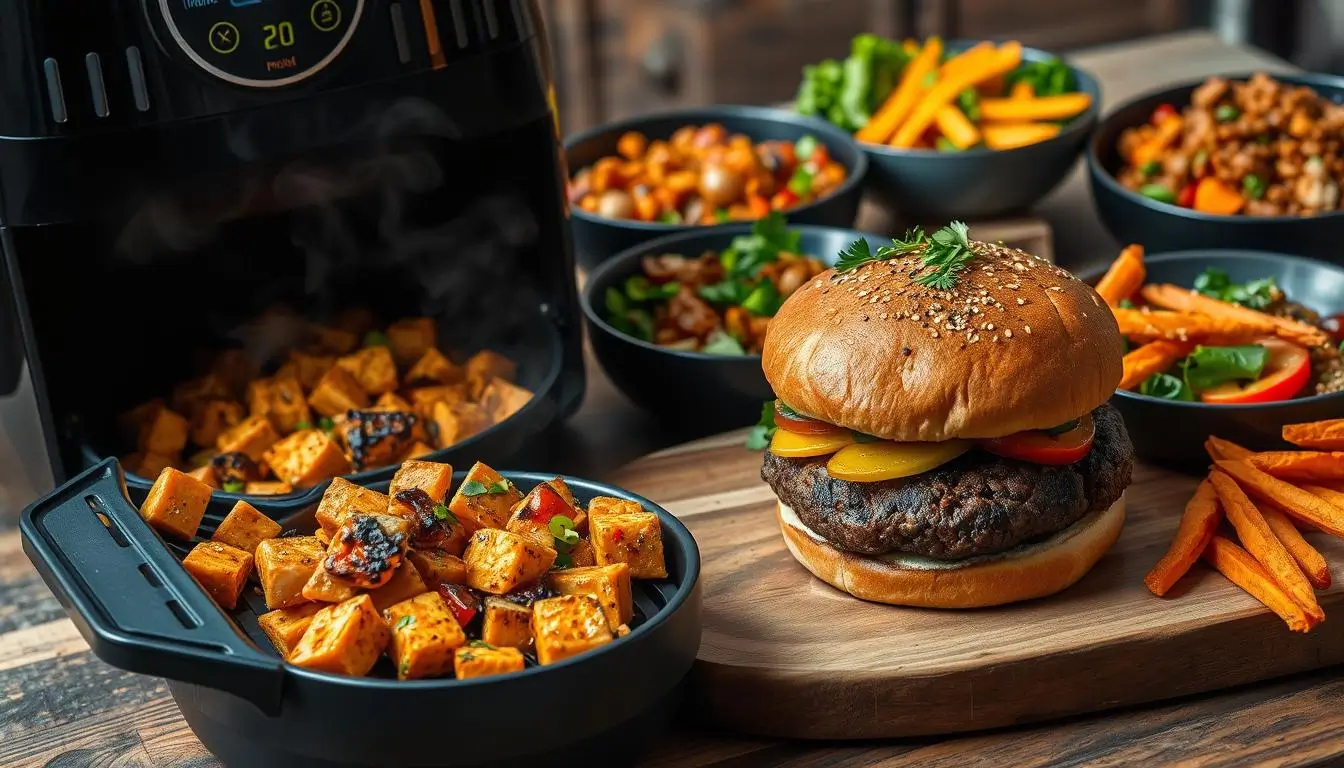
The Philly Cheesesteak is a favorite in American food, known for its tender beef, melted cheese, and crispy bread. It started in Philadelphia, Pennsylvania, and now fans all over the U.S. love it.


Making an easy philly cheesesteak recipe at home is easy. Just a few ingredients and simple steps, and you can enjoy a tasty homemade Philly Cheesesteak in your kitchen.
Key Takeaways
- Learn the secrets to making an authentic Philly Cheesesteak at home.
- Discover the essential ingredients for a classic Philly Cheesesteak.
- Follow a simple, step-by-step guide to cooking the perfect Philly Cheesesteak.
- Explore variations of the traditional recipe to suit your taste.
- Enjoy a delicious, homemade Philly Cheesesteak with family and friends.
The History and Legacy of the Iconic Philly Cheesesteak
The Philly Cheesesteak is a sandwich loved by many in Philadelphia. It has a long history that spans decades. This dish has won the hearts of locals and become a favorite in American cuisine.
Origins in Philadelphia
In the 1930s, a South Philadelphia hot dog vendor named Pat Olivieri created the Philly Cheesesteak. He started serving thinly sliced steak to attract more customers. The mix of steak and onions on a crusty roll quickly became popular.
The sandwich’s early success was largely due to its convenience and flavor. It quickly became a favorite among locals and travelers.
| Year | Event | Significance |
|---|---|---|
| 1930s | Pat Olivieri starts serving steak sandwiches | Birth of the Philly Cheesesteak |
| 1950s | Pat’s King of Steaks becomes a popular destination | Establishment of a culinary landmark |
| Present | Philly Cheesesteak variations emerge | Evolution of the classic recipe |
Evolution of the Classic Sandwich
Over the years, the Philly Cheesesteak has changed. New places have added their own twist to the classic recipe. The addition of cheese, especially Cheez Whiz, became a key part of the sandwich.
The combination of tender beef, melted cheese, and sautéed onions on a soft roll has remained consistent. Yet, new variations keep coming.
The Philly Cheesesteak’s legacy goes beyond its taste. It’s a cultural icon that shows Philadelphia’s culinary spirit. As it gains fans worldwide, its roots stay strong in the city’s history and traditions.
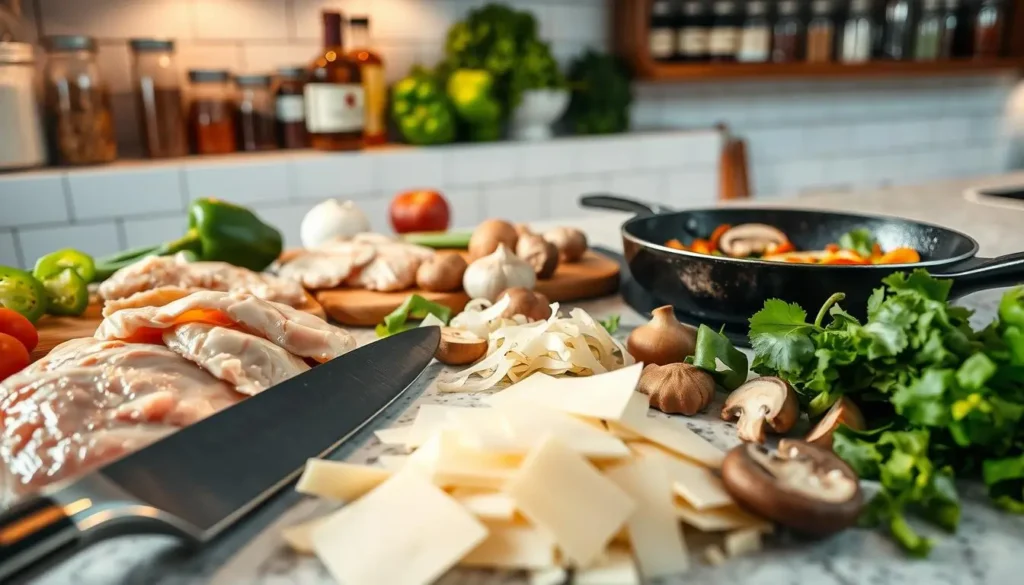
Essential Ingredients for an Authentic Philly Cheesesteak
To make a real Philly Cheesesteak, you need to know the key ingredients. The mix of flavors and textures comes from the quality of these parts.
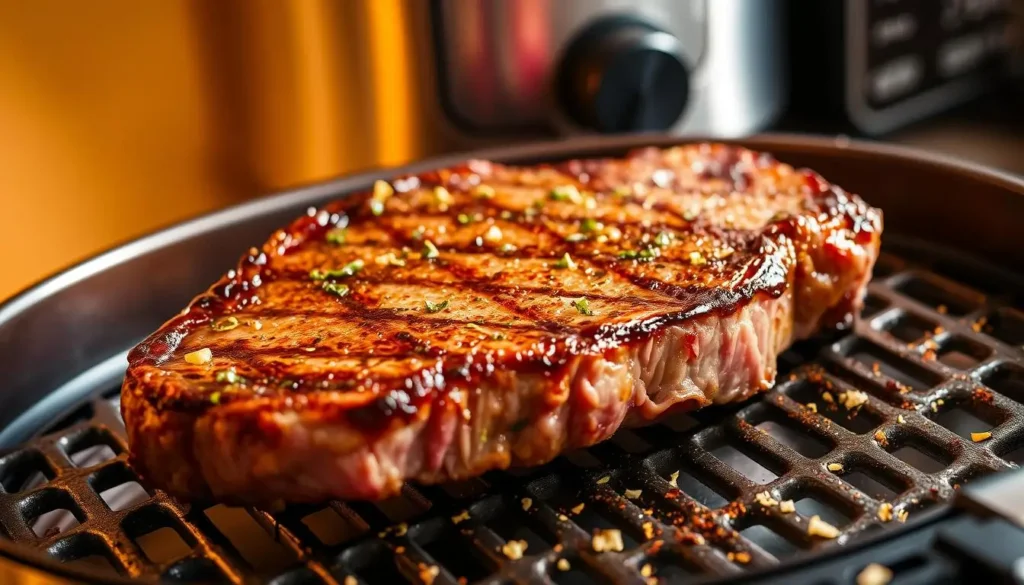
Selecting the Right Cut of Beef
The heart of a great Philly Cheesesteak is the beef. Ribeye is the top choice because it’s tender and tastes great. It’s important to cut the beef thinly against the grain for the best texture.
Choose beef that’s well-marbled. This will make the cheesesteak taste and feel better.
Cheese Options: Provolone, American, or Cheez Whiz
The cheese is key in bringing the flavors together. Provolone and Cheez Whiz are the classics. Provolone gives a sharp taste, while Cheez Whiz adds creaminess. American cheese melts well and has a mild flavor.
Choosing cheese is up to you. But for a true taste, Cheez Whiz is the go-to.
The Perfect Roll: Amoroso’s and Alternatives
The roll is more than just a holder; it’s a big part of the Philly Cheesesteak. Amoroso’s is the best, with its softness and slight crust. If you can’t find Amoroso’s, look for an Italian-style roll that’s soft but strong enough for the filling.
With these key ingredients, you can make a classic Philly Cheesesteak that’s both true to the original and tasty. Whether it’s for a quick meal or a big event, the right ingredients make all the difference.
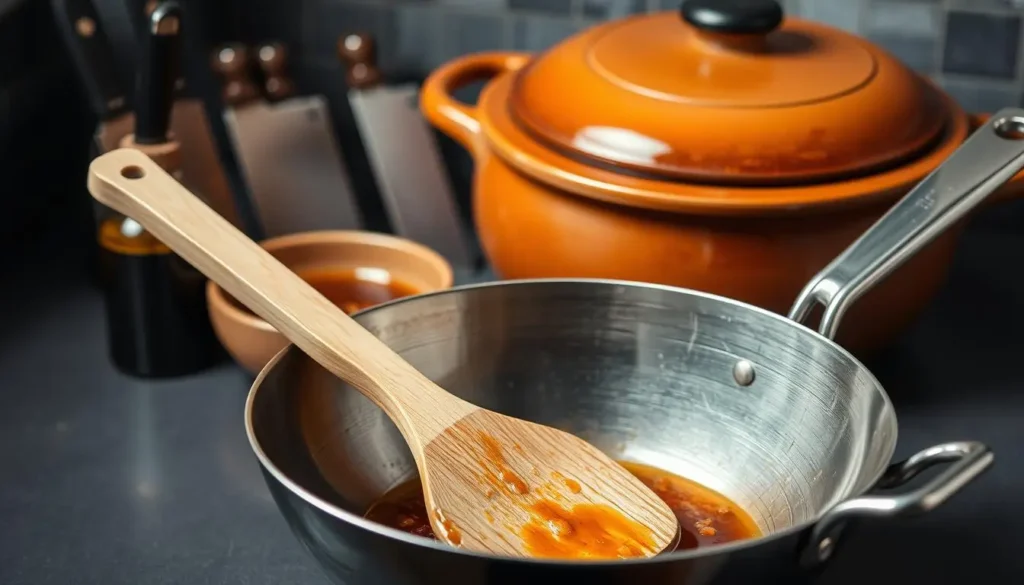
Equipment and Tools You’ll Need
To make a tasty homemade Philly Cheesesteak, you need the right tools. The right tools make cooking easier and ensure your cheesesteak is authentic and flavorful.
Griddle vs. Skillet Options
When cooking your Philly Cheesesteak, you can choose between a griddle or a skillet. A griddle is great for cooking many cheesesteaks at once. It’s perfect for those who cook in bulk.
A skillet is more versatile and easier to handle for smaller portions. Both can make excellent cheesesteaks. Your choice depends on your preference and cooking style.
Essential Utensils for Preparation
You’ll also need some essential utensils to prepare your Philly Cheesesteak. You’ll need a sharp knife for slicing the beef and a cutting board for preparing your ingredients. A spatula is needed for flipping and serving.
Having these tools ready will make preparing your cheesesteak smoother and more efficient. It lets you focus on making the perfect easy Philly Cheesesteak recipe.
Preparing Your Ingredients for Success
Getting your ingredients ready is key to making a real Philly Cheesesteak. The quality and how you prepare your ingredients can really make a difference.
Slicing Techniques for the Beef
Slicing the beef right is important for the perfect Philly Cheesesteak. Use a sharp knife and cut against the grain. This makes the beef tender and easy to chew. Thinly sliced beef is what makes a Philly Cheesesteak authentic.
- Use a sharp knife to slice the beef thinly.
- Cut the beef against the grain for tenderness.
- Freeze the beef for about 30 minutes to make slicing easier.
Preparing Onions, Peppers, and Other Vegetables
Onions and peppers are key parts of a Philly Cheesesteak. Start by thinly slicing them. You can use a mandoline for even slices. Caramelizing the onions adds extra flavor.

Pre-cooking Preparation Tips
Before cooking, make sure everything is ready. This includes sliced cheese, toasted rolls, and veggies. Pre-cooking preparation helps the cooking process go smoothly. Here are some tips:
- Slice your cheese and let it come to room temperature.
- Toast your rolls to prevent them from getting soggy.
- Have all your vegetables chopped and ready to go.
By following these steps, you’ll be on your way to a delicious Philly Cheesesteak. Proper preparation is the base of a great dish. With these tips, you’ll enjoy a tasty Philly Cheesesteak soon.
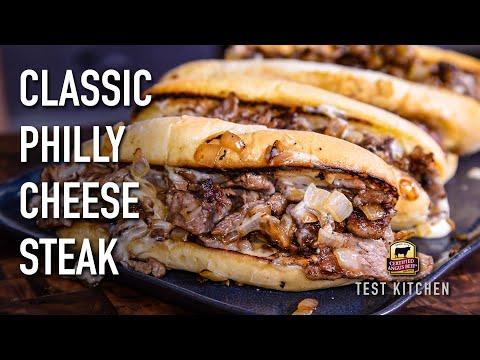
The Best Philly Cheesesteak Recipes: Traditional Method
For those seeking an authentic taste of Philadelphia, the traditional Philly Cheesesteak is a must-try. This iconic sandwich has been a staple of American cuisine for decades. Its preparation involves a delicate balance of flavors and techniques.
Step-by-Step Cooking Process
The key to a great Philly Cheesesteak lies in its preparation. Start by heating a griddle or large skillet over medium-high heat. Slice the beef into thin strips, season with salt and pepper, and cook until it’s browned and cooked through. Remove the beef from the griddle and set it aside.
Next, add sliced onions and bell peppers to the griddle, cooking until they’re tender and lightly caramelized. Return the beef to the griddle, stirring to combine with the vegetables.
Key Cooking Steps:
- Heat griddle or skillet to medium-high heat
- Cook beef until browned and cooked through
- Sauté onions and bell peppers until tender
- Combine beef and vegetables
Achieving the Perfect Texture and Doneness
Achieving the perfect texture and doneness is crucial. The beef should be tender and juicy, while the vegetables should be cooked but still crisp. Use a thermometer to ensure the beef reaches your desired level of doneness.
| Doneness | Internal Temperature |
|---|---|
| Rare | 130-135°F |
| Medium Rare | 135-140°F |
| Medium | 140-145°F |
Timing and Temperature Control
Timing and temperature control are vital in preparing the best Philly Cheesesteak recipe. Monitor the heat and adjust as necessary to prevent burning. The total cooking time should be around 10-15 minutes, depending on the thickness of the beef and the desired level of doneness.
By following these steps and tips, you’ll be able to create a traditional Philly Cheesesteak that’s sure to impress. Whether you’re a seasoned chef or a beginner in the kitchen, this recipe is a great way to bring a taste of Philadelphia into your home.
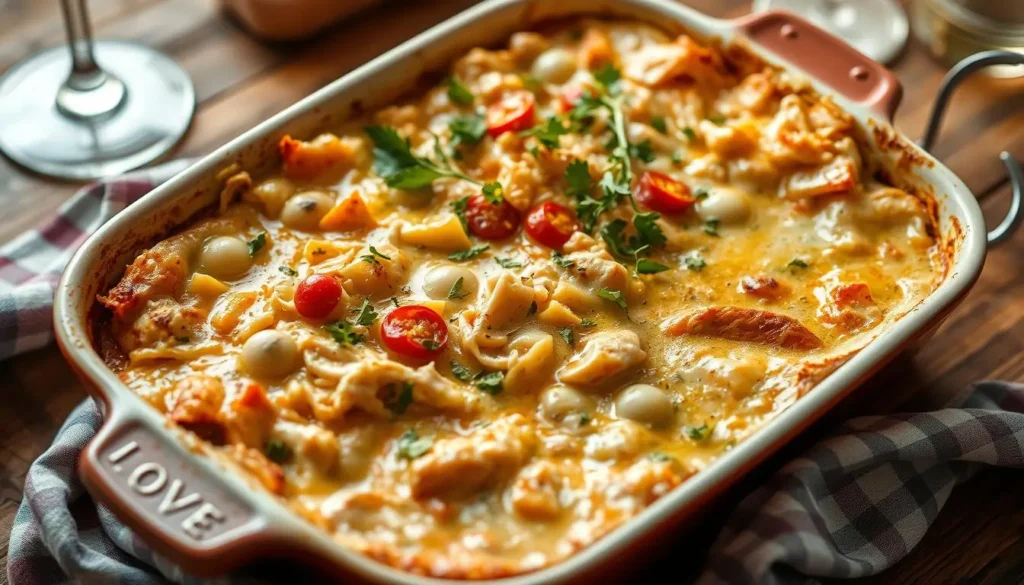
Creative Philly Cheesesteak Recipes and Variations
The Philly cheesesteak is a dish loved by many. It’s a great base for trying new flavors and textures. You can keep the classic taste or mix things up with different ingredients and cooking methods.
Chicken Philly Cheesesteak
For a leaner option, try a Chicken Philly Cheesesteak. It swaps beef for grilled or sautéed chicken breast. This version is perfect for those who prefer chicken. Add Italian herbs and spices to the chicken for extra flavor.
Adding sautéed spinach and mushrooms makes it healthier and tastier.
Vegetarian and Plant-Based Options
Vegetarian and plant-based versions are great for those who don’t eat meat. Use portobello mushrooms or seitan to get the meaty feel. Choose cheeses like provolone or vegan mozzarella for creaminess. These options are tasty and fit many diets.
Gourmet Upgrades and Fusion Styles
Make the Philly cheesesteak fancy with high-end ingredients. Try truffle aioli or caviar for a luxurious twist. Fusion styles, like Korean BBQ or Buffalo chicken, bring bold flavors. These are great for those who love to try new things.
Regional Variations Worth Trying
Every region has its own Philly cheesesteak twist. A Southern version might add barbecue sauce and crispy onions. A Southwestern version could use pepper jack cheese and jalapeños. Trying these variations is a fun way to enjoy the classic dish.
| Variation | Main Ingredient | Additional Flavors |
|---|---|---|
| Chicken Philly Cheesesteak | Grilled Chicken Breast | Italian Herbs, Spinach, Mushrooms |
| Vegetarian | Portobello Mushrooms | Provolone Cheese, Sauteed Onions |
| Gourmet Upgrade | Beef | Truffle Aioli, Caramelized Onions |
| Southwestern Style | Beef or Chicken | Pepper Jack Cheese, Jalapeños |
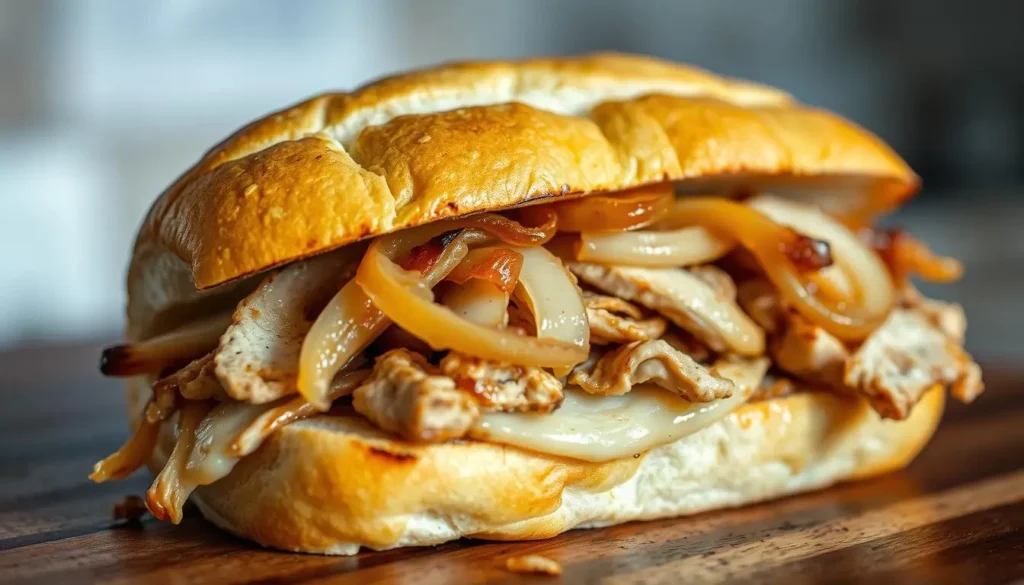
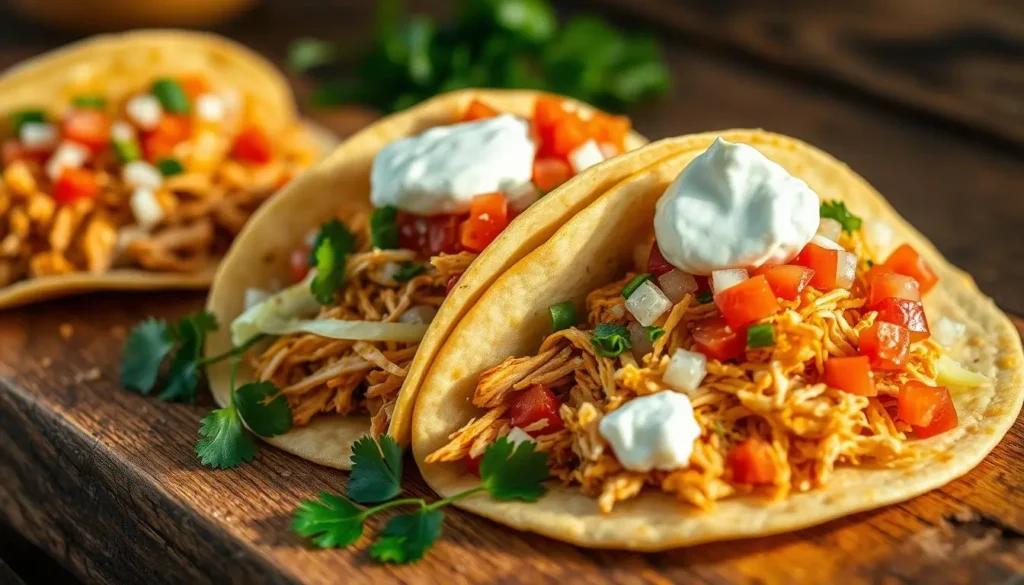
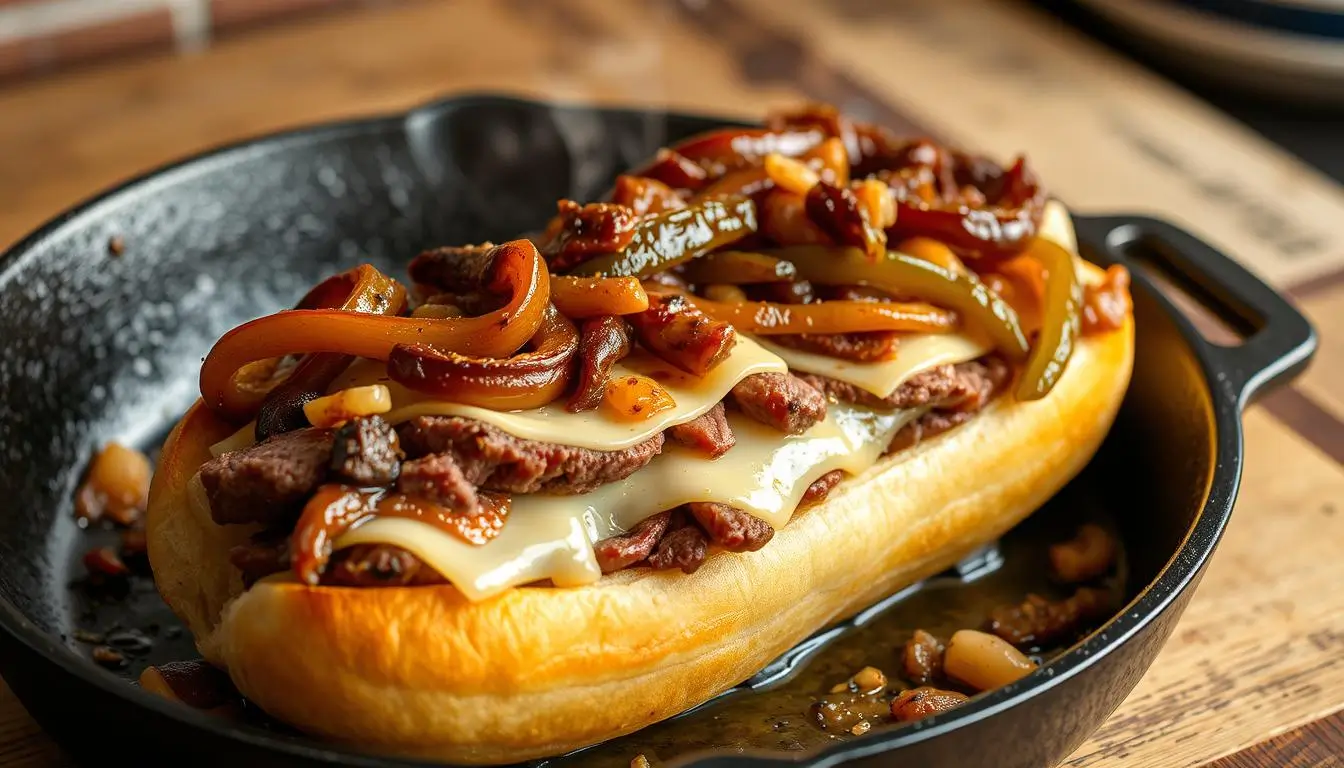
Mastering the Assembly: Building the Perfect Sandwich
Learning to make the perfect Philly Cheesesteak is a skill worth mastering. It needs attention to detail and practice to get it right. The assembly process brings all your preparation together, turning simple ingredients into a delicious dish.
Layering Techniques for Optimal Flavor
The way you layer ingredients is key to great flavor in your Philly Cheesesteak. Start with a toasted Amoroso roll, which is sturdy but doesn’t overpower the filling. Next, add sautéed onions and peppers for a sweet and crunchy texture. Then, put in the sliced beef, making sure it’s spread out evenly.
Pat Olivieri, a Philly cheesesteak pioneer, once said, “The key to a great cheesesteak is in the balance of flavors and textures.”
To boost the flavor, add a sprinkle of salt and pepper. This simple step can make a big difference, bringing out the beef and vegetable flavors.
The Art of Cheese Application
Applying cheese is an art that can make or break your Philly Cheesesteak. For a true taste, use Cheez Whiz or melted Provolone. The cheese should be spread generously to blend the flavors. As “The cheese is the glue that holds the sandwich together,” says a seasoned Philly cheesesteak vendor.
To get the cheese just right, place the sandwich under a broiler for a few seconds or use a cheese melter. The result should be a gooey, cheesy delight that complements the tender beef and crunchy vegetables.
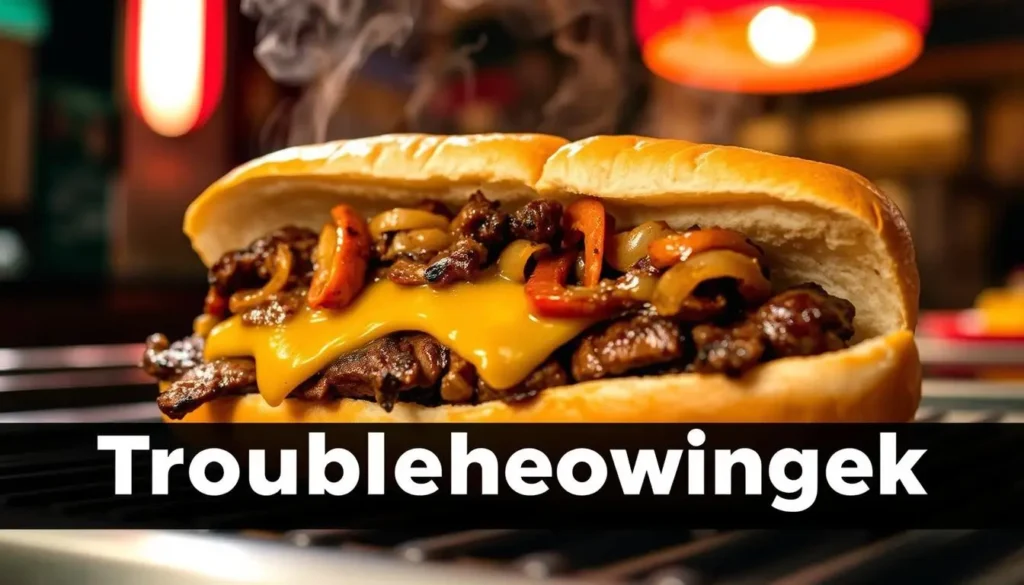
Troubleshooting Your Homemade Philly Cheesesteak
Trying to make the perfect Philly Cheesesteak at home can be tricky. You might face issues like tough meat, cheese that doesn’t melt right, and soggy rolls. But don’t worry, these problems have easy fixes.
Fixing Tough or Dry Meat
Tough or dry meat usually comes from overcooking or using the wrong cut. Use thinly sliced ribeye or top round and cook it just until it’s done. Slicing against the grain makes the meat tender.
Addressing Cheese Melting Issues
Problems with cheese melting can mess up your dish. Make sure you’re using a cheese that melts well, like Cheez Whiz or provolone. Place the cheese on top of the meat in a skillet and cover it for a few seconds to melt it evenly.
Preventing Soggy Rolls
A soggy roll can ruin your sandwich. To avoid this, lightly toast the roll before adding the filling. Don’t overfill the sandwich, as too much filling can make the roll soggy.
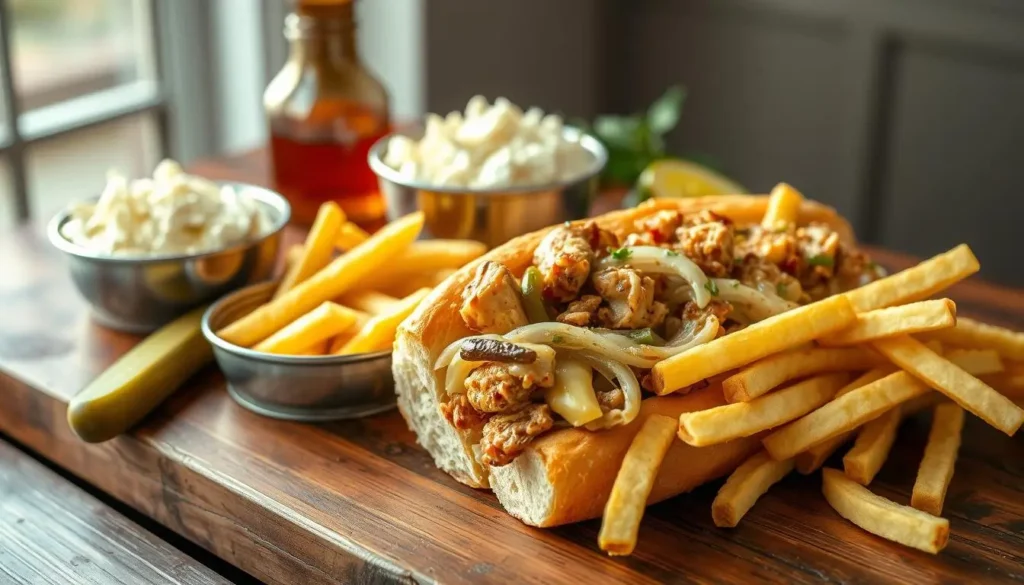
Serving Suggestions and Accompaniments
To make your meal memorable, pair your Philly Cheesesteak recipes with sides and drinks. A complete meal makes the iconic sandwich even better.
Traditional Sides
Classic sides for Philly Cheesesteak are french fries and coleslaw. They add a nice crunch to the soft, cheesy sandwich. For a real Philly feel, serve with Amoroso’s rolls and potato salad or pickles.
| Side Dish | Description |
|---|---|
| French Fries | Crunchy, salty, and perfect for dipping |
| Coleslaw | Creamy coleslaw adds a refreshing contrast |
| Potato Salad | A tangy, comforting side that pairs well |
Beverage Pairings
For drinks, a cold beer or root beer goes great with your best Philly Cheesesteak recipe. Iced tea or lemonade also brings out the cheesesteak’s rich flavors.
Presentation Tips for the Perfect Plate
How you present your Philly Cheesesteak matters. Place the sandwich on a wooden board or colorful plate with your sides. Add fresh parsley or paprika for looks. Serving with Philadelphia soft pretzels adds an authentic touch.
Conclusion: Enjoying Your Homemade Philly Cheesesteak
Now that you’ve learned how to make a classic Philly cheesesteak, it’s time to enjoy it. A homemade Philly cheesesteak is a treat that will become a favorite in your home.
By following this guide, you’ve learned to make a delicious and authentic Philly cheesesteak. It’s perfect for impressing family and friends. Whether you stick to the traditional recipe or try new variations, the joy comes from its rich flavors and satisfying texture.
So, take a bite and savor the taste of a perfectly made classic Philly cheesesteak. With your new skills, you can enjoy this Philadelphia icon whenever you want. It’s a special homemade treat.
FAQ
What is the best cut of beef for a Philly Cheesesteak?
Thinly sliced ribeye is the top choice for a Philly Cheesesteak. It’s tender and full of flavor.
Can I use Cheez Whiz in a traditional Philly Cheesesteak recipe?
Yes, Cheez Whiz is a classic choice for Philly Cheesesteaks. It’s often used in traditional recipes.
What type of roll is best for a Philly Cheesesteak?
Amoroso’s rolls are the traditional choice. But, other soft, white rolls work well too.
How do I achieve the perfect texture and doneness for my Philly Cheesesteak?
Cook the beef over high heat for a short time. Slice it thinly against the grain for the best texture.
Can I make a vegetarian or vegan version of a Philly Cheesesteak?
Yes, you can. Use sautéed mushrooms, bell peppers, or plant-based meat substitutes instead of beef.
What are some common mistakes to avoid when making a homemade Philly Cheesesteak?
Avoid overcooking the beef and using low-quality ingredients. Also, make sure to assemble the sandwich right.
How do I prevent my Philly Cheesesteak roll from getting soggy?
Toast the roll lightly before assembling. Be careful with the amount of cheese and filling you add.
Can I make a Philly Cheesesteak in advance?
It’s best to serve Philly Cheesesteaks immediately. But, you can prepare the ingredients ahead of time to make it easier.
What are some creative variations of the classic Philly Cheesesteak recipe?
Try adding different cheeses or using chicken or steak instead of beef. You can also add unique ingredients like jalapeños or caramelized onions.