70% of Americans are searching for easy and healthy meals. That’s why the cabbage egg recipe is so popular. It’s great for busy weeknights or weekend brunch. Plus, it’s a tasty way to add veggies to your meal.
Table of Contents

The cabbage egg recipe is perfect for adding veggies to your diet. It’s also super flexible, so you can make it your own. This dish is full of health benefits and is easy to make. We’ll show you how to make a delicious and simple cabbage egg recipe.
Introduction to Cabbage Egg Recipe
This article will guide you through making a tasty cabbage egg recipe. We’ll cover the ingredients and tools you need. Plus, we’ll share tips for cooking it. Whether you’re busy or love cooking, this recipe will be a hit.
Key Takeaways
- The cabbage egg recipe is a healthy and easy meal option
- This recipe is perfect for busy weeknights or weekend brunch
- The combination of cabbage and eggs provides a delicious and nutritious meal
- The cabbage egg recipe is a versatile dish that can be customized to suit your taste preferences
- This recipe is a great way to incorporate vegetables into your diet
- The cabbage egg recipe has numerous health benefits and nutritional value
The Perfect Combination of Cabbage and Eggs
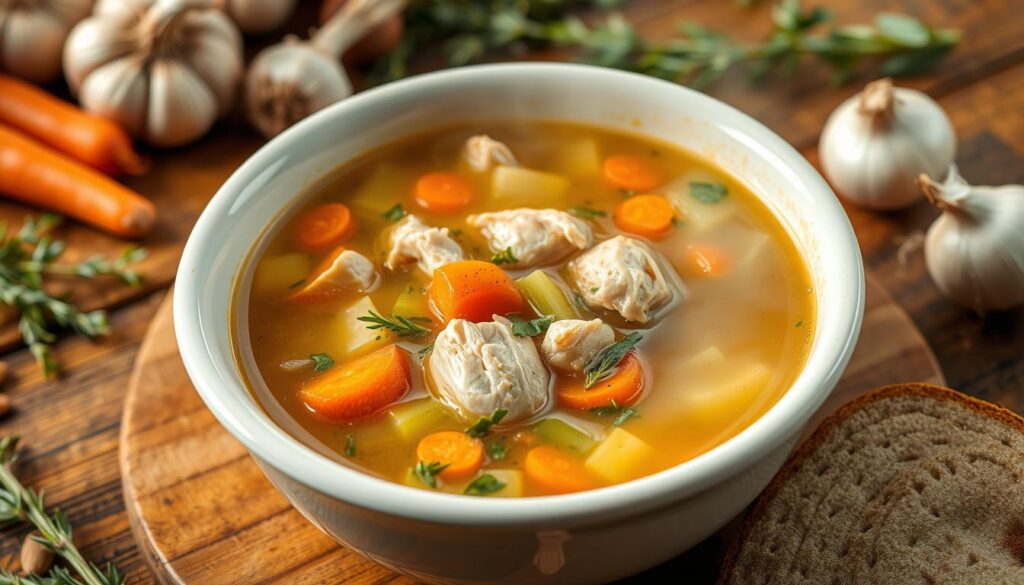
Cabbage and eggs are a perfect pair, making a healthy cabbage egg recipe that’s both good for you and tasty. Cabbage is full of vitamins and minerals like vitamin C and K. Eggs are a great source of protein.
Together, they make a delicious cabbage egg recipe that’s full of flavor and nutrients. This mix is great for anyone wanting a healthy, filling meal.
- High protein content from the eggs
- Rich in vitamins and minerals from the cabbage
- Low in calories and fat
The mix of cabbage and eggs is a great choice for a healthy cabbage egg recipe. It’s perfect for a quick breakfast or a satisfying lunch. This combo is sure to please.
Essential Ingredients for Your Cabbage Egg Recipe
To make a tasty and healthy simple cabbage egg recipe, you need some key ingredients. You’ll need fresh cabbage, eggs, and any extra veggies or spices you like. For a vegetarian cabbage egg recipe, pick veggies that go well with cabbage and eggs.
Here are the basic ingredients you’ll need:
- Fresh cabbage
- Eggs
- Salt and pepper
- Optional: additional vegetables, such as onions or bell peppers, and spices, such as garlic or paprika
Choosing fresh and quality ingredients makes a big difference. For a simple cabbage egg recipe, stick to basics and get creative. If you’re making a vegetarian cabbage egg recipe, add more veggies to boost flavor and nutrition.
With these ingredients and your own flair, you can make a delicious and healthy simple cabbage egg recipe or vegetarian cabbage egg recipe. It will be perfect for your taste and diet.
Kitchen Tools and Equipment Needed
To make a tasty easy cabbage egg recipe, you need the right tools. Having the right utensils and cookware makes a big difference. It ensures your simple cabbage egg recipe is perfect every time.
It’s important to use high-quality cookware and utensils. For a simple cabbage egg recipe, a non-stick frying pan is best. It prevents eggs from sticking and makes cooking easier.
- Frying pan: A non-stick frying pan is ideal for cooking eggs and cabbage.
- Spatula: A heat-resistant spatula is necessary for flipping and stirring the ingredients.
- Colander: A colander is useful for draining excess water from the cabbage.
Optional tools can make cooking more convenient. A food processor helps shred the cabbage. A whisk is great for beating the eggs. With the right tools, making a delicious easy cabbage egg recipe is easy.
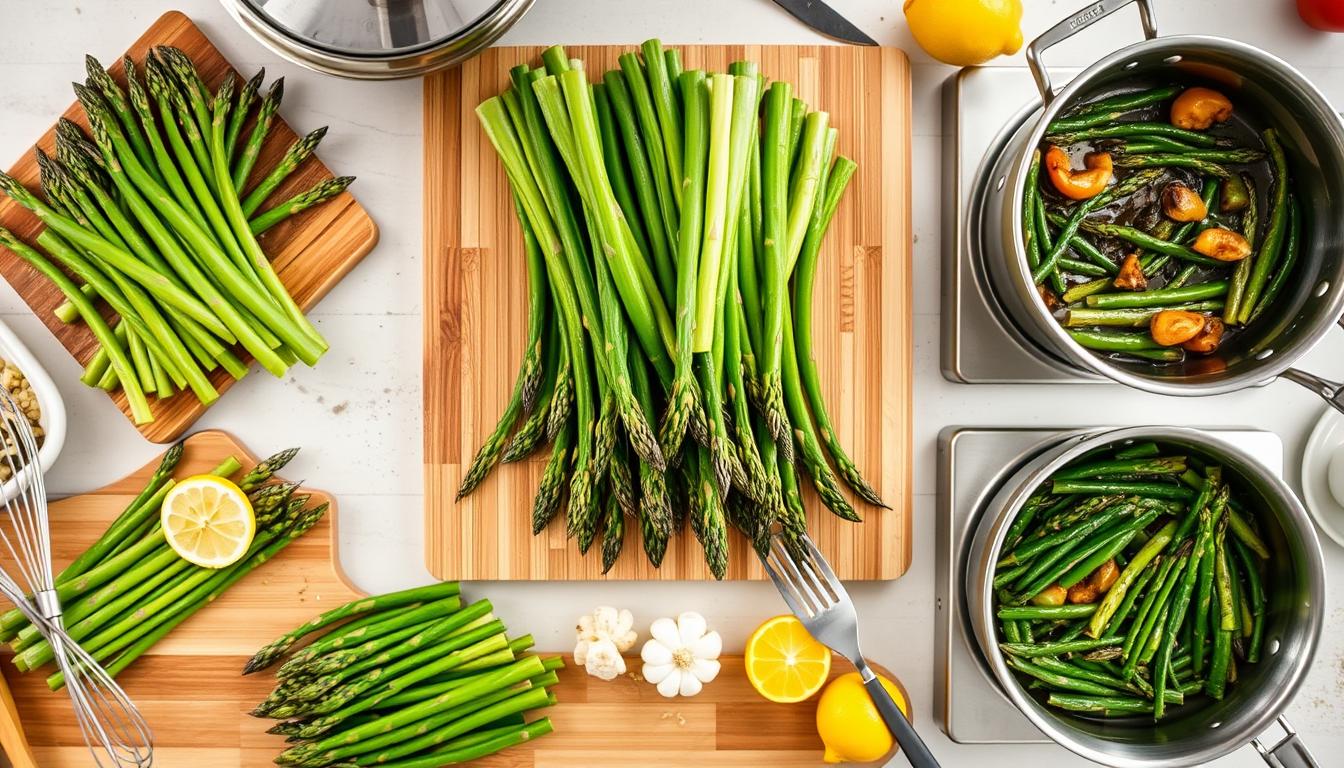
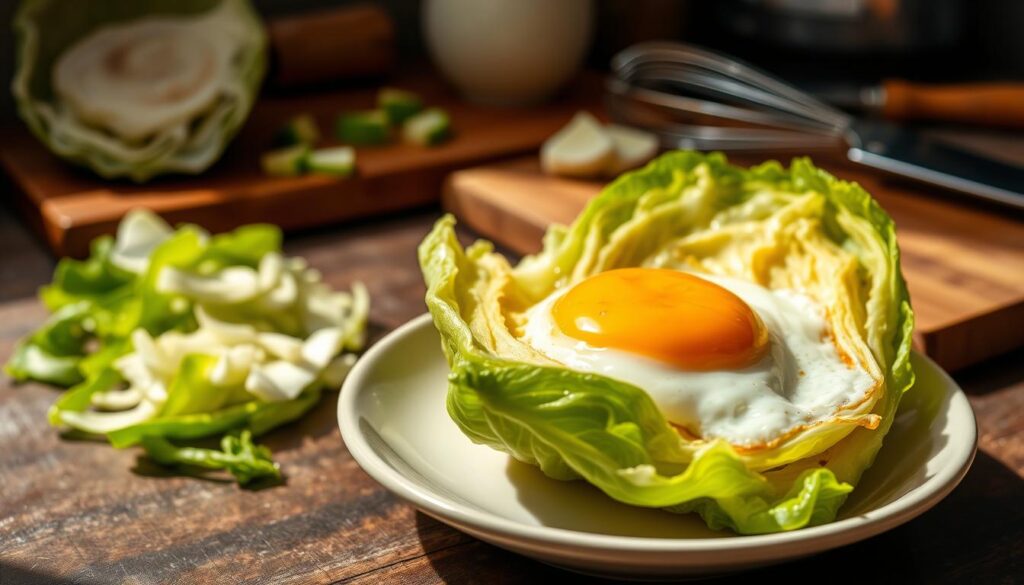
Preparing Your Ingredients
To make a tasty cabbage egg recipe, start by washing and chopping the cabbage into thin strips. This helps it cook evenly and quickly. For a healthier dish, choose fresh and organic ingredients.
Next, beat the eggs in a separate bowl. Add salt and pepper to taste. You can also add spices or herbs for a unique flavor. Always handle ingredients safely to avoid contamination.
Here are some tips to make preparation easier:
- Use a food processor to chop the cabbage quickly and efficiently
- Beat the eggs in advance and store them in the refrigerator until ready to use
- Prepare any additional ingredients, such as onions or garlic, according to your recipe

By following these steps, you’ll make a tasty and healthy cabbage egg recipe. Always use fresh and organic ingredients for the best taste and nutrition. With a bit of practice, you’ll quickly make a delicious cabbage egg recipe for a healthy meal.
Step-by-Step Cabbage Egg Recipe Instructions
To make a tasty cabbage egg recipe, follow simple steps. This recipe is quick and healthy. Start by getting your ingredients ready, like fresh cabbage and eggs.
For a great cabbage egg recipe, mix flavors and textures well. Chop the cabbage into thin strips and slice the onions small. This makes your dish taste better.
Preparing the Cabbage
First, wash and drain the cabbage. Take out any tough or damaged leaves. Then, cut it into thin strips. This makes your cabbage egg recipe tender and tasty.
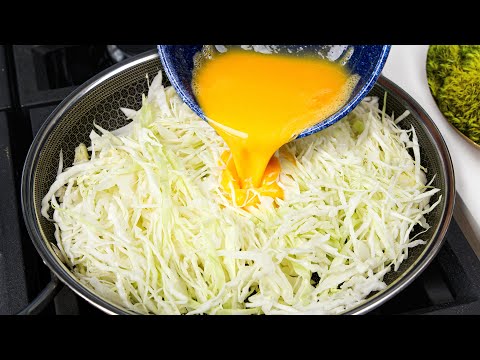
Cooking the Eggs
Cook the eggs in a pan, scrambling them lightly. This makes the eggs fluffy and flavorful for your dish.
Combining the Ingredients
Put the cooked eggs and cabbage in a big pan. Add salt and pepper to taste. Stir-fry until everything is mixed well. This makes your cabbage egg recipe delicious.
Seasoning Tips
Now, add herbs and spices for extra flavor. Try paprika, garlic powder, or chili flakes. Find the perfect mix for your taste.
By following these steps, you can make a tasty and healthy cabbage egg recipe. It’s perfect for any meal. This recipe will quickly become a favorite in your home.
Customization Options and Variations
Exploring a vegetarian cabbage egg recipe opens up a world of flavors. You can play with spices to make your dish stand out. For instance, adding cumin or coriander gives it a warm, earthy taste. Or, keep it simple with a squeeze of fresh lemon juice.
Adding other veggies like bell peppers, carrots, or mushrooms boosts nutrition and texture. Sauté them with cabbage and eggs for a hearty meal. You can also add tofu, tempeh, or seitan for extra protein.

Here are some ideas for customizing your vegetarian cabbage egg recipe:
- Try different types of cabbage, such as green, red, or savoy, to change up the flavor and texture
- Add some heat with a diced jalapeño or serrano pepper
- Use different types of eggs, such as duck or quail eggs, for a unique twist
By trying these customization options, you can make a simple cabbage egg recipe that fits your taste and diet. It’s perfect for vegetarians or anyone looking for a healthy, tasty meal.
Common Cooking Mistakes to Avoid
When making a healthy cabbage egg recipe, it’s key to avoid common mistakes. Overcooking the cabbage can make it soggy and unappealing. This is a major error.
To fix this, cook the cabbage until it’s tender but still crisp. Another mistake is undercooking the eggs, which can make them runny or raw. Make sure the eggs are cooked well but not too hard.
Here are some common cooking mistakes to avoid:
- Overcooking the cabbage
- Undercooking the eggs
- Not seasoning the dish properly
- Not using fresh ingredients
By avoiding these mistakes, you can make a healthy and tasty cabbage egg recipe. Use fresh ingredients, cook the cabbage and eggs right, and season well.
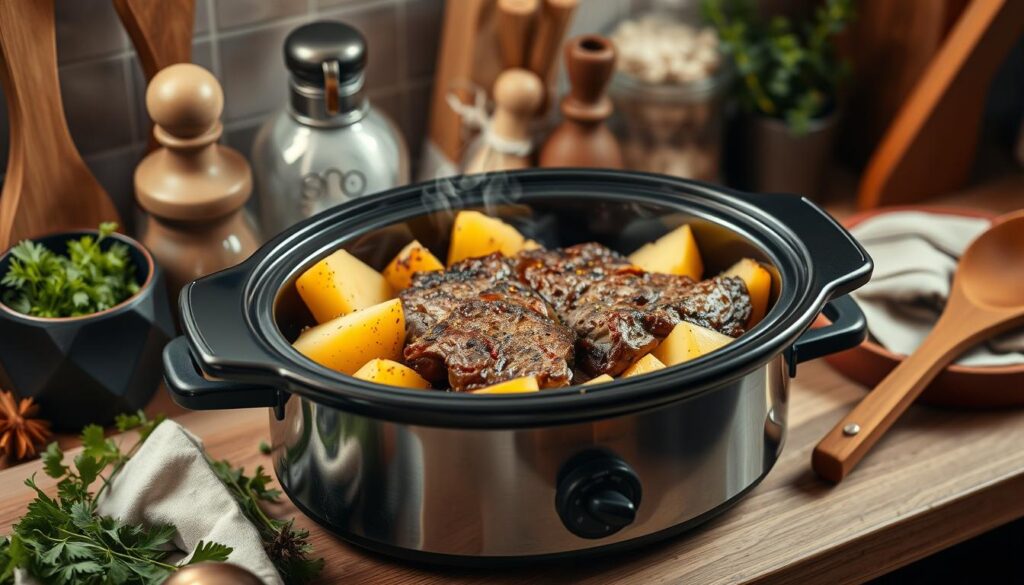
Storage and Reheating Tips
After making your easy cabbage egg recipe, it’s key to store and reheat it right. This keeps the taste and texture fresh. A simple cabbage egg recipe can be just as tasty the next day, if you follow some basic steps.
To store your cabbage egg dish, put it in an airtight container in the fridge for up to three days. For freezing, use a freezer-safe container or bag and mark it with the date. When reheating, thaw it in the fridge overnight and then heat it in the microwave or on the stovetop.
Proper Storage Methods
- Refrigerate at 40°F (4°C) or below
- Use airtight containers to prevent moisture and other flavors from affecting the dish
- Label containers with the date and contents
Reheating Instructions
To reheat your cabbage egg recipe, use the microwave or stovetop. For the microwave, heat in 30-second bursts until warm. On the stovetop, heat over low-medium, stirring often, until warm.
By following these tips, you can enjoy your easy cabbage egg recipe for days. It’s perfect for a quick breakfast or a simple lunch. Its simple ingredients and easy prep make it a great choice for any meal.
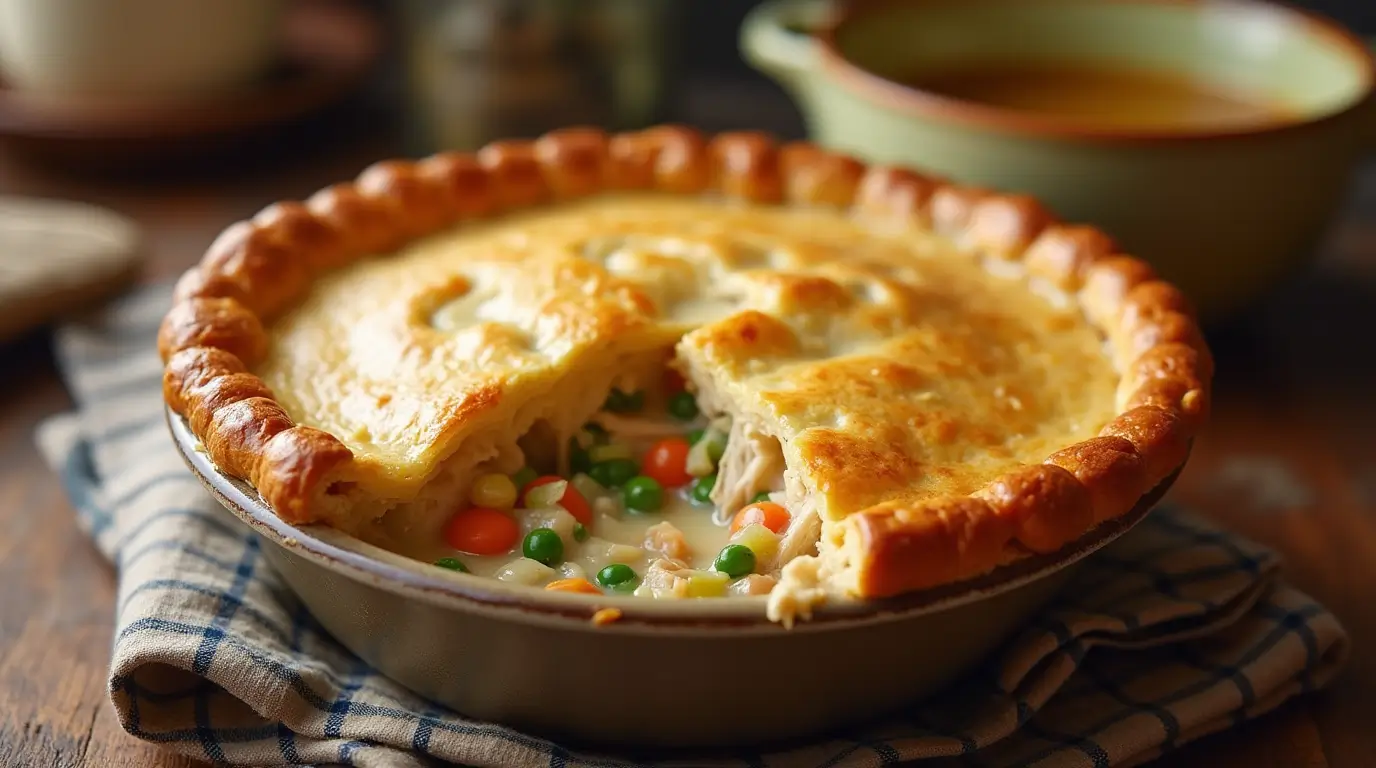
Serving Suggestions and Pairings
There are many ways to serve your cabbage egg recipe. This healthy cabbage egg recipe goes well with different sides. Try it with whole grain toast, roasted veggies, or a simple green salad.
This cabbage egg recipe is perfect for any meal. It’s great for breakfast, lunch, or dinner. Add grilled chicken or bacon for more protein. Cheese, like cheddar or feta, adds a nice flavor.
Here are some ideas for serving and pairing your healthy cabbage egg recipe:
- Serve with fresh fruit or hash browns for a filling breakfast
- Pair with a green salad and whole grain bread for a light lunch
- Add grilled chicken or steak for a hearty dinner
Whichever way you serve your cabbage egg recipe, it’s a winner. The mix of flavors and textures makes it both healthy and tasty. So, get creative and enjoy your cabbage egg recipe!
Conclusion: Mastering Your Cabbage Egg Recipe
Congratulations on mastering the delicious cabbage egg recipe! This dish is a gem in vegetarian cooking. You’ve learned the key ingredients, how to prepare it, and how to make it your own. Experimenting with veggies, spices, and proteins will help you find your favorite taste.
This recipe is all about being flexible. Try new ingredients, cooking ways, and how you present it. With practice, it will become a favorite in your kitchen. It’s a healthy and tasty meal for any time.
So, get creative and make your own version of this delicious cabbage egg recipe. Enjoy learning and tasting every delicious bite of this vegetarian treat.
FAQ
What are the main ingredients in a cabbage egg recipe?
The main ingredients are cabbage and eggs. You can also add veggies, spices, or proteins to make it your own.
Is a cabbage egg recipe healthy?
Yes, it’s a healthy dish. Cabbage is full of vitamins, minerals, and fiber. Eggs are a great protein source.
How do I prepare the cabbage for the recipe?
Chop or shred the cabbage into small pieces. Use a sharp knife or a food processor to make it easier.
Can I add other vegetables to the cabbage egg recipe?
Absolutely! Adding onions, bell peppers, or carrots can make it tastier and more nutritious.
How do I cook the eggs for the cabbage egg recipe?
You can cook eggs scrambled, fried, or poached. Just make sure they’re fully cooked but still tender.
Can I make the cabbage egg recipe in advance?
Yes, you can make it ahead and store it in the fridge or freezer. Just reheat it well before serving.
What are some good serving suggestions for the cabbage egg recipe?
Serve it alone or with rice, bread, or a salad. It’s perfect for breakfast or brunch.
Can I customize the seasoning for the cabbage egg recipe?
Absolutely! Try garlic, onion, or hot sauce to make it your own.